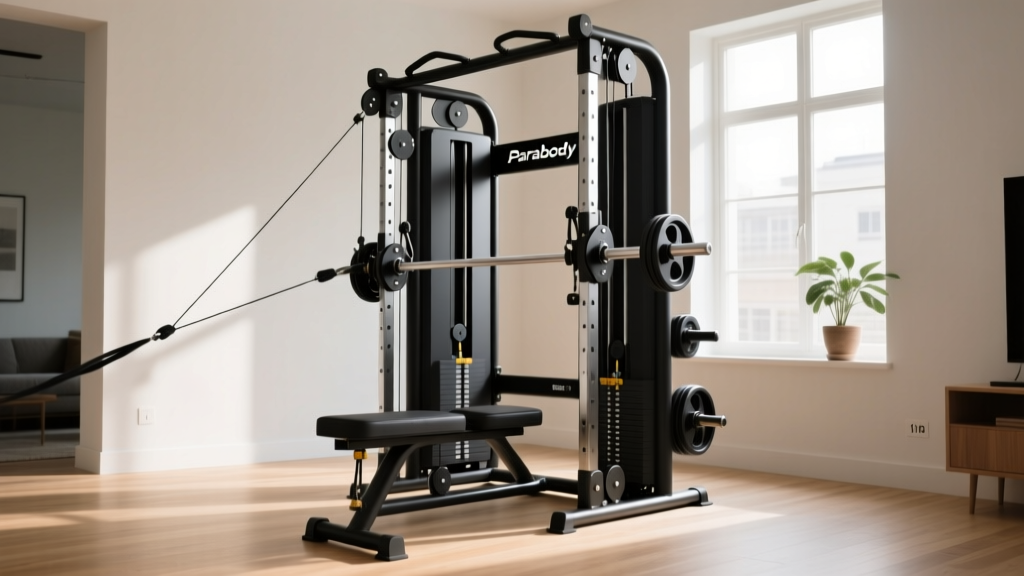
Apartment vs Basement Home Gym Ideas: A Setup Walkthrough
Discover top apartment and small space home gym ideas. Compare compact gear vs basement builds in our complete setup and installation walkthrough.

The Reality Check: Apartment vs. Basement Setups
When most people search for home gym ideas basement setups usually dominate the results. The dream is always the same: a sprawling, unfinished concrete dungeon with 10-foot ceilings, unlimited square footage, and zero noise restrictions. But for millions of urban dwellers and apartment renters, the reality is a 150-square-foot spare bedroom, an 8-foot ceiling, and downstairs neighbors who despise the sound of dropping bumper plates.
Building a high-performance training space in a small apartment requires a fundamentally different engineering and equipment approach than a basement build. According to the World Health Organization, adults need at least 150 to 300 minutes of moderate-to-vigorous aerobic activity weekly, plus muscle-strengthening activities on two or more days. Meeting these guidelines consistently requires a dedicated, frictionless home environment.
In this complete setup and installation walkthrough, we will bridge the gap between compact apartment constraints and heavy-duty training requirements, proving that you do not need a basement to build a world-class home gym.
Phase 1: Spatial Mapping & Acoustic Decoupling
The biggest point of failure in small-space gyms is ignoring acoustic and structural vibration. In a basement, you can drop 300 lbs on a single layer of rubber. In a third-floor apartment, that same drop transfers kinetic energy through the joists, resulting in an immediate noise complaint.
The 'Sandwich' Flooring Method for Impact Noise
To mitigate impact noise without losing ceiling height, you must decouple the floor. Here is the exact specification for an apartment-safe lifting platform:
- Base Layer: 3/4-inch OSB (Oriented Strand Board) or plywood. This disperses point-load impact across a wider surface area of the subfloor.
- Middle Layer (Optional but recommended): A 2mm acoustic underlayment or closed-cell foam mat to prevent the wood from rattling against the existing floor.
- Top Layer: 3/8-inch (8mm) vulcanized rubber mats with a 60 durometer hardness rating. Avoid cheaper foam interlocking tiles; they compress permanently under heavy barbell loads and offer zero vibration dampening.
Expert Insight: Total thickness of this sandwich is roughly 1 inch. If your apartment has standard 8-foot (96-inch) ceilings, you now have 95 inches of clearance. Keep this exact number in mind for Phase 2.
Phase 2: Equipment Selection Matrix
Space is a premium commodity in small apartments. The Centers for Disease Control and Prevention emphasizes the importance of accessible muscle-strengthening equipment to maintain long-term health, but traditional basement gear simply will not fit. Below is a direct comparison of basement staples versus their apartment-optimized counterparts.
| Equipment Category | Traditional Basement Pick | Apartment / Small Space Pick | Footprint & Clearance Impact |
|---|---|---|---|
| Power Rack | Rogue RM-6 Monster Rack | PRx Performance Profile Squat Rack | Basement: 48x49" permanent. Apartment: Folds to 4" from the wall. |
| Dumbbells | Rogue Urethane Dumbbell Set (5-50 lbs) | Nuobell Adjustable Dumbbells (5-80 lbs) | Basement: Requires 8-foot tiered rack. Apartment: 16x8" footprint total. |
| Bench | Rogue AB-3 Adjustable Bench | Flybird Adjustable Weight Bench | Basement: Fixed footprint. Apartment: Folds flat for under-bed storage. |
| Barbell & Plates | Olympic Bar + Steel Plates | Deadblow Bumper Plates + Cerakote Bar | Deadblow plates minimize bounce and floor vibration upon impact. |
Phase 3: The Installation Walkthrough
Installing gear in an apartment comes with strict limitations: you cannot drill into concrete, and you must avoid damaging drywall. Follow this step-by-step protocol for a secure, renter-friendly installation.
Step 1: Locate Structural Studs
Wall-mounted folding racks like the PRx Profile MUST be anchored into wooden or metal wall studs. Drywall anchors will rip out of the wall under the lateral load of a pull-up or a spotted squat. Use a magnetic stud finder to locate the exact center of two studs, typically spaced 16 inches on-center. Mark your drill holes with a level to ensure the uprights are perfectly plumb.
Step 2: Lag Bolt Installation
Pre-drill pilot holes using a 7/32-inch drill bit to prevent splitting the studs. Drive 3/8-inch x 3-inch structural lag screws through the rack's mounting brackets, through the drywall, and deep into the stud. Use a 1/2-inch impact driver for maximum torque. Place a 1-inch steel washer behind the bolt head to distribute the clamping force and prevent the bolt from pulling through the bracket's slot.
Step 3: Overhead Clearance Verification
With 95 inches of remaining ceiling height (after flooring), test your overhead press. The average lifter's lockout height is between 82 and 86 inches. If you are taller than 6-foot-2, you may need to perform strict military presses rather than push presses to avoid punching holes in your drywall ceiling.
Phase 4: Climate Control & Airflow
Basements are naturally cool due to their subterranean positioning. Small apartments, especially those with large windows or top-floor units, can easily exceed 85°F (29°C) during a heavy conditioning session. Poor airflow leads to premature fatigue and equipment rust from trapped humidity.
Callout: The Airflow Solution
Do not rely on a standard oscillating fan. You need high-velocity directional airflow. The Vornado 660 Large Whole Room Air Circulator (approx. $120) uses vortex technology to move air up to 100 feet, creating a continuous cycle that evaporates sweat and cools the room without taking up valuable floor space. Pair this with a smart dehumidifier set to 45% relative humidity to protect your knurled barbells from flash rust.
Troubleshooting Common Small-Space Failures
Even with meticulous planning, small-space gyms present unique edge cases. Here is how to solve the three most common installation failures:
- Failure Mode 1: Rack Wobble on Uneven Floors. Apartment floors are rarely perfectly level. If your folding rack wobbles during pull-ups, do not overtighten the bolts. Instead, use stainless steel shims or heavy-duty rubber washers under the base plate to level the bracket before final torquing.
- Failure Mode 2: Mirror Glare and Depth Perception. In a 10x10 room, placing a mirror directly opposite a window creates blinding glare during morning workouts. Install shatterproof acrylic mirrors on the side walls instead. This creates an optical illusion that doubles the room's perceived width without interfering with natural light.
- Failure Mode 3: Equipment Rust from Proximity to Exterior Walls. If your gym is in a small room with an exterior wall, thermal bridging in winter causes condensation to form on cold steel dumbbells. Keep all bare steel or lightly knurled equipment at least 12 inches away from exterior-facing walls and wipe down gear with a silicone-based protectant (like 3-IN-ONE) monthly.
Final Verdict: Maximizing the Micro-Gym
While searching for home gym ideas basement configurations might yield aesthetically pleasing, massive setups, a well-engineered apartment gym offers unparalleled convenience. By prioritizing acoustic decoupling, investing in space-saving modular equipment like folding racks and adjustable dumbbells, and executing a structurally sound installation, you can build a training facility that rivals any commercial gym—without ever leaving your apartment or angering your neighbors.
More gear to consider
All reviews
Force USA HG100 Home Gym Reviews: 2026 Apartment Setup Trends

Building a Beautiful Home Gym on a $500 Budget in 2026

How Much Weight You Need & Flooring Ideas for Home Gym Safety

Budget Mirror & Lighting Guide for Folding Home Gyms

Best Compact & Foldable Home Workout Gym Equipment 2026