
Amazon Basics Dumbbell Upgrade: Power vs Squat Rack Guide
Maxed out your Amazon Basics dumbbell set? Follow our step-by-step guide to choosing the right power rack, squat rack, or squat stand for your home gym.

The Dumbbell Plateau: Why You Need a Rack
Every home gym lifter knows the feeling: you have been making steady progress, but you have officially maxed out your Amazon Basics dumbbell set. Whether you are using the 50-pound adjustable spinlock handles or the fixed neoprene hex dumbbells, there comes a point where goblet squats and floor presses are no longer sufficient to trigger muscle growth. Your legs and chest are demanding heavier, more stable loads, which means it is time to transition to a barbell.
However, buying a barbell and weight plates is only half the battle. To safely perform heavy squats, bench presses, and overhead movements, you need a dedicated racking system. For beginners transitioning from dumbbells, the terminology can be overwhelming. What is the actual difference between a power rack, a squat rack, and a squat stand? According to Garage Gym Reviews' comprehensive power rack guide, choosing the wrong footprint or safety mechanism is one of the most common and costly mistakes new home gym owners make.
This step-by-step guide will walk you through the exact specifications, spatial requirements, and safety considerations to help you upgrade your setup in 2026.
Step 1: Decode the Rack Terminology
Before dropping hundreds of dollars on steel, you must understand the three primary categories of barbell racks. Each serves a distinct purpose and comes with unique structural limitations.
The Power Rack (Full Cage)
A power rack consists of four to six heavy-duty uprights connected by crossmembers, creating a fully enclosed 'cage.' Because you step inside the rack to lift, it offers the highest level of safety for solo lifters. Modern power racks, like the REP Fitness PR-4000 or the Rogue Monster series, utilize 3x3-inch 11-gauge steel and can support well over 1,000 pounds. They also feature extensive attachment ecosystems for lat pulldowns, dip bars, and cable crossovers.
The Half Rack (Squat Rack)
Often confused with squat stands, a true half rack features two main front uprights where the J-cups are mounted, supplemented by two rear uprights dedicated to weight plate storage. You lift in front of a half rack. The rear storage acts as a counterbalance, providing decent stability, though it still requires bolting down for heavy lateral movements. As noted in BarBend's expert testing on squat racks, half racks are ideal for lifters who want the attachment compatibility of a power rack but need to save a few inches of depth in their garage.
The Squat Stand
Squat stands are the most minimalist option. They consist of just two uprights (either entirely independent or connected by a single bottom crossmember). They are highly space-efficient and budget-friendly but come with severe weight capacity limitations and a higher tipping risk if not properly anchored. They are best suited for light-to-medium lifting or tight spaces where a full cage is physically impossible.
Step 2: Compare the Specs (2026 Market Data)
Use this comparison matrix to align your budget and spatial constraints with the right equipment class.
| Feature | Power Rack (Full Cage) | Half Rack | Squat Stand |
|---|---|---|---|
| Footprint (L x W) | 48' x 48' (Standard) | 48' x 36' | 48' x 24' |
| Weight Capacity | 1,000 - 1,500 lbs | 800 - 1,000 lbs | 500 - 850 lbs |
| Average Price Range | $600 - $1,200+ | $400 - $750 | $250 - $450 |
| Solo Lifting Safety | Excellent (Enclosed) | Good (If bolted) | Poor (High tip risk) |
| Attachment Ecosystem | Massive | Moderate | Minimal |
Step 3: Evaluate Your Space and Safety Constraints
When upgrading from an Amazon Basics dumbbell set, you are likely working within the confines of a spare bedroom, basement, or single-car garage. Space dictates your choice.
Ceiling Height vs. Upright Height
Standard residential ceilings are 8 feet (96 inches) high. If you buy a standard 90-inch power rack, you will not have enough clearance to mount J-cups on the highest holes or perform strict overhead presses. Actionable Advice: If your ceiling is exactly 8 feet, you must purchase a 'Short' rack (typically 84 inches tall). If you are over 6 feet tall, an 84-inch rack will require you to use the pull-up bar as your highest J-cup mounting point, which is suboptimal for tall lifters racking squats.
The Bolting Down Imperative
WARNING: The Tipping HazardNever use a squat stand or half rack on a carpeted or uneven surface without bolting it to the floor or using heavy rear band pegs as counterweights. A failed bench press where you dump the barbell forward onto the J-cups can generate enough kinetic energy to flip an unbolted squat stand directly onto your chest. According to Mayo Clinic's guidelines on weight training safety, utilizing proper spotting mechanisms and stable equipment is non-negotiable for injury prevention.
Step 4: Choose the Right Safety Spotter System
Your spotter arms are the only thing standing between a heavy squat and a crushed sternum. There are two primary types of safeties you will encounter:
- Pin Pipe Safeties: These are steel rods that slide through the uprights. They are incredibly strong and cheap, but they will destroy the knurling (the rough grip pattern) on your barbell if you drop a heavy weight onto them.
- Strap Safeties: Made from heavy-duty Dyneema or nylon webbing wrapped around steel pins. These are highly recommended for beginners and solo lifters. They catch the barbell softly, protecting your bar's knurling and reducing the jarring noise of metal-on-metal impact.
Pro-Tip: Always set your safety straps exactly one inch below the bottom of your squat depth. This allows you to fail a rep safely without having to collapse your spine to reach the straps.
Step 5: Plan Your Attachment Ecosystem
When you buy a rack, you are buying into a brand's ecosystem. The most critical specification to check is the hole spacing and sizing.
- Standard Spacing (2-inch): Found on budget racks. It makes fine-tuning your J-cup height for bench presses frustrating, as a 2-inch jump might be too high or too low for your arm length.
- Westside Spacing (1-inch): The gold standard for the bench press zone. It allows micro-adjustments to your J-cup height, ensuring your elbows are perfectly positioned when unracking.
- Hole Diameter: Most premium brands use 5/8-inch holes, while some heavy-duty commercial racks use 1-inch holes. Never assume attachments are cross-compatible between brands. A Titan Fitness attachment will rarely fit a Rogue rack without modification.
Final Verdict: Which Upgrade Path is Yours?
Use this decision framework to finalize your purchase based on your current lifting profile:
Path A: The Space-Constrained Beginner
Choose: Squat Stand (e.g., Rogue SML-1 or Fitness Reality X-Class) If you are strictly doing light squats and overhead presses, have a tiny apartment gym, and are on a strict sub-$300 budget, a squat stand works. Condition: You must use spotter arms and never bench press heavy without a human spotter.
Path B: The Functional Fitness Athlete
Choose: Half Rack (e.g., Titan T-3 Half Rack) If you do a lot of Olympic lifting, kettlebell swings, and wall balls, the open front of a half rack gives you the freedom to move dynamically while still offering rear weight storage to keep your garage organized.
Path C: The Serious Powerbuilder
Choose: Power Rack (e.g., REP Fitness PR-4000) If you are transitioning from dumbbells because you want to pursue serious hypertrophy or powerlifting, the power rack is the only logical choice. The enclosed cage allows for safe solo benching, heavy squats, and the addition of a lat pulldown attachment, effectively replacing your entire commercial gym membership.
The Bottom Line: Upgrading from an Amazon Basics dumbbell set to a barbell and rack is the single best investment you can make for long-term strength progression. Measure your ceiling, verify the steel gauge (11-gauge minimum), and invest in strap safeties. Your future self will thank you when you are safely squatting double your body weight in the comfort of your own home.
More gear to consider
All reviews
Olympic Barbell Weight & Knurling: Standing Dumbbell Upright Row Guide
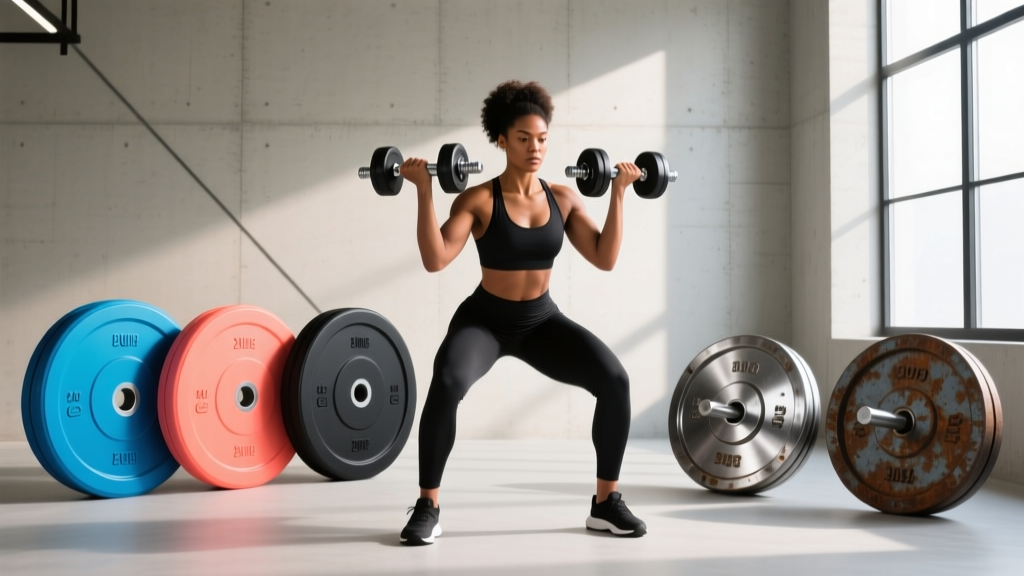
Bumper vs Iron Plates: 2026 Trends & The Woman Lifting Dumbbells Boom
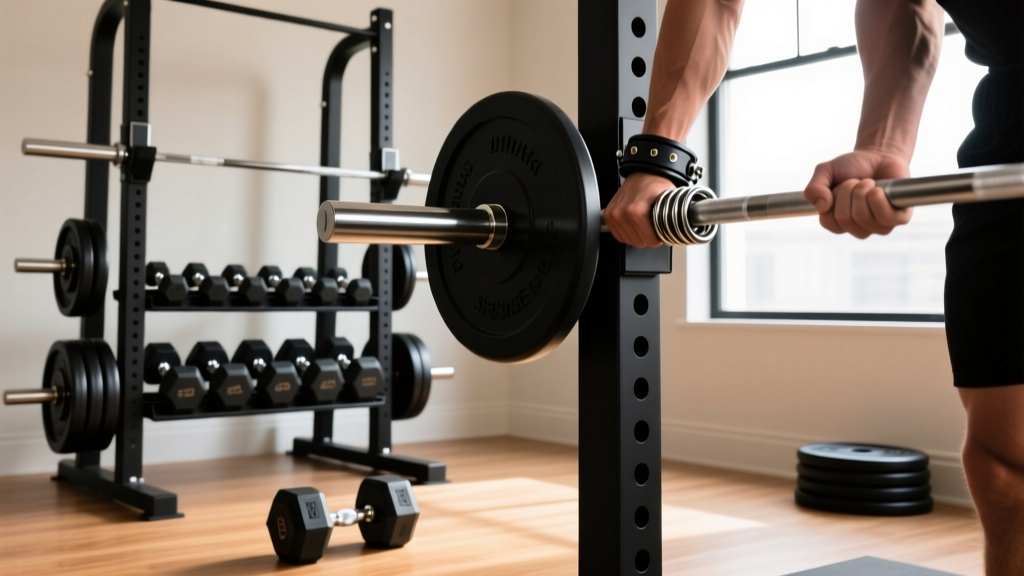
Barbell Collar Types Comparison & Dumbbell Shoulder Row

Setup Guide: Dumbbell Exercises for Forearms Using Adjustable Weights

Top Adjustable Dumbbells 2026 & One Dumbbell Bicep Workout Guide
