2026 Adjustable Dumbbell Review: Setup for Flat Dumbbell Flyes
Master your flat dumbbell flyes setup. Our 2026 adjustable dumbbell comparison and bench installation walkthrough ensures max ROM and joint safety.

The Biomechanical Demands of Flat Dumbbell Flyes
Setting up a dedicated station for flat dumbbell flyes requires a fundamental understanding of the movement's biomechanics. Unlike the bench press, which relies on triceps assistance and shorter moment arms, the flye isolates the pectoralis major through extreme horizontal abduction. According to exercise mechanics cataloged by ExRx.net, the sternal pectoral flye places maximum tensile stress on the chest musculature at the bottom of the eccentric phase. This means your equipment must support an uninterrupted range of motion (ROM) while maintaining absolute lateral stability.
When integrating adjustable dumbbells into this setup, the physical dimensions of the weight blocks, handle thickness, and locking mechanisms become critical variables. A poorly chosen adjustable dumbbell will physically collide with the floor or the opposite dumbbell before your chest achieves a full stretch, effectively robbing you of the most hypertrophic portion of the lift. Furthermore, improper bench installation and spatial planning can lead to catastrophic joint failure. This walkthrough covers the exact 2026 specifications, installation protocols, and gear comparisons required to build the ultimate flat flye station.
2026 Adjustable Dumbbell Matrix: Flye-Specific Performance
Not all adjustable dumbbells are created equal, especially when subjected to the lateral torque and wide-clearance demands of the flat dumbbell flye. Below is our 2026 comparison matrix focusing specifically on how the top models perform during this isolation movement.
| Model (2026) | Overall Length | Handle Profile | Flye ROM Interference | Lateral Drop Safety | Avg. Price |
|---|---|---|---|---|---|
| Nuobell 80lb | 14.0" | 1.38" Knurled | Low (Centralized weight) | Poor (Dial shear risk) | $429 |
| Bowflex SelectTech 552 | 14.5" | 1.1" - 1.4" Variable | High (Plate clack at bottom) | Poor (Plastic tab shear) | $399 |
| Ironmaster Quick-Lock V2 | 12.5" | 1.35" Standard | None (True Hex footprint) | Excellent (Solid steel) | $349 |
| PowerBlock Elite | 12.0" | Cage Enclosure | Severe (Wrist block/cage hit) | Moderate | $329 |
Deep Dive: Why the Ironmaster V2 Wins for Flyes
For flat dumbbell flyes, the Ironmaster Quick-Lock V2 is the undisputed champion of the adjustable category. At just 12.5 inches long with a compact, square-drop weight footprint, it perfectly mimics a standard commercial hex dumbbell. When you descend into the bottom of a flye, the Ironmaster bells will not prematurely strike the floor or clack together at the top of the arc. The trade-off is the manual screw-on locking mechanism, which takes roughly 15 seconds per dumbbell to adjust. However, for isolation movements where you are executing strict, timed eccentrics rather than rapid drop-sets, the mechanical integrity and true-to-life balance of the Ironmaster far outweigh the dial-adjustable alternatives.
⚠️ Critical Warning on Dial-Adjustables: If you must use Nuobells or Bowflex for flyes, never drop them laterally. The internal locking dials and plastic retaining tabs are designed for vertical impact resistance. Dropping a 60lb Nuobell from the 3-foot height of a flat bench onto its side will instantly snap the adjustment dial, rendering the $429 unit useless.Spatial Planning and Clearance Calculations
Before assembling your bench, you must calculate the spatial footprint required for safe flat dumbbell flyes. The average adult male armspan is roughly 70 inches. Add the length of two 14-inch dumbbells, and your maximum wingspan at the bottom of the eccentric phase approaches 98 inches (over 8 feet).
- Minimum Width Requirement: 10 feet (120 inches) of clear lateral space to prevent knuckle strikes against walls or power rack uprights.
- Minimum Length Requirement: 6 feet to accommodate the bench, the head-clearance, and the entry/exit path.
- Vertical Clearance: Standard 8-foot ceilings are sufficient, but ensure no overhead lighting or exposed joists sit directly above the bench apex.
Step-by-Step Bench and Flooring Installation
Proper scapular retraction is vital to prevent anterior shoulder impingement, a common pathology detailed in StatPearls' clinical review of shoulder impingement. Your bench setup directly dictates your ability to maintain a safe, retracted scapular position under heavy lateral loads.
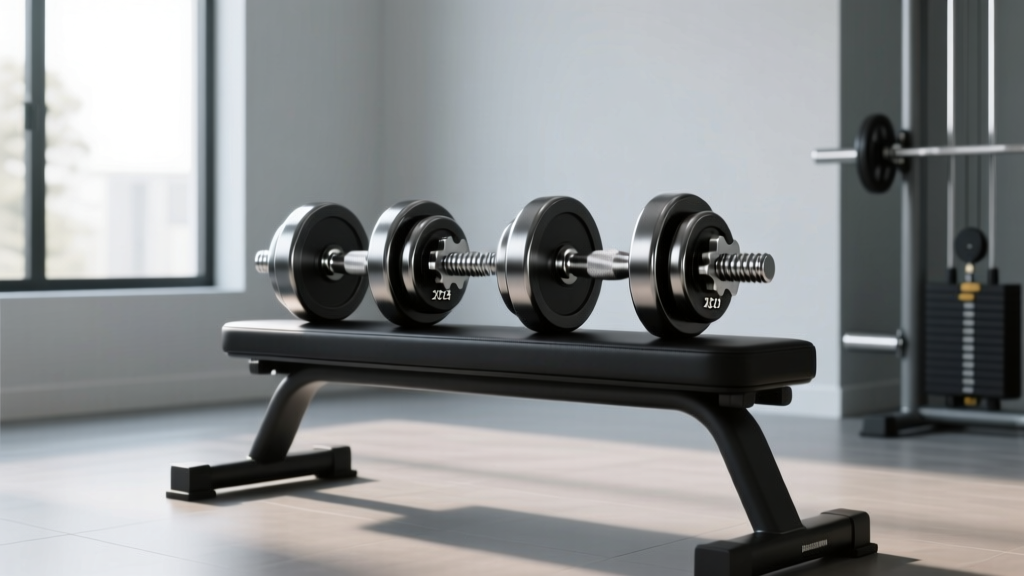
- Install the Subfloor Matting: Do not use interlocking foam tiles. The lateral heel-drive required to stabilize your torso during heavy flyes will cause interlocking tiles to separate. Install 3/4-inch thick, straight-cut vulcanized rubber horse stall mats. Cut them flush against the wall and secure the seams with heavy-duty double-sided carpet tape.
- Assemble the Flat Bench: Select a bench with a pad width of exactly 11 to 12 inches. Pads wider than 12 inches will physically block your elbows from achieving full horizontal abduction, severely limiting chest stretch. Pads narrower than 10 inches compromise thoracic stability.
- Torque the Lateral Braces: Using a socket wrench, tighten all rear and front support brackets to the manufacturer's torque specifications (usually 40-50 Nm). Test the bench by sitting on the edge and applying lateral downward force; any wobble will translate to micro-tremors in your rotator cuff at the bottom of a 70lb flye.
- Position the Dumbbell Rack: Place your dumbbell rack exactly 24 inches behind the head of the bench. Never place the rack on the lateral sides. When executing the 'thigh-kick' hoist to get heavy adjustable dumbbells into position, side-racks become severe tripping and impact hazards.
The Pickup and Hoist: Setup for the First Rep
Getting heavy adjustable dumbbells into the starting position for flat flyes is a setup phase that causes more injuries than the lift itself. Because adjustable dumbbells often have bulkier heads than fixed urethane bells, they rest awkwardly on the thighs.
The Modified Thigh-Kick Protocol
Sit on the edge of the bench with the dumbbells resting vertically on your quadriceps, just above the knee. As you roll backward onto the flat pad, drive one knee up aggressively to launch the first dumbbell into the air, catching it with a pronated grip while simultaneously pressing it to the centerline of your chest. Repeat immediately with the second leg. Never attempt to clean the dumbbells directly from the floor to the flye starting position; the awkward center of gravity in dial-adjustables will severely strain your biceps tendon.
Calibration and Maintenance for Lateral Loads
Adjustable dumbbells require specific maintenance routines to survive the lateral forces inherent to chest flyes. When you perform a flye, the weight plates are subjected to a shearing force pulling them away from the handle, unlike the compressive force experienced during a shoulder press.
Monthly Maintenance Checklist:
1. Track Cleaning: Use compressed air to blow out the internal tracks of dial-adjustables. Chalk dust accumulation causes the selector dials to slip, which can result in a mid-rep weight drop during the eccentric stretch.
2. O-Ring Lubrication: For screw-lock models like Ironmaster, apply a drop of silicone-based lubricant to the threading of the locking screws every 30 days to prevent cross-threading when your grip is fatigued.
3. Handle Degreasing: Wipe down knurled handles with a stiff nylon brush and isopropyl alcohol to maintain grip security without relying on lifting straps, which are highly discouraged for flyes due to the risk of wrist entanglement during a failed rep.
Final Thoughts on Your 2026 Flye Station
Optimizing your home gym for flat dumbbell flyes is an exercise in precision. By selecting a compact, true-to-form adjustable dumbbell like the Ironmaster V2, ensuring your bench pad width allows for full scapular retraction, and strictly enforcing lateral drop-zone safety protocols, you transform a notoriously risky isolation movement into a highly effective, joint-friendly hypertrophy tool. Take the time to measure your spatial clearances and install proper vulcanized flooring—your pectoral development and rotator cuff health will thank you for the meticulous setup.
More gear to consider
All reviews
Clear Floor Space for the Dumbbell Glute Bridge March: Rack Guide
How to Work Out Pecs With Dumbbells: Adjustable Review 2026

Dumbbell Bench Max Calculator & Plate Guide: Olympic vs Standard

Top Dumbbell Racks to Optimize Dumbbell Movements (2026)

Boxer Dumbbell Workout Setup: Adjustable Dumbbell Review