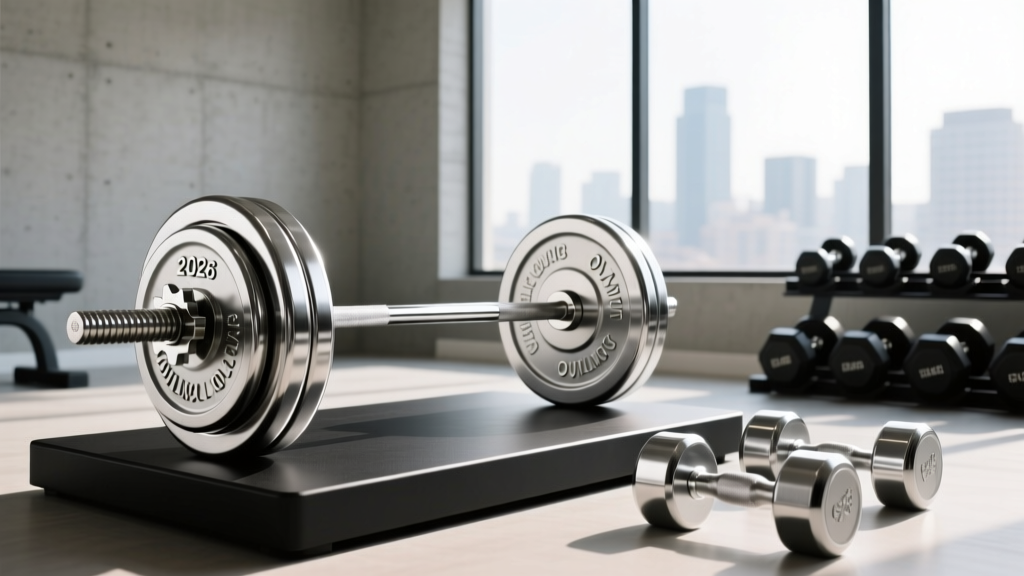
How to Add Weight: Dumbbells vs Power Rack vs Squat Rack vs Stand
Discover when to transition from dumbbells to barbells. Our step-by-step guide compares power racks, squat racks, and stands for your home gym.

Progressive overload is the undisputed engine of muscle growth and strength development. When you first begin your fitness journey, the easiest way to add weight, dumbbells are usually the go-to tool. They are accessible, require minimal setup, and help correct bilateral imbalances. However, as your leg and back muscles adapt, you will inevitably hit a biomechanical and logistical wall with free weights. Holding 120-pound dumbbells for a set of goblet squats or heavy lunges becomes a test of grip endurance rather than true lower-body strength.
According to a comprehensive meta-analysis published in the National Center for Biotechnology Information (NCBI), maximizing mechanical tension requires systematically increasing the load beyond what grip strength can support with isolated hand weights. This is the exact moment you must transition to barbell training. But stepping into the world of barbell racks can be overwhelming for beginners. This step-by-step guide will walk you through the critical differences between squat stands, squat racks, and power racks, ensuring you make the right investment for your home gym.
Beginner Pro-Tip: Do not rush the transition. If your current dumbbells allow you to comfortably hit 8-12 reps with perfect form and a full range of motion, stay the course. The moment your grip fails before your target muscles do, it is time to upgrade to a rack and barbell system.Step 1: Recognizing the Dumbbell Plateau
Before spending hundreds of dollars on steel equipment, verify that you actually need a rack. The 'dumbbell plateau' typically manifests in three specific ways:
- Grip Fatigue: Your hands and forearms give out during heavy dumbbell Romanian deadlifts (RDLs) or lunges before your hamstrings and glutes reach failure.
- Loading Logistics: You have maxed out the heaviest dumbbells at your local gym (often 100-120 lbs), or purchasing heavier adjustable dumbbells (like the Nuobell 80s or PowerBlock Elite USA) no longer provides enough incremental resistance for compound lifts.
- Spinal Compression Limits: Heavy single-leg work is excellent, but to build absolute baseline strength in the posterior chain and quads, bilateral barbell squats and deadlifts are unparalleled.
Once you identify these bottlenecks, it is time to evaluate your floor space and choose your rack architecture.
Step 2: Decoding the Hardware (Stands vs. Racks)
The terminology in the fitness industry is often used interchangeably, but structurally, there are three distinct categories of barbell housing. Understanding these is critical for safety and budget.
1. Squat Stands (The Minimalist Approach)
Squat stands consist of two independent uprights. They are incredibly popular for garage gyms with limited square footage. Models like the Titan T-3 Series Short Squat Stand or the Rep Fitness SR-4000 offer heavy-duty 11-gauge steel construction while taking up less than 10 square feet of floor space.
Warning: Because they lack a rear crossmember, squat stands are prone to tipping forward if you fail to re-rack the barbell properly or if you use them on uneven flooring without bolting them down.
2. Squat Racks (The Open-Concept Hybrid)
A squat rack (sometimes called a half-rack) features four uprights but leaves the front open. The rear uprights are connected by a crossmember, providing immense stability. The Rogue SML-2C Monster Lite Squat Stand (which bridges the gap between a stand and a half-rack with its rear stabilizer) and the Bells of Steel Residential Half Rack are prime examples. They allow you to step inside the rack to squat safely while keeping the front open for easy barbell loading and bench pressing.
3. Power Racks (The Ultimate Enclosure)
Power racks feature four or six uprights connected by a full perimeter of crossmembers, creating a steel cage. This is the gold standard for safety, especially if you train alone without a spotter. The REP Fitness PR-4000 and Rogue R-3 Power Rack allow for endless attachments, from lat pulldown systems to dip stations. They are heavy, expensive, and require significant ceiling clearance.
Step 3: The 2026 Comparison Matrix
Use the table below to map your specific needs against the physical and financial realities of each rack type.
| Feature | Squat Stands | Squat Racks (Half-Racks) | Power Racks |
|---|---|---|---|
| Average Footprint | 15 - 25 sq ft | 30 - 45 sq ft | 45 - 60+ sq ft |
| Typical Price Range | $250 - $450 | $400 - $800 | $500 - $1,500+ |
| Solo Training Safety | Low to Moderate (Requires spotter arms) | High (Integrated safeties) | Maximum (Full cage enclosure) |
| Attachment Ecosystem | Very Limited | Moderate to High | Extensive (Cable systems, rigs) |
| Best For... | Apartments, tight garages, strict budgets | Crossfitters, Olympic lifters needing drop space | Powerlifters, solo home gym owners, families |
Step 4: Measuring Space, Ceiling Height, and Hole Spacing
One of the most common beginner mistakes is purchasing an 90-inch tall power rack for a room with a standard 8-foot (96-inch) ceiling. While the rack will physically fit, you will not have the clearance required to perform pull-ups or use a lat pulldown attachment.
The Golden Rule of Clearance: Subtract 6 inches from your total ceiling height to determine your maximum upright height. If you have 8-foot ceilings, buy a rack with 82-inch or 72-inch uprights. If you have vaulted or 10-foot ceilings, you can safely opt for the 90-inch models.
Understanding Hole Spacing and Steel Gauge
When browsing spec sheets, you will encounter terms like '11-gauge steel' and 'Westside spacing.' Here is what you need to know:
- Steel Gauge: 11-gauge steel (approx. 3mm thick) is the industry standard for heavy-duty home gym equipment. Avoid 14-gauge or 16-gauge steel, which is often found in cheap, big-box-store racks that wobble under heavy loads.
- Hole Spacing: Standard spacing is 2 inches apart. 'Westside spacing' features 1-inch holes in the bench press and squat zone, allowing you to set your J-cups and safety spotter arms with pinpoint, micro-adjustable precision. This is highly recommended for lifters focusing on progressive overload in small increments.
Step 5: Prioritizing Safety Spotter Systems
According to exercise mechanics guidelines detailed by ExRx.net, failing a heavy barbell squat without proper safety mechanisms can result in catastrophic spinal or pelvic injury. When you transition from dumbbells—where you can simply drop the weights to the floor if you fail—a barbell traps you underneath it.
'Never train to absolute failure on a barbell squat or bench press without a spotter or mechanical safety arms. The central nervous system fatigue generated by a trapped barbell is vastly more dangerous than a missed repetition.'
You have two main choices for safety arms:
- Pin-Pipe Safeties: These are steel pipes that slide through the uprights. They are incredibly strong and can catch a dropped 500 lb barbell, but they can damage the knurling on your barbell and are notoriously difficult to adjust quickly between sets.
- Strap Safeties: Made from heavy-duty UHMW-lined nylon webbing, strap safeties are the preferred choice for modern home gyms. They protect your barbell's finish, allow for rapid height adjustments by simply pulling a pin, and provide a slight 'give' that absorbs the shock of a dropped bar.
Step 6: Budgeting Your 2026 Home Gym Upgrade
Transitioning from a dumbbell-only routine to a full barbell setup requires a holistic budget. Do not spend your entire budget on the rack and forget the implement that actually moves the weight.
Estimated Starter Budget (Realistic 2026 Pricing)
- Power Rack or Squat Stand: $350 - $600
- Olympic Barbell (20kg, 190k+ PSI Tensile Strength): $200 - $300 (Look for brands like Bells of Steel or REP Fitness)
- Bumper Plates (230 lbs / 100kg set): $350 - $500 (Approx. $1.50 - $2.20 per pound)
- Horse Stall Mats (Flooring): $50 - $60 per 4x6 ft mat (Essential for protecting your concrete slab)
- Adjustable FID Bench: $150 - $250
Total Estimated Investment: $1,100 to $1,710
Final Thoughts on Making the Leap
Knowing when to add weight past dumbbells is a milestone in every lifter's journey. While dumbbells will always hold a place in your programming for isolation work and unilateral balancing, a high-quality 11-gauge steel rack is the gateway to unlocking your true strength potential. Measure your space meticulously, prioritize safety spotter arms over aesthetic attachments, and invest in a barbell that will last a lifetime. By following this step-by-step framework, you will build a safe, efficient, and highly effective home gym that supports your progressive overload for decades to come.
For further reading on the physiological benefits of structured resistance training and joint health, refer to the Mayo Clinic's comprehensive guide on strength training.
More gear to consider
All reviews
Incline Dumbbell Press vs Bench Press: Urethane vs Rubber Hex Trends
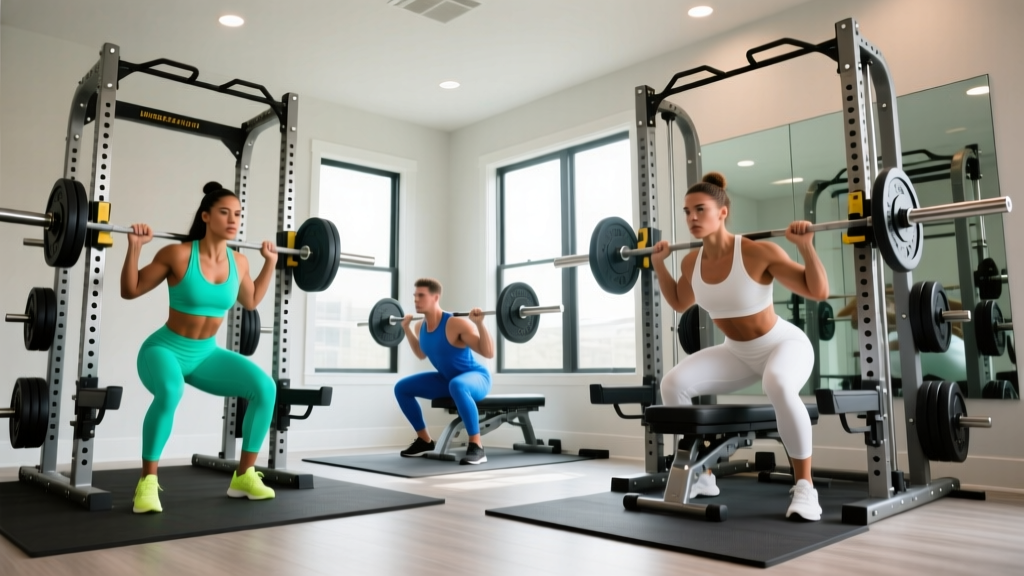
Dumbbell Walking Lunges Alternative: Power Rack vs Squat Rack vs Stand

Maintaining Beginner Dumbbells for Women: Rubber Hex vs Urethane

40kg Dumbbell Set Showdown: Best Neoprene Options for Home Use
Cast Iron vs Competition Kettlebells: Bulgarian Split Squats with Dumbbells