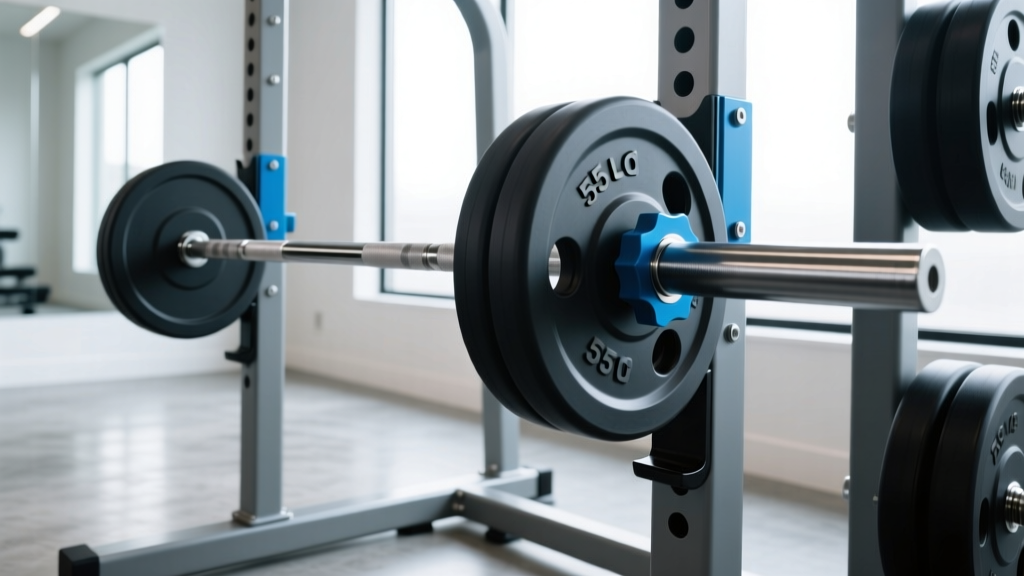
Home Gym Setup: 18 lb Dumbbells & Olympic Barbell Knurling Guide
Master your home gym installation. Learn how to transition from 18 lb dumbbells to selecting the right Olympic barbell weight and knurling for your rack.

Building a comprehensive home gym is a journey that often begins with lighter isolation work and evolves into heavy, compound barbell training. Whether you are rehabbing a shoulder with a pair of 18 lb dumbbells or loading up a 20kg Olympic barbell for a new one-rep max squat, your equipment setup and installation must be flawless. A poorly anchored rack or a misunderstood barbell knurl can lead to equipment failure, damaged floors, or torn calluses.
This complete setup and installation walkthrough will guide you through anchoring your power rack, selecting the correct Olympic barbell weight and tensile strength, decoding knurling profiles, and integrating an accessory zone for your lighter dumbbells.
Phase 1: Flooring and Rack Anchoring Installation
Before you even unbox your barbell, your foundation must be secure. Dropping a loaded Olympic barbell generates thousands of pounds of force. Standard interlocking foam tiles will compress and fail over time.
- Subfloor Protection: Lay down a vapor barrier if your gym is in a basement to prevent moisture from warping your mats.
- Impact Matting: Install 3/4-inch thick vulcanized rubber horse stall mats. A standard 4x6 foot mat weighs roughly 100 lbs and provides the necessary shock absorption for heavy drops.
- Rack Positioning: Position your power rack (e.g., Rogue SML-2C or Rep Fitness PR-5000 V3) so you have at least 24 inches of clearance on all sides for loading plates and performing dumbbell accessory work.
- Concrete Anchoring: If your rack features a bolt-down base, use 1/2-inch by 3-3/4-inch wedge anchors. Mark the holes, drill with a 1/2-inch carbide masonry bit to a depth of 4 inches, vacuum out the concrete dust (crucial for anchor grip), and torque the nuts to 60 ft-lbs.
Phase 2: Olympic Barbell Buying Guide — Weight & Tensile Strength
Transitioning from fixed-weight accessories to a barbell requires understanding the engineering of the shaft. As of 2026, the market is saturated with budget bars that bend permanently under heavy loads. The key metric to watch is tensile strength, measured in PSI (pounds per square inch). Anything below 165,000 PSI is prone to permanent deformation; aim for 190,000 PSI minimum, with 205,000+ PSI being the gold standard for powerlifting.
Weight Classes and Shaft Diameters
Olympic barbells generally fall into two primary weight and diameter categories, each serving a distinct biomechanical purpose:
| Specification | 15kg (Women's / WL Bar) | 20kg (Men's / Power Bar) |
|---|---|---|
| Total Weight | 15 kg (33 lbs) | 20 kg (44 lbs) |
| Shaft Diameter | 25mm | 28mm - 29mm |
| Tensile Strength | 190,000 - 215,000 PSI | 205,000 - 220,000 PSI |
| Whip (Flex) | High (Aids in clean & jerk) | Low / Stiff (Aids in squat stability) |
| 2026 Avg. Price Range | $250 - $800 | $295 - $450 |
For a versatile home gym, a 20kg, 29mm shaft power bar with bushing sleeves (like the Rogue Ohio Power Bar) offers the best balance of durability and grip. According to the Rogue Fitness Barbell Catalog, bushing systems are ideal for slow, heavy lifts like squats and bench presses, whereas needle bearings are reserved for dynamic Olympic weightlifting.
Phase 3: Decoding Barbell Knurling Profiles
The knurl is the machined pattern on the shaft that provides grip. Choosing the wrong knurl can tear your hands during high-volume deadlifts or fail to provide enough friction during a heavy back squat. As detailed in BarBend's comprehensive knurl guide, there are three primary geometries you must understand:
1. Volcano Knurl
The volcano pattern features a rim with a crater in the middle. It provides an incredibly aggressive grip by creating hundreds of tiny edges that bite into the skin without being sharp enough to tear calluses. This is the premier choice for powerlifting and heavy deadlifts.
2. Mountain Knurl
Mountain knurling consists of sharp, pointed peaks. It is highly aggressive and often found on dedicated Olympic weightlifting bars or specialized deadlift bars. While it offers maximum grip, it can be punishing on the hands during high-rep hypertrophy work.
3. Hill Knurl
Hill knurling features rounded, flattened peaks. It is passive and smooth. While comfortable for front squats and high-rep bench pressing, it often requires excessive chalk use during heavy pulling movements to prevent the bar from slipping.
Center Knurl Consideration: If you plan on back squatting, a center knurl is vital for keeping the bar from sliding down your traps. However, if you frequently perform deadlifts or cleans, a center knurl will scrape your shins and collarbone. Look for a bar with a 'passive' or 'light' center knurl to get the best of both worlds.Phase 4: Integrating the Accessory Zone (The 18 lb Dumbbell Setup)
A common mistake in home gym installations is dedicating 100% of the floor space to the barbell and rack, leaving no organized zone for isolation and rehab work. This is where your lighter implements, specifically 18 lb dumbbells, come into play.
Why 18 lbs? For the average intermediate lifter, an 18 lb dumbbell is the exact threshold weight required for effective rotator cuff external rotations, lateral raises, and tricep kickbacks. It is heavy enough to stimulate the stabilizing muscles but light enough to maintain strict form without momentum.
Installing Dumbbell Saddles and Trays
To keep your 18 lb dumbbells (and the rest of your set) accessible but off the floor, install rack-mounted dumbbell trays or vertical saddles.
- Vertical Saddles: Mount these on the outside of the uprights at waist height (roughly 40 inches from the floor). This allows you to grab your 18 lb dumbbells for a quick superset without bending over and risking a lower back tweak.
- Weight Storage Horns: Install 10-inch storage horns on the rear crossmembers to hold your bumper plates, keeping the center of gravity low and the rack stable.
By keeping your urethane-coated 18 lb dumbbells mounted directly on the rack, you create a seamless workflow: unrack the barbell for your heavy 5x5 squats, rack it, and immediately pivot to your mounted 18 lb dumbbells for Bulgarian split squats or shoulder prehab.
Phase 5: Long-Term Maintenance and Care
Installation is only day one. To ensure your Olympic barbell and rack survive decades of use, implement this monthly maintenance routine:
The Monthly Barbell Bath: Chalk, sweat, and dead skin will pack into your barbell's knurl, turning it into a smooth, slippery cylinder. Once a month, use a stiff nylon brush and a light solvent (like Simple Green or 3-in-One oil) to scrub the knurl. Wipe it down with a microfiber cloth. Never use a wire brush on a black oxide or zinc-coated bar, as it will strip the protective finish and invite rust.
Furthermore, if your barbell utilizes bronze bushings, apply a few drops of 3-in-One oil to the seam where the shaft meets the sleeve, and spin the sleeve to work the lubricant inside. This prevents the dreaded 'squeak' during bench presses and ensures smooth rotation.
For a deeper dive into matching your barbell to your specific lifting style, the Garage Gym Reviews Barbell Guide offers excellent visual breakdowns of sleeve construction and finish types. By properly anchoring your rack, respecting the engineering of your barbell, and intelligently integrating your lighter 18 lb dumbbells into the rack ecosystem, you build a home gym that is as safe as it is effective.
More gear to consider
All reviews
Top Dumbbell Racks for Your Home Dumbbell Workout Arms Routine

Power Rack vs Squat Rack vs Stand: Standing Dumbbell Overhead Press

Upgrade Your Leg Day Dumbbell Workout: Barbell Weight & Knurling Guide
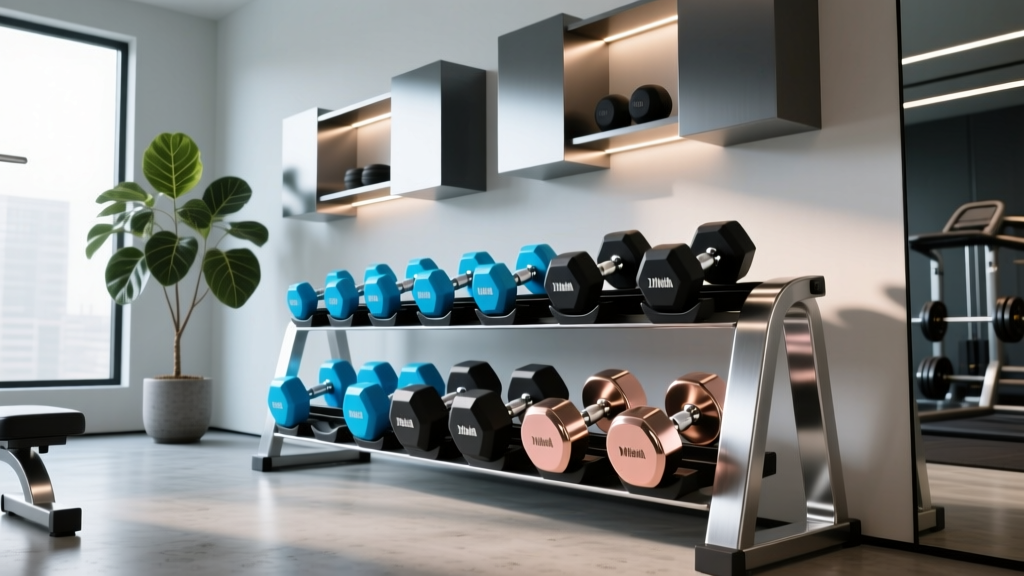
Optimize Your Dumbbell Schedule Workout: 2026 Rack & Storage Trends
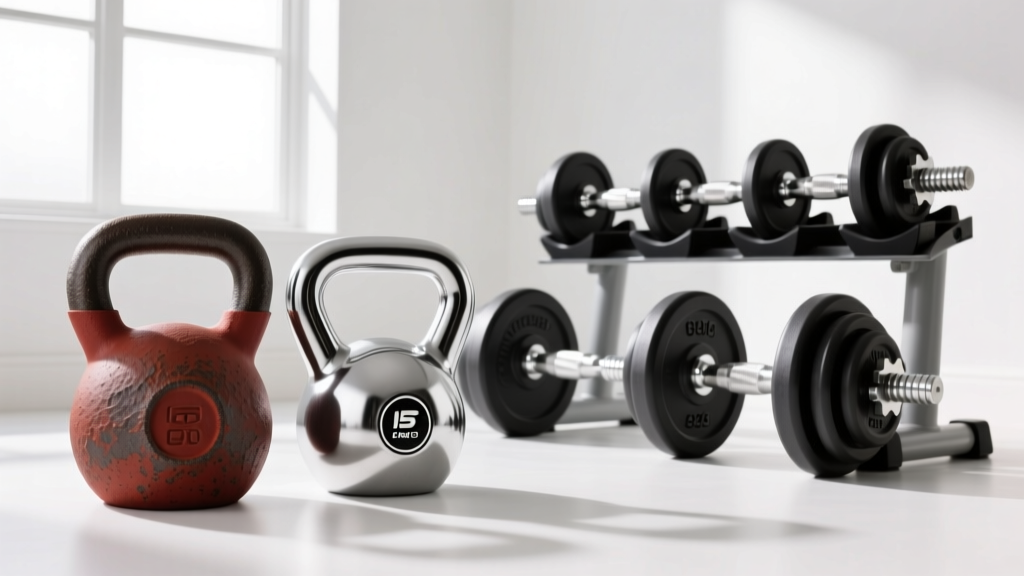
Cast Iron vs Competition Kettlebells & Dumbbell Bent Rows Value