
Step-by-Step Garage Storage for Sports Equipment in Small Spaces
Master small-space garage storage for sports equipment with our step-by-step guide. Learn exact layouts, load limits, and budget-friendly gear hacks.

The Small-Space Garage Dilemma
If you live in a home with a standard single-car garage (typically 12 feet by 20 feet, or roughly 240 square feet), you already know the spatial tetris required to park a vehicle while housing your athletic lifestyle. Effective garage storage for sports equipment isn't just about buying a few plastic bins; it is an exercise in volumetric engineering. When every square foot of floor space is contested between your car, your lawnmower, and your mountain bikes, you must look upward and outward.
This step-by-step guide is designed specifically for beginners tackling tight footprints. We will move beyond generic advice and provide exact measurements, specific product load limits, and structural installation protocols to help you reclaim your space safely and efficiently in 2026.
Phase 1: The Spatial Audit and Purge
Before purchasing a single track or shelf, you must understand your usable envelope. According to The Spruce's guide to decluttering and zoning, the most common failure point in garage organization is buying storage systems before defining the 'keep' pile.
Step 1: Map the Vertical Envelope
Grab a laser measure or a standard tape measure. You need three critical dimensions:
- Wall Length: Measure the uninterrupted wall space (subtracting garage doors, windows, and electrical panels).
- Stud Spacing: Use a magnetic or electronic stud finder to mark your wall studs. In most homes built after 1960, studs are spaced exactly 16 inches on-center (OC). In older homes, expect 24 inches OC.
- Ceiling Joist Clearance: Measure from the floor to the bottom of the ceiling joists. Standard clearance is 8 to 10 feet. You need at least 7 feet of clearance below any overhead rack to park a mid-size SUV safely.
Step 2: The 4-Pile Sort Method
Group your sports equipment into four distinct categories: Daily Use (gym bags, running shoes), Weekly Use (tennis rackets, golf clubs), Seasonal (snowboards, kayaks), and Sentimental/Obsolete. If you haven't used a piece of seasonal gear in three years, sell it. Small-space storage demands ruthless curation.
Phase 2: Installing the Track and Slatwall Backbone
For small spaces, pegboards are often insufficient for heavy sports gear like bowling balls, weighted medicine balls, or bulky helmets. Instead, you need a modular track or slatwall system. Wirecutter's extensive garage storage testing consistently highlights track systems for their superior weight distribution and ease of reconfiguration.
Step 3: Mount the Gladiator GearTrack
The Gladiator GearTrack (Model GAWC082PYY) remains a top-tier choice for tight spaces. Each 4-foot section costs approximately $25 and supports up to 75 pounds per linear foot when mounted directly into wall studs.
CRITICAL INSTALLATION WARNING: Never rely on drywall anchors for heavy sports equipment. A standard 1/4-inch plastic drywall anchor might hold 30 pounds in shear force, but the dynamic load of grabbing a heavy backpack or a rack of dumbbells will rip it out. Always drive 2.5-inch #10 wood screws or 3-inch lag bolts directly into the center of the wooden studs.Installation Sequence:
- Locate and mark the studs using your stud finder.
- Hold the top track at 48 inches from the floor (optimal reach height for most adults).
- Use a 4-foot level to draw a perfectly horizontal line across the studs.
- Pre-drill 1/8-inch pilot holes into the studs to prevent the wood from splitting.
- Secure the track, then snap the lower track into place.
Phase 3: Overhead Utilization for Seasonal Gear
In a 240-square-foot garage, the ceiling is your most underutilized asset. Bulky, lightweight seasonal items like surfboards, snowshoes, and camping tents belong above your car.
Step 4: Deploy a Ceiling-Mounted Rack
The Fleximounts 4x8 Overhead Garage Storage Rack (Model GR48M) is a benchmark for small-space overhead storage. Priced around $189, it boasts a massive 600-pound weight capacity. However, installing it requires strict adherence to safety protocols.
According to Family Handyman's garage organization protocols, overhead racks must be lag-bolted into the ceiling joists, not just the drywall or the thin metal truss chords. If your garage has engineered roof trusses, the bottom chord is typically a 2x4 designed only to hold the weight of the drywall ceiling, not 600 pounds of kayaks. You must anchor into load-bearing structural members or install additional blocking.
Comparison Matrix: Small-Space Storage Systems
| System Type | Best For | Avg Cost (per 4ft) | Weight Limit | Installation Difficulty |
|---|---|---|---|---|
| Steel Track (e.g., Gladiator) | Heavy bags, tools, bikes | $25 - $35 | 75 lbs / linear ft | Moderate (Stud mounting) |
| PVC Slatwall (e.g., TrachTite) | Helmets, rackets, light gear | $60 - $80 | 50 lbs / linear ft | High (Many screws required) |
| Heavy-Duty Pegboard | Small accessories, carabiners | $15 - $20 | 20 lbs / linear ft | Easy (Requires furring strips) |
| Overhead Hoist (e.g., Harken) | Kayaks, SUPs, bicycles | $140 - $180 (Full kit) | 125 lbs (Pulley system) | High (Ceiling joist anchoring) |
Phase 4: Micro-Storage and Zoning
Once the heavy infrastructure is in place, you must zone the remaining space. Small spaces fail when small items are allowed to migrate. Create dedicated 'micro-zones' for specific sports.
Step 5: The Magnetic and Bin Strategy
For metal accessories like golf cleats, resistance band carabiners, and bicycle multi-tools, install a 24-inch magnetic tool strip (like the Husky 24-Inch Magnetic Tool Bar, ~$22) directly below your track system. This clears drawer space and keeps small metal items instantly visible.
For soft goods (swim goggles, knee sleeves, sweatbands), use clear, stackable polypropylene bins. Avoid opaque black bins; in a small garage, if you cannot see the contents at a glance, the bin becomes a black hole where equipment goes to die. Label the front edge, not the lid, using a label maker with 1-inch weather-resistant tape.
Edge Cases and Troubleshooting
Dealing with Unconditioned Spaces
Most garages lack HVAC. If you live in a high-humidity climate, storing carbon-fiber tennis rackets, composite hockey sticks, or high-end leather baseball gloves on an open slatwall is a recipe for warping and mold. For these sensitive items, invest in a sealed, weather-stripped cabinet like the Rubbermaid Resin Storage Cabinet (Model 1834103, ~$160). Place a few silica gel desiccant packs or a rechargeable mini-dehumidifier inside to protect your expensive gear from moisture damage.
The 'Drop Zone' Failure Mode
The most common reason small-space garage systems fail within six months is the creation of a 'drop zone'—a flat surface where mail, keys, and random sports gear accumulate. If you install a workbench or a folding table for gym maintenance (like lubing bike chains), enforce a strict 'clear surface' rule. If a flat surface exists in a small garage, clutter will find it. Opt for wall-mounted folding workbenches (like the Gladiator Premier Series Folding Workbench) that can be collapsed flat against the wall when not in use, physically removing the temptation to pile gear on top of them.
Final Thoughts on Small-Space Mastery
Reclaiming a small garage for your sports equipment requires a shift in mindset from horizontal sprawl to vertical density. By auditing your space, anchoring heavy track systems directly into studs, utilizing overhead joists for seasonal bulk, and zoning micro-accessories, you can transform a cramped 1-car garage into a highly functional athletic staging area. Stick to the load limits, respect your structural boundaries, and your gear will always be ready for the next workout.
More gear to consider
All reviews
Horizontal vs Vertical Barbell Rack & Bowflex Dumbbell Stand Without Media Rack

Beginner Guide: Setting Up Your Rep Dumbbell Stand & Storage Rack

Home Gym Storage Console: Plate Tree vs Rack (2026)
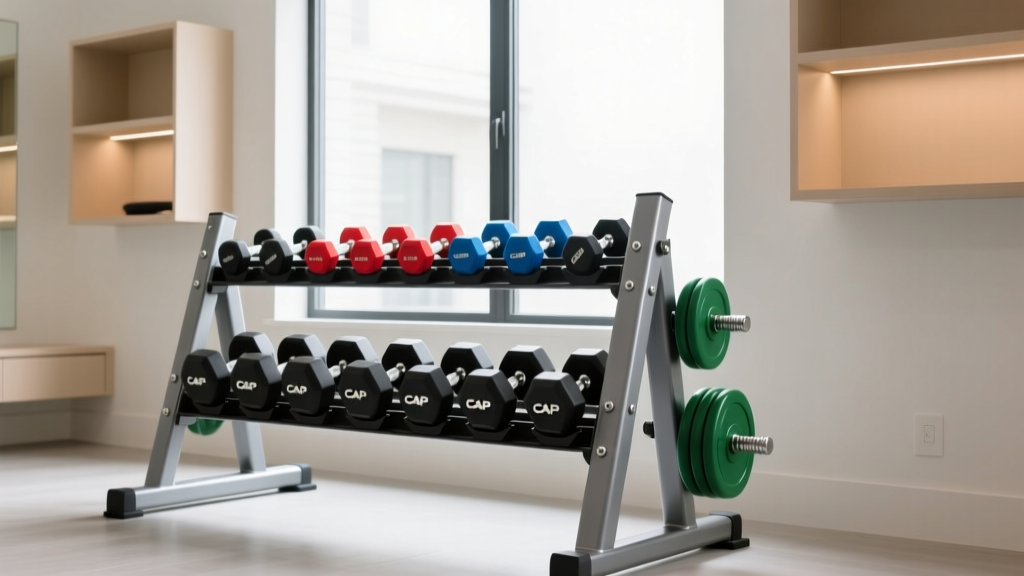
Cap Dumbbell Rack Troubleshooting: Fix Common Storage Mistakes

Marcy 3 Tier Dumbbell Rack for Kettlebell Storage: Full Setup
