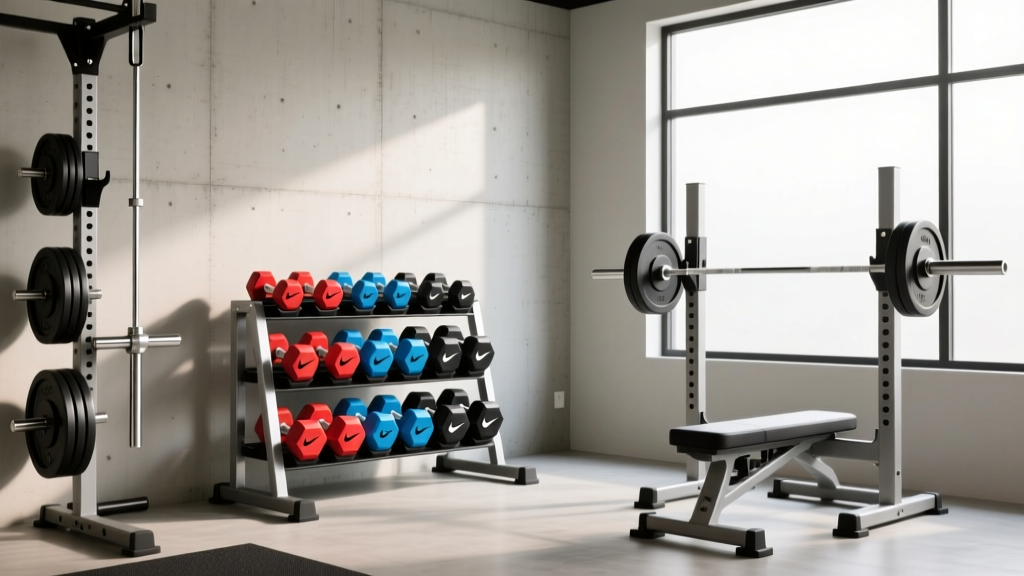
Beyond Basic Dumbbell Storage Ideas: Step-by-Step Kettlebell Rack Guide
Transitioning from makeshift dumbbell storage ideas? Follow our beginner-friendly, step-by-step guide to choosing and setting up the safest kettlebell racks.

The Limits of DIY Dumbbell Storage Ideas
When you first build a home gym, you likely rely on creative dumbbell storage ideas to keep your space organized. Bookshelves, DIY wooden crates, or simply lining them up against a wall work fine for hex dumbbells. However, as your training evolves and you introduce kettlebells, those makeshift solutions quickly become hazardous. Unlike dumbbells, kettlebells have a spherical base and a concentrated center of mass. If placed on a flat shelf or an uneven surface, they can easily roll off, causing severe damage to your flooring, your equipment, or your feet.
Transitioning from basic dumbbell storage ideas to dedicated kettlebell storage solutions is a critical step for any beginner looking to build a safe, functional, and long-lasting home gym. This step-by-step guide will walk you through auditing your space, selecting the right rack architecture, evaluating specific 2026 market models, and safely assembling your setup.
Step 1: Audit Your Kettlebell Collection and Space
Before buying a rack, you must understand the physical dimensions of your equipment. Kettlebells generally fall into two categories, and their storage requirements differ vastly:
- Cast Iron Bells: These vary in physical size based on weight. A 12kg bell is significantly smaller than a 32kg bell. You need a rack with adjustable or universally wide spacing to accommodate the growing footprint of heavier bells.
- Competition Bells: These maintain the exact same physical dimensions (typically 210mm wide by 280mm tall) regardless of weight. They require uniform spacing but demand high weight capacity, as you can pack dense mass into a small area.
Step 2: Select the Right Rack Architecture
Not all kettlebell racks are created equal. The right choice depends on your current collection size and future expansion plans. Below is a comparison of the three primary storage architectures available on the market.
| Rack Type | Best For | Footprint | Weight Capacity | Avg. Price Range |
|---|---|---|---|---|
| 3-Tier A-Frame | Large collections (12-18 bells) | ~30' W x 24' D | 400 - 600 lbs | $150 - $250 |
| Single-Tier Low Rack | Heavy competition bells (3-5 bells) | ~36' W x 18' D | 300 - 500 lbs | $90 - $140 |
| Wall-Mounted Shelves | Small spaces, light bells only | Varies (0 sq ft floor) | 100 - 150 lbs max | $60 - $120 |
For most beginners transitioning from standard dumbbell storage ideas, the 3-Tier A-Frame is the most versatile. It keeps lighter bells at eye level and heavier bells near the base, optimizing the center of gravity and reducing the risk of the rack tipping forward during unloading.
Step 3: Evaluate the Top Kettlebell Racks on the Market
Based on current structural testing and expert reviews from sources like BarBend's comprehensive rack testing and Garage Gym Reviews, here are the top three models that offer the best balance of price, durability, and safety.
1. Rogue Fitness 3-Tier Kettlebell Rack
Constructed from 11-gauge steel, the Rogue 3-Tier rack is the gold standard for home gyms. It features laser-cut UHMW plastic inserts on the shelves to protect the coating on your kettlebells from scratching. Priced around $195, it holds up to 18 standard cast-iron bells. The 11-gauge uprights eliminate the lateral sway found in cheaper models when you drop a heavy bell onto the bottom tier.
2. Titan Fitness 3-Tier Kettlebell Storage Rack
Coming in at a more budget-friendly $149.99, Titan's offering uses 14-gauge steel. While slightly thinner than Rogue's, Titan reinforces the base with wider gusset plates. It is an excellent entry-level option, though users should be aware of the edge case: loading more than three 32kg bells on a single tier can cause minor deflection in the 14-gauge crossbars over time.
3. Rep Fitness Kettlebell Rack
Priced at approximately $169, Rep Fitness offers a unique hybrid design with a slightly angled backrest, which prevents smaller competition bells from vibrating off the shelf during nearby heavy deadlifts. According to Rogue Fitness official specifications and comparable industry benchmarks, angled designs reduce accidental roll-offs by up to 40% in high-vibration gym environments.
Step 4: Safe Assembly and Floor Protection
Buying the right rack is only half the battle. Improper assembly and inadequate flooring are the leading causes of home gym equipment failure. Follow this exact sequence to secure your storage solution.
- Prepare the Subfloor: Never place a loaded kettlebell rack directly on bare concrete, vinyl plank, or hardwood. The point-load pressure of a rack leg supporting 200 lbs of iron will crack tiles and dent wood. You must use a minimum of 3/4-inch (19mm) thick vulcanized rubber horse stall mats or high-density gym tiles.
- Hardware Sorting: Lay out all M8 and M10 bolts. Budget racks often ship with low-grade zinc-plated hardware. Upgrade to Grade 8 or stainless steel hex bolts from your local hardware store for an extra $15 to prevent shearing under dynamic loads.
- Torque Specifications: When tightening the base gussets, do not use an impact driver on the highest setting, which can strip the threads on welded nuts. Use a torque wrench set to approximately 25 Nm (Newton-meters) for M8 bolts and 40 Nm for M10 bolts to ensure a flush, secure fit without compromising the weld integrity.
- Load Bottom-Up: Always load the heaviest kettlebells (24kg and above) onto the bottom tier first. This lowers the rack's center of gravity.
CRITICAL SAFETY WARNING: Never place kettlebells heavier than 16kg on the top tier of a freestanding 3-tier rack. The leverage created by pulling a heavy bell from chest height can easily tip an unanchored rack forward, especially if the base is not perfectly level.
Step 5: Ongoing Maintenance and Edge Cases
Once your rack is assembled and loaded, it requires minimal but specific maintenance to ensure longevity. Every three months, inspect the welds at the base of the uprights. If you notice any hairline fractures or rust blooming from the joints, immediately unload the rack and contact the manufacturer.
Additionally, if your home gym is located in a garage or basement with high humidity, the cast iron of your kettlebells and the steel of your rack are at risk of oxidation. Wipe down the rack's UHMW plastic inserts monthly, as they can trap moisture against the metal shelves. Applying a light coat of 3-in-One oil or a dedicated barbell rust-preventative spray to the steel shelves (not the plastic) will neutralize corrosion.
Conclusion: Elevate Your Home Gym Organization
Moving past improvised dumbbell storage ideas and investing in a purpose-built kettlebell rack is a hallmark of a mature, safety-conscious home gym. By understanding the architectural differences between rack types, selecting a model with the appropriate steel gauge, and adhering to strict assembly and flooring protocols, you protect both your investment and your physical well-being. A well-organized gym isn't just about aesthetics; it's about creating an environment where you can train with absolute focus and zero distractions.
More gear to consider
All reviews
DIY Storage: Homemade Dumbbell Rack & Resistance Band Care

Matrix Dumbbell Rack & Barbell Storage: Horizontal vs Vertical Care

How To Match Therapy With Science: Evidence-Based Design Strategies for Home Gym Recovery Spaces

Home Gym Weight Storage: Dumbbell Rack Setup & Installation Guide

Small Space Home Gym Storage Solutions: 2026 Head-to-Head Review