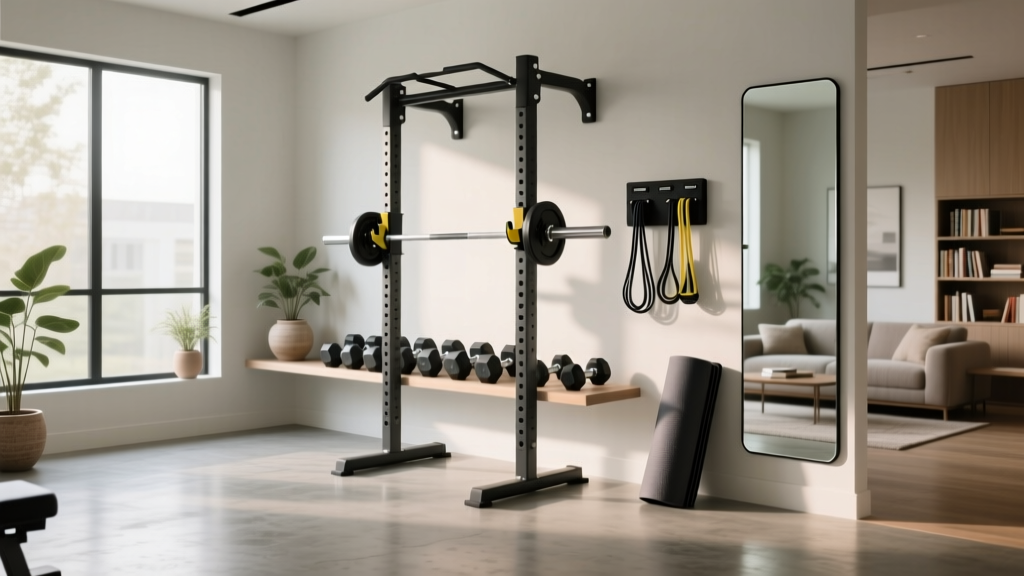
Welder Home Gym Maintenance: Longevity for DIY Strength Rigs
Learn how to maintain your custom welder home gym. Discover rust prevention, structural checks, and longevity tips for DIY strength training rigs.

Designing a custom strength training configuration for your garage or basement is a badge of honor for metalworkers and DIY enthusiasts. A true welder home gym—featuring custom-fabricated 3x3-inch uprights, DIY monolifts, welded plate storage, and bespoke pull-up rigs—offers unmatched personalization and cost savings compared to dropping $3,500 on a commercial Rogue or Prime Fitness rack. However, fabricating your own heavy-duty strength equipment shifts the burden of structural integrity and longevity directly onto your shoulders. Unlike factory-tested commercial gear, a DIY welded rig requires a strict, proactive maintenance protocol to handle the extreme eccentric and concentric loads of heavy powerlifting and strongman training.
In this comprehensive guide, we break down the exact maintenance care, structural inspection routines, and corrosion prevention strategies required to keep your custom-welded strength training gym safe, functional, and pristine for decades.
Structural Integrity and Weld Fatigue Inspection
When configuring a home gym for heavy strength training, your squat rack and spotting arms are the most critical safety components. If you are welding your own uprights and gussets using ASTM A500 Grade B or C steel tubing and ER70S-6 MIG wire, you must account for metal fatigue and dynamic loading. A 500-pound squat dropped onto DIY safety straps or welded spotter arms generates thousands of pounds of momentary shear force.
⚠️ Critical Safety Warning: Never rely solely on visual inspection for load-bearing welds. Micro-fractures and hydrogen-induced cracking often originate beneath the weld bead surface, particularly in the heat-affected zone (HAZ) of high-carbon steel attachments.To ensure your welder home gym remains structurally sound, implement a bi-annual Non-Destructive Testing (NDT) routine. You do not need industrial X-ray equipment; a standard Dye Penetrant Inspection (PT) kit (such as Magnaflux Spotcheck) costs under $40 and will reveal surface-breaking defects in your TIG or MIG welds. According to the American Welding Society (AWS), regular visual and penetrant testing of dynamically loaded structural joints is the industry standard for preventing catastrophic fatigue failures.
Key Inspection Points for Strength Rigs
- Gusset Plates: Check the interior corners where horizontal crossmembers meet vertical uprights. These areas experience the highest tensile stress during kipping pull-ups or heavy rack pulls.
- Spotter Arm Pivots: Inspect the weld collars that allow flip-down safety arms to rotate. Repeated impact from missed squats can cause micro-fractures in the collar welds.
- Base Plate Anchors: If your rig is welded to a floor plate rather than bolted, inspect the perimeter fillet welds for signs of lifting or concrete spalling.
Corrosion Defense: Coatings and Rust Remediation
Commercial gyms use baked-on powder coating or specialized finishes like Cerakote to prevent rust. In a DIY welder home gym, bare steel or improperly sealed welds will oxidize rapidly, especially in humid garage environments or basement setups with poor ventilation. Sweat is highly acidic and corrosive; a single heavy deadlift session where bare hands and sweaty shins contact bare steel can trigger flash rust within 48 hours.
| Coating Type | Application Cost | Maintenance Interval | Best Use Case |
|---|---|---|---|
| Professional Powder Coat | $300 - $600 (Full Rack) | 5+ Years | Complete rack uprights and static plate storage |
| Cerakote (C-Series) | $150 - $250 (DIY Kit) | 2-3 Years | Pull-up bars, J-cups, and high-contact grip areas |
| Bare Steel + Boeshield T-9 | $15 per can | Every 30-60 Days | Weight sleds, custom farmer's walk handles |
| Cold Galvanizing Compound | $20 per can | 1-2 Years | Hidden base plates and floor anchor brackets |
If you discover surface rust on your DIY attachments, do not simply paint over it. Use a chelating agent like Evapo-Rust to safely strip the oxidation down to bare metal without damaging the structural integrity of the steel. For ongoing protection on bare steel sleds or custom dumbbells, apply a coat of Fluid Film or Boeshield T-9. These lanolin and wax-based lubricants displace moisture and create a self-healing barrier that outperforms standard WD-40, which evaporates and leaves steel vulnerable.
Fastener Torque and Hardware Longevity
A major vulnerability in any welder home gym configuration is the hardware used to assemble the modular components. The vibration from dropping bumper plates onto a welded platform or the dynamic shaking of a lat-pulldown attachment will slowly back out standard nuts and bolts. Over time, a loose 5/8-inch hitch pin or a vibrating crossmember bolt can lead to catastrophic racking failure.
"In DIY gym fabrication, the weld is only as strong as the hardware holding the modular pieces together. Upgrading to aircraft-grade fasteners and utilizing proper torque sequences is non-negotiable for heavy strength training setups."
The DIY Gym Fastener Upgrade Protocol
- Ditch Grade 5 Hardware: Replace all standard hardware store bolts with Grade 8 (SAE J429) or Class 10.9 (Metric) hex cap screws. These offer significantly higher tensile strength and shear resistance.
- Use Prevailing Torque Nuts: Swap standard hex nuts for nylon insert lock nuts (nylocs) or all-metal flex-top lock nuts for high-heat or high-vibration areas like pulley brackets.
- Apply Threadlocker: For semi-permanent attachments (e.g., bolted gussets or upright base plates), apply Loctite 242 (Blue). Avoid Loctite 271 (Red) unless you never intend to disassemble the rack, as it requires localized heat of 500°F to break the bond.
- Torque to Spec: According to Bolt Depot's fastener engineering guides, a dry 1/2"-13 Grade 8 bolt requires approximately 75 ft-lbs of torque, while a 5/8"-11 Grade 8 bolt requires roughly 150 ft-lbs. Use a calibrated torque wrench during initial assembly and re-check every six months.
Moving Parts: Pulleys, Bearings, and Sled Runners
If your strength training configuration includes a DIY cable crossover, lat tower, or a custom welded plate-loaded leg press, you have introduced moving mechanical parts into your welder home gym. These components require entirely different maintenance care than static steel frames.
For DIY cable machines utilizing steel pulleys and wire ropes, the primary failure mode is cable fraying at the crimp sleeves or pulley bearing seizure. Every 90 days, wipe down the 3/16-inch aircraft cables with a dry microfiber cloth to remove chalk and iron dust. Lubricate the pulley axle bearings with a PTFE-based synthetic grease like Super Lube Multi-Purpose Grease. Avoid petroleum-based greases, which attract abrasive gym chalk and form a grinding paste that will destroy nylon or sealed steel bearings over time.
For custom welded weight sleds, the runners take a massive amount of abuse on concrete or turf. If you weld bare steel runners, they will develop deep gouges that tear up indoor turf. Welders should cap the bottom of sled runners with UHMW (Ultra-High Molecular Weight) polyethylene strips. UHMW is self-lubricating, highly impact-resistant, and can be easily replaced with a countersink bit and flathead screws when it eventually wears down from asphalt friction.
Environmental Controls for Garage and Basement Gyms
The environment housing your welder home gym dictates your maintenance schedule. The Association for Materials Protection and Performance (AMPP) notes that atmospheric corrosion rates for carbon steel increase exponentially when relative humidity exceeds 60%, particularly in the presence of chlorides (from sweat) and sulfur compounds.
Managing the Microclimate
- Dehumidification: In basement gyms or unconditioned garages, run a commercial-grade dehumidifier to keep ambient humidity below 50%. This single step will double the lifespan of bare steel attachments and unprotected weld seams.
- Vapor Barriers: If your gym is built on a concrete slab, ensure the slab was sealed with an epoxy or polyurea coating. Unsealed concrete wicks ground moisture upward, creating a localized high-humidity zone that will rust the bottom 6 inches of your welded uprights and base plates.
- Sacrificial Anodes: For enclosed storage cabinets where you keep custom-welded dumbbells, EZ-curl bars, and specialty bars, toss in a few zinc or silica gel desiccant packs to absorb trapped moisture.
The 6-Month Welder Home Gym Maintenance Checklist
To systematize the longevity of your custom strength training rig, print and adhere this checklist to your gym wall. Perform these steps every January and July:
- [ ] Visual & PT Weld Check: Inspect all load-bearing gussets and spotter arm collars with a dye penetrant kit.
- [ ] Hardware Torque Audit: Use a torque wrench to verify all 1/2" and 5/8" Grade 8 structural bolts.
- [ ] Cable & Pulley Service: Wipe down wire ropes, inspect crimps for slippage, and apply PTFE grease to pulley axles.
- [ ] Corrosion Remediation: Treat any flash rust with Evapo-Rust and re-apply Boeshield T-9 or Fluid Film to bare steel contact points.
- [ ] UHMW Sled Check: Inspect sled runners and replace polyethylene caps if steel core is exposed.
A welder home gym is a testament to craftsmanship, self-reliance, and a deep understanding of strength training biomechanics. By treating your DIY rig with the same rigorous maintenance standards applied to professional structural steel and heavy machinery, your custom configuration will safely support your heaviest lifts for a lifetime.
More gear to consider
All reviews
Floor Plan Guide & Marcy Home Gym Workout Routine for Beginners

Weider Pro 4900 Home Gym: Complete Setup & Floor Plan

Electrical Safety Mistakes in Your Home Gym Floor Plan Design
Building a Weirder Home Gym: The $500 Budget Breakdown

Zara Home Gym Setup: Aesthetic Floor Plans & Expert Gear Picks