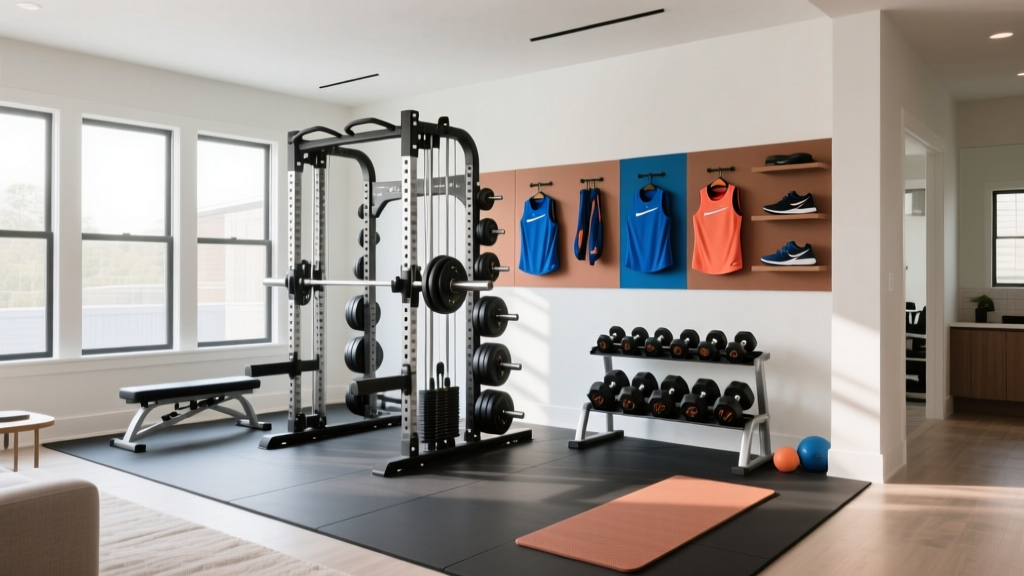
Strength Gym Walkthrough: Layout & Home Gym Colors Ideas
Master your strength training setup with our complete installation walkthrough, featuring spatial layouts, flooring specs, and strategic home gym colors ideas.

The Architecture of Iron: Designing a High-Performance Strength Environment
Building a dedicated strength training facility in your home is a meticulous process that bridges structural engineering, biomechanics, and environmental psychology. Unlike a general fitness space designed for light cardio or yoga, a heavy-duty strength gym must withstand immense kinetic force, accommodate specific barbell paths, and mentally prime your central nervous system (CNS) for maximal output. According to facility design principles endorsed by the National Strength and Conditioning Association (NSCA), the physical environment directly correlates with lifter safety, focus, and force production.
In this complete setup and installation walkthrough, we will break down the exact spatial configurations, heavy-duty flooring installations, and strategic home gym colors ideas required to build an elite-level strength training environment in a standard two-car garage or basement.
Phase 1: Dimensional Layout and Equipment Clearances
The most common failure mode in home gym planning is underestimating the spatial footprint required for loading plates and executing dynamic movements. A standard power rack (such as the Rogue RM-6 Monster Rack) has a base footprint of 49 by 49 inches, but the operational footprint is significantly larger.
The 360-Degree Clearance Rule
- Plate Loading Zones: You need a minimum of 36 inches of clearance on both sides of the barbell to load and unload 45-pound bumper plates safely without straining your lower back at awkward angles.
- Spotter Arm Egress: Ensure at least 24 inches of clearance behind the rack so you can safely bail out of a failed squat or adjust safety straps without hitting a wall.
- Ceiling Height Metrics: The standard height for a pull-up bar on a commercial rack is 84 to 90 inches. If your ceiling is exactly 84 inches (7 feet), you will need to purchase a specialized short-roof rack or modify your pull-up mechanics to avoid cervical spine impact.
Never install glass mirrors directly behind a deadlift platform or inside a power rack. Under heavy loads (400+ lbs), Olympic bars exhibit 'whip' (elastic deformation). If a loaded barbell strikes a glass mirror during a heavy deadlift or clean, the resulting shatter creates a severe laceration hazard. Use shatterproof acrylic mirrors or place glass mirrors strictly on lateral walls.
Phase 2: Subfloor Preparation and Impact Flooring Installation
Dropping 500 pounds of iron generates thousands of pounds of peak impact force. Standard interlocking foam tiles will compress, bottom out, and transfer that kinetic energy directly into your concrete slab, eventually causing micro-fractures in the foundation or damaging the barbell sleeves.
Step-by-Step Flooring Installation
- Moisture Barrier: Concrete is porous and wicks moisture. Lay down a continuous sheet of 6-mil polyethylene plastic sheeting, overlapping seams by 6 inches and sealing them with moisture-resistant tape. This prevents mold growth under your rubber mats.
- The Impact Layer: Use 4x6 foot, 3/4-inch thick vulcanized rubber mats (often sold as horse stall mats). Vulcanized rubber is denser and more durable than crumb rubber, which tends to break apart under the sheer force of dropped bumper plates.
- Seam Management: Heavy deadlifts will cause mats to shift and separate over time, creating a tripping hazard. Use double-sided carpet tape specifically rated for rubber-to-concrete adhesion along all seams, or install a custom wooden border frame to lock the mats in place.
Phase 3: Strategic Home Gym Colors Ideas for CNS Arousal
When researching home gym colors ideas, most lifters default to sterile white or dungeon gray. However, color psychology plays a measurable role in CNS arousal, focus, and perceived exertion. The visual environment should be segmented based on the type of training occurring in that specific zone.
| Color Profile | Hex Code Example | Psychological Effect | Best Application Zone |
|---|---|---|---|
| Crimson / Rust Orange | #8B0000 / #CC5500 | Increases heart rate, triggers adrenaline, enhances explosive power output. | Deadlift platform, heavy squat rack accent walls. |
| Matte Charcoal / Black | #1C1C1C / #000000 | Reduces visual clutter, minimizes light glare, promotes deep tunnel-vision focus. | Ceiling, non-focal walls, equipment frames. |
| Slate Blue / Cool Gray | #4682B4 / #708090 | Lowers cortisol, promotes parasympathetic recovery, aids in mobility and stretching. | Warm-up area, mobility zone, sauna/recovery corner. |
Execution: The 'Tunnel Vision' Paint Strategy
For the ultimate strength training environment, paint the ceiling and the walls directly behind your power rack in a matte black (e.g., Sherwin-Williams Tricorn Black SW 6258). Matte finishes absorb light rather than reflecting it, which eliminates glare from overhead LEDs when you are lying on the bench press. Paint the lateral walls in a neutral, mid-tone gray to provide contrast for tracking your bar path on video recordings. Reserve high-arousal colors like deep red or orange strictly for the floor of your deadlift platform or the back wall of your pulling zone to trigger a psychological 'go' signal when you step onto the platform.
Phase 4: Illumination and Glare Mitigation
Lighting in a strength gym is not just about visibility; it is about safety and biomechanical tracking. Overhead lighting placed directly above a bench press will blind the lifter at the most critical point of the lift's lockout.
Lighting Specifications for Heavy Lifting
- Color Temperature: Opt for 4000K to 5000K (Daylight) LED fixtures. This spectrum mimics natural sunlight, keeping circadian rhythms aligned and preventing the lethargy associated with warm, yellow 2700K bulbs.
- Lumen Output: Aim for 50 to 75 lumens per square foot. For a 400-square-foot garage gym, you need roughly 20,000 to 30,000 total lumens.
- Fixture Placement: Install linear LED shop lights parallel to your lifting zones, not perpendicular. Ensure no light source is positioned directly over the apex of a bench press or squat path. Use frosted lenses to diffuse the light and eliminate harsh shadows that can distort depth perception during heavy cleans or snatches.
Phase 5: Airflow, Ventilation, and Thermal Regulation
High-output strength training sessions generate significant body heat and elevate indoor CO2 levels, which can lead to premature fatigue and dizziness during heavy Valsalva maneuvers. The Environmental Protection Agency (EPA) emphasizes that indoor air quality heavily relies on adequate mechanical ventilation, especially in sealed environments like modern garages or basements.
Calculating Your CFM Requirements
To properly ventilate a home gym, you need to calculate the required Cubic Feet per Minute (CFM) based on the room's volume. A general rule of thumb for active spaces is 6 to 8 air changes per hour (ACH).
Formula: (Room Length × Width × Height × ACH) / 60 = Required CFM
Example: A 20x20 foot garage with a 10-foot ceiling (4,000 cubic feet) requiring 6 ACH needs an exhaust fan rated for at least 400 CFM to maintain optimal oxygen levels and expel stale air.
Pair a high-CFM exhaust fan with a High-Volume Low-Speed (HVLS) ceiling fan or heavy-duty oscillating pedestal fans positioned at floor level. Floor-level fans are critical for strength gyms because they cool the lifter without blowing chalk dust into the air or disrupting the balance of the barbell during overhead presses.
Phase 6: Acoustic Dampening for Heavy Drops
If your strength gym is attached to your living space or situated in a residential neighborhood, mitigating low-frequency impact noise is essential. Low-frequency sound waves (like a 400lb deadlift hitting the floor) travel through concrete and structural joists, bypassing standard fiberglass insulation.
Decoupling the Platform
To build a truly silent deadlift platform, you must decouple the impact surface from the subfloor. Construct a raised platform using two layers of 3/4-inch CDX plywood, separated by a layer of 1/2-inch high-density acoustic foam or rubber underlayment. Top this with your 3/4-inch vulcanized rubber mats. This multi-layered sandwich absorbs the kinetic energy and converts it into negligible heat, drastically reducing the structural vibration that causes noise complaints. The American Council on Exercise (ACE) frequently highlights the importance of a distraction-free environment for maintaining mental acuity during complex, multi-joint lifts.
Final Walkthrough Checklist
Before loading your first barbell, run through this final installation audit:
- [ ] Rack Anchoring: Is the power rack bolted to the concrete using 3/8-inch wedge anchors, or adequately sandbagged if drilling is not permitted?
- [ ] Seam Integrity: Are all rubber flooring seams taped and locked to prevent shifting under lateral loads?
- [ ] Glare Check: Lie on the bench press and look up. Are there any direct LED hotspots in your field of vision?
- [ ] Color Zoning: Do your home gym colors ideas align with your training goals, utilizing matte blacks for focus and high-contrast accents for arousal?
- [ ] Ventilation Test: Run the exhaust fan and ensure negative pressure is pulling fresh air through your designated intake vents.
By treating your home gym configuration as a holistic integration of structural layout, material science, and environmental psychology, you create a space that doesn't just house your equipment—it actively enhances your physical performance.
More gear to consider
All reviews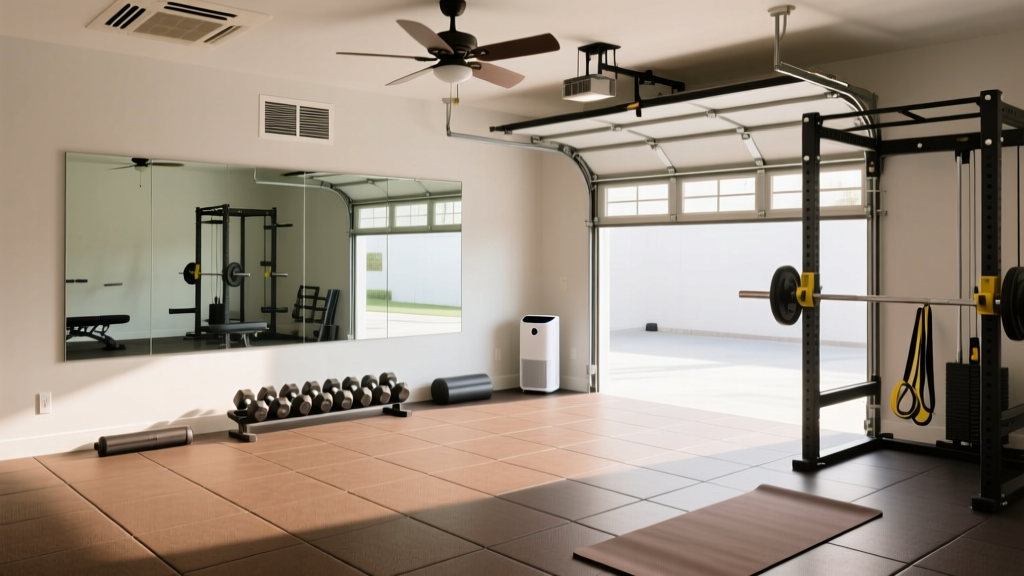
Garage Gym Setup: Flooring, Ventilation & Mirror Installation Service

Foldable Home Gym Equipment: Garage Flooring & Ventilation Mistakes

Apartment Mistakes: Major Fitness All In One Home Gym Power Rack PLM03
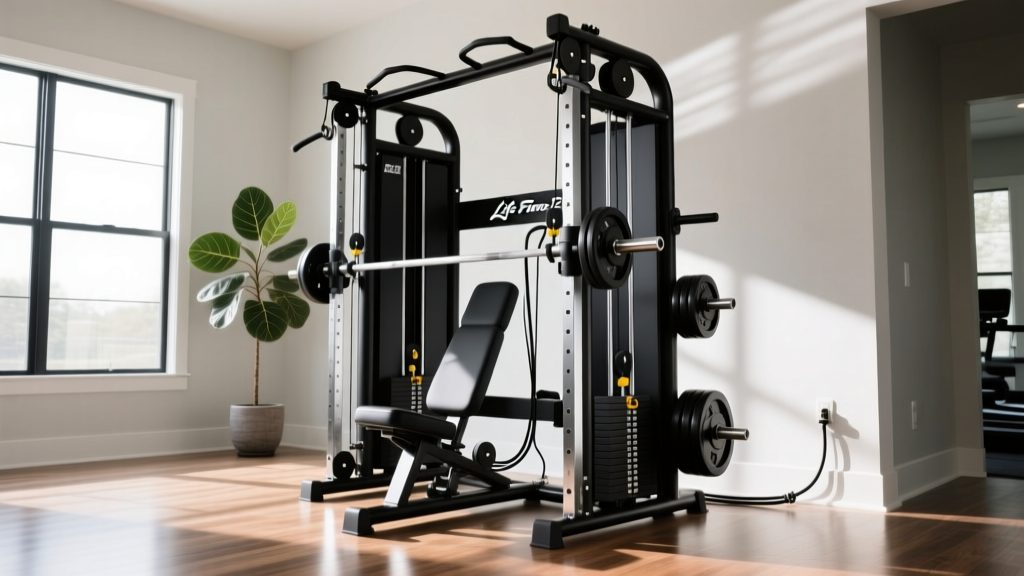
Life Fitness G2 Home Gym Setup: Electrical & Safety Mistakes
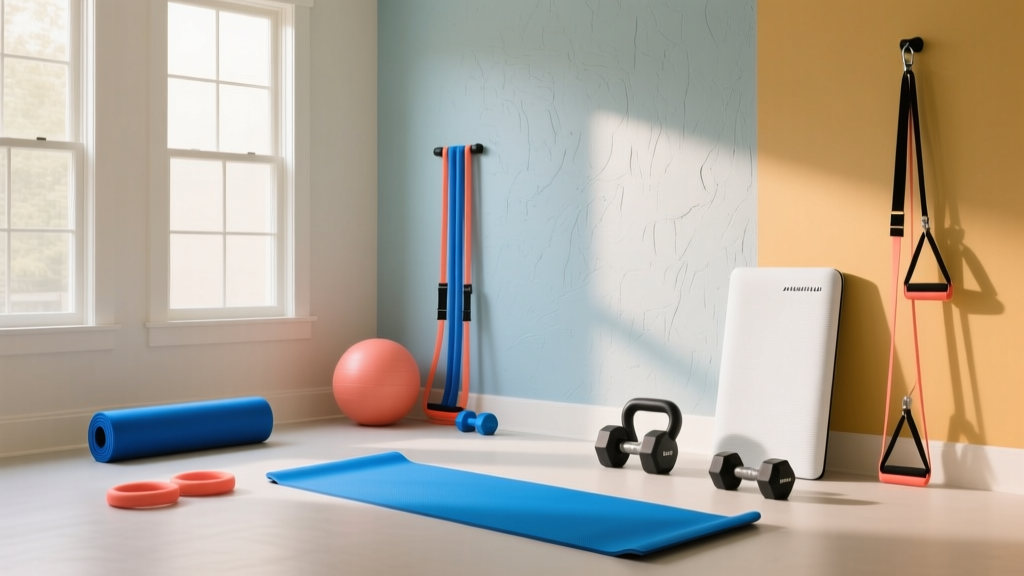
Best Home Gym Colors for Focus and Energy: Design Guide
