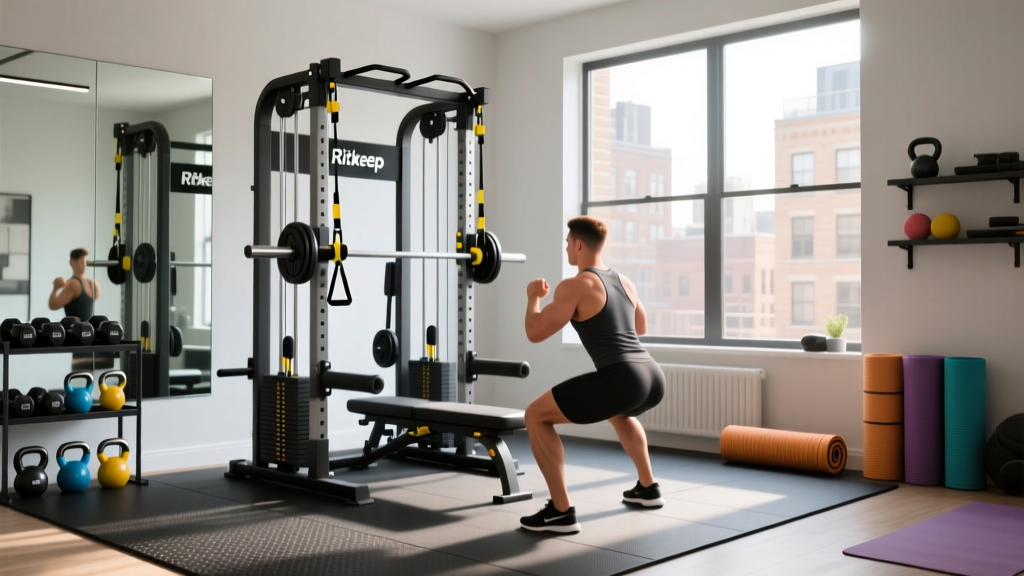
The Ultimate Ritkeep Home Gym Setup and Floor Plan Guide
Build your dream Ritkeep home gym with our step-by-step floor plan guide. Includes budget breakdowns, clearance math, and beginner layout tips.

Introduction: Why Build a Ritkeep Home Gym?
Building a home gym from scratch can feel overwhelming, especially when navigating the endless sea of fitness brands. For beginners looking to maximize their budget without sacrificing structural integrity, a Ritkeep home gym offers an exceptional entry point. As of 2026, supply chain normalizations have stabilized Ritkeep's pricing and shipping times, making their power racks, adjustable benches, and accessory ecosystems more accessible than ever. However, buying the equipment is only 20% of the battle. The remaining 80% relies on proper space assessment, flooring, and a strategic floor plan. This step-by-step guide will walk you through designing a complete, safe, and highly functional home gym layout using Ritkeep's core equipment lineup.
Step 1: The 10x10 Space Assessment & Barbell Math
Before you add a single item to your cart, you must measure your space. The most common beginner mistake is purchasing a 7-foot Olympic barbell for an 8-foot wide room. According to safety clearances recommended by the American Council on Exercise, you must account for the barbell length, the plates, and your physical movement space.
📏 The Golden Rule of Barbell Clearance:A standard Olympic barbell is 84 inches long. Standard 45-lb bumper plates add roughly 6 inches per side. This equals 96 inches (8 feet) of dead space just to hold the bar. To load plates and walk safely, you need a minimum clear width of 108 inches (9 feet). If your room is exactly 8 feet wide, you must use shorter specialty bars or dumbbells.
For this guide, we are designing a standard 10x10 foot spare room or garage corner. This 100-square-foot footprint is the gold standard for a beginner home gym, providing enough depth for a power rack, bench, and dumbbell storage while leaving a central lane for dynamic movements.
Step 2: Laying the Foundation (Flooring First)
Never place heavy iron directly on concrete, laminate, or carpet. Your flooring protects your subfloor, dampens acoustic vibration (keeping neighbors and family members happy), and provides a non-slip surface for heavy lifts.
- Avoid: Interlocking EVA foam puzzle mats. These compress under heavy loads like a Ritkeep power rack, causing the rack to wobble and creating an unstable base for squats.
- Buy: 3/4-inch thick vulcanized rubber horse stall mats (typically 4x6 feet). You will need four mats to cover a 10x10 space with a little overlap.
- Cost Expectation: Roughly $50 to $65 per mat at local agricultural supply stores, bringing your total flooring budget to around $220.
Pro Tip: Lay the mats down before assembling your rack. Use a utility knife and a straight edge to trim the mats so they fit flush against the walls, preventing chalk and dust from accumulating in the gaps.
Step 3: Selecting Your Core Ritkeep Equipment
Ritkeep is highly regarded in the budget-to-mid-tier market. When building your ecosystem, focus on the foundational pieces first.
The Power Rack: Managing 2x2 Upright Realities
The standard Ritkeep 72-inch Power Rack utilizes 2x2-inch steel uprights with a 1000 lb to 1200 lb weight capacity. This is more than sufficient for 95% of beginners. However, 2x2 uprights have a smaller footprint than premium 3x3 racks, making them prone to tipping during strict pull-ups or kipping movements if not secured.
The Fix: If you are drilling into concrete, use 3/8-inch wedge anchors to bolt the base plates down. If you are in a rented apartment or cannot drill, purchase the flat-foot base attachment and load two 40-lb sandbags onto the rear storage pegs to lower the center of gravity.
The FID Adjustable Bench
Ritkeep's Flat/Incline/Decline (FID) adjustable bench typically features a 550-lb capacity and a ladder-style incline adjustment. Edge Case Warning: Many budget FID benches have a noticeable gap between the seat and back pad when set to a flat or slight incline position. To mitigate this, keep a thin yoga mat strip nearby to wedge into the gap during heavy dumbbell presses, preventing your lower back from sinking into the void.
Step 4: The Optimal Floor Plan Layout
How you arrange your 10x10 space dictates your workflow. Below is the recommended floor plan matrix for a right-handed lifter utilizing a Ritkeep ecosystem.
| Zone | Equipment | Placement & Clearances | Est. 2026 Cost |
|---|---|---|---|
| Zone A (Anchor) | Ritkeep 72" Power Rack | Centered on the back wall. Leave 18" behind for plate loading. | $289 - $349 |
| Zone B (Core) | Ritkeep FID Bench & Barbell | Stored inside the rack. Pulled out to the center lane for use. | $139 (Bench) |
| Zone C (Storage) | Dumbbell Rack & Bumper Plates | Right wall. Keep heaviest plates on the bottom tier for stability. | $180 - $250 |
| Zone D (Dynamic) | Open Rubber Mat Space | Center-left. 4x6 foot clear area for kettlebells, stretching, and core. | N/A |
By keeping the power rack centered on the back wall rather than shoved into a corner, you ensure symmetrical plate loading and unloading. The 18-inch gap behind the rack is non-negotiable; without it, you will scrape your drywall every time you change weights.
Step 5: Environmental Controls & Safety
A garage or basement gym requires specific environmental adjustments to ensure longevity of your gear and safety for your body. The American College of Sports Medicine emphasizes that environmental stressors like poor air quality and inadequate lighting can significantly impair workout performance and increase injury risk.
Lighting and Ventilation
- Lighting: Overhead garage lights often cast harsh shadows when you are lying on a bench. Install 5000K (Daylight) LED shop lights. Aim for at least 300 lumens per square foot to eliminate shadows inside the power rack.
- Airflow: Basements and garages trap heat and humidity, which can cause your Ritkeep barbell sleeves and rack hardware to oxidize prematurely. Invest in a high-CFM (Cubic Feet per Minute) wall-mounted fan or a dehumidifier set to 45% humidity to protect your investment.
"Hardware maintenance is the most overlooked aspect of home gym ownership. Wipe down your barbell with a nylon brush and a light coat of 3-in-One oil once a month. Check the bolts on your Ritkeep rack every 90 days, as metal expansion and contraction from temperature shifts can loosen them over time."
Troubleshooting Common Beginner Mistakes
Even with a perfect floor plan, beginners often encounter operational hiccups. Here is how to solve the most common Ritkeep-specific issues:
- J-Cup Plastic Liner Wear: Ritkeep J-cups come with UHMW plastic liners to protect your barbell knurling. Over time, these can warp or crack. If you notice metal-on-metal scraping, order replacement 1-inch hole UHMW liners immediately to prevent damaging your barbell.
- Bench Wobble on Uneven Floors: Garage concrete is rarely perfectly level. If your adjustable bench rocks, do not use cardboard to shim it. Buy a set of adjustable rubber furniture leveling feet and screw them into the bench's base tubing (if pre-drilled) or use heavy-duty rubber shims designed for gym equipment.
- Pulley System Cable Fraying: If you add a Ritkeep lat pulldown attachment to your rack, inspect the nylon-coated aircraft cable every six months. Look for 'whiskering' (tiny wires poking through the nylon). Replace the cable at the first sign of fraying to avoid mid-set failures.
Final Thoughts on Your Setup
Designing a Ritkeep home gym is an exercise in smart spatial geometry and practical budgeting. By respecting the mathematics of barbell clearance, investing in proper 3/4-inch rubber flooring, and strategically mapping your 10x10 floor plan, you create a training environment that rivals commercial facilities. Take your time during the assembly phase, double-check every bolt, and enjoy the unparalleled convenience of stepping into your own private training sanctuary.
More gear to consider
All reviews
Home Gym Costs: Head-to-Head Budget Builds Under $500
Electrical Safety Mistakes With Home Gym Equipment for Beginners

Optimizing Space: Foldable Gyms & Home Gym Artwork

Beyond the Garage: Practical Space Alternatives for Home Gym Setup When Square Footage Is Limited

Ideal Home Gym Size and Shared Setup Guide for Couples
