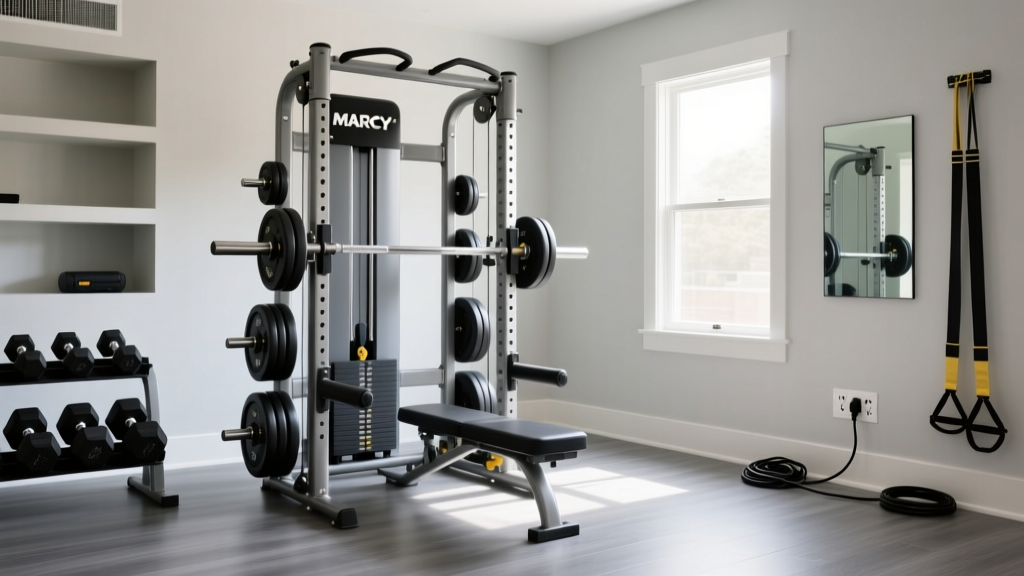
Complete Home Gym Setup & Floor Plan for Older Weider Models
Learn how to design a complete home gym floor plan around older Weider models. Step-by-step layout, clearance guides, and restoration tips.

Why Build Around an Older Weider Home Gym?
As of 2026, the home fitness market is saturated with high-tech smart mirrors and subscription-based cable machines that cost upwards of $3,000. Yet, for beginners and budget-conscious lifters, the secondary market offers an incredible loophole: vintage fitness equipment. When evaluating Weider home gym older models—such as the legendary Weider Pro 2000, the Weider 8500, or the classic Weider 1000 Power Tower—you are looking at heavy-gauge steel, mechanical simplicity, and zero monthly fees. Many of these machines can be found on local marketplaces or inherited from family members for under $200.
However, integrating a bulky, multi-station vintage machine into a modern space requires careful planning. Unlike compact adjustable dumbbells, an older Weider home gym demands a dedicated footprint, specific floor load management, and strategic zoning. This beginner-friendly, step-by-step guide will walk you through designing a complete home gym floor plan with an older Weider model as your centerpiece.
⚠️ Safety First: According to the American Council on Exercise (ACE), proper equipment clearance and structural flooring are the most common failure points in home gym setups. Never place heavy, static-load machines on second-floor residential spaces without verifying joist capacity with a contractor.Step 1: Measuring Your Vintage Weider’s True Footprint
The biggest mistake beginners make is measuring the physical steel frame and assuming that is the required floor space. You must account for the dynamic footprint—the space required for the weight stack to travel, the user’s body to extend, and the cables to pull at an angle.
Common Older Weider Model Dimensions
- Weider Pro 2000: 73" H x 41" W x 64" D (Base footprint: ~18 sq. ft.)
- Weider 8500: 81" H x 44" W x 68" D (Base footprint: ~21 sq. ft.)
- Weider 1000 / Power Towers: 82" H x 46" W x 70" D (Base footprint: ~22 sq. ft.)
Calculating the Clearance Zone
The National Strength and Conditioning Association (NSCA) recommends a minimum of 24 inches of clearance on all active sides of a resistance machine. For a Weider home gym, you need:
- Front Clearance: 36 inches (to accommodate leg extensions, seated presses, and the user's full height when standing for lat pulldowns).
- Side Clearance: 18 inches minimum on the side where the weight stack resides to allow for cable sway and maintenance access.
- Overhead Clearance: At least 84 inches (7 feet) to ensure the weight stack does not top out against low basement ceilings or garage door tracks.
Step 2: Drafting the Complete Home Gym Floor Plan
To build a complete home gym, the Weider machine cannot exist in a vacuum. It handles guided cable movements and basic presses, but you must supplement it with free weights and functional space. Below is a proven floor plan matrix for a standard 10x12 foot room (120 sq. ft.) or a two-car garage bay.
| Zone Name | Primary Equipment | Dimensions (L x W) | Purpose & Flow |
|---|---|---|---|
| Zone A: The Anchor | Older Weider Home Gym | 8 ft x 6 ft | Placed in the rear corner against a load-bearing wall. Anchors the room and hides cable mechanics from the main walkway. |
| Zone B: Free Weight & FID | Adjustable Bench, Dumbbell Rack | 6 ft x 4 ft | Positioned perpendicular to the Weider. Allows for flat/incline/decline (FID) dumbbell work that the Weider cannot perform. |
| Zone C: Functional Turf | Kettlebells, Yoga Mat, Plyo Box | 5 ft x 6 ft | Open central space for dynamic warm-ups, core work, and stretching. Must remain completely clear of machine swing paths. |
| Zone D: Storage & Utility | Wall-mounted racks, bands, foam rollers | Wall Perimeter | Utilizes vertical wall space above Zone B to keep the floor clear and maintain safe walking paths. |
Pro-Tip for Garage Gyms: If your older Weider model is in an unclimate-controlled garage, keep Zone A at least 12 inches away from the exterior walls to prevent condensation from rusting the weight stack guide rods during winter months.
Step 3: Flooring Solutions for Heavy Point Loads
Older Weider models are incredibly heavy. A Weider 8500 can weigh over 250 lbs on its own. Add a 210 lb weight stack and a 200 lb user, and you are generating over 650 lbs of downward force. This force is concentrated into four small steel feet, creating massive point loads.
The Wrong Way vs. The Right Way
Do not use cheap, interlocking EVA foam puzzle tiles. Under the point load of a vintage Weider, foam tiles will compress, degrade, and cause the machine to tilt, leading to uneven cable wear and dangerous binding.
The Recommended Setup: Plywood + Horse Stall Mats
- Base Layer: Lay down a sheet of 3/4-inch tongue-and-groove plywood. This distributes the point load across a wider surface area, protecting your concrete or subfloor.
- Top Layer: Install 3/4-inch thick vulcanized rubber horse stall mats (typically 4x6 feet, costing around $50-$70 each in 2026). These provide high-density shock absorption, acoustic dampening for dropping weights, and a non-slip surface.
- Shimming: Older Weider frames can warp slightly over decades. Use rubber shims under the feet to ensure the frame is perfectly level before tightening all structural bolts.
Step 4: Restoring and Upgrading Older Weider Parts
Buying a used machine means inheriting its maintenance history. Before finalizing your floor plan and bolting the machine down, perform a complete safety and functionality audit.
🛠️ The Vintage Weider Restoration Checklist
- Cables: Inspect the vinyl coating. If you see fraying or rust underneath, replace immediately. Most older Weiders use 3/16-inch galvanized aircraft cable. Do not use hardware store generic wire; buy fitness-rated nylon-coated cables with proper swage fittings.
- Pulleys: Original 1990s and 2000s Weider models often used cheap plastic pulleys that crack over time. Upgrade to aluminum ball-bearing pulleys (usually 3.5 or 4 inches in diameter) for a smoother, quieter cable pull.
- Guide Rods: The metal rods that the weight stack slides on are often dry and squeaky. Clean them with a degreaser and lubricate them with a silicone-based spray or white lithium grease. Never use WD-40, as it attracts dust and creates a grinding paste.
- Upholstery: If the vinyl bench pad is cracked, wrap it in marine-grade vinyl or purchase a universal replacement pad with velcro straps to prevent sweat from rusting the underlying steel support.
Step 5: Supplementing the Machine for a Complete Setup
An older Weider home gym is excellent for isolation movements (lat pulldowns, tricep pushdowns, leg extensions) and guided compound presses. However, it lacks the stabilizer muscle engagement of free weights. To make your floor plan a truly complete home gym, allocate a budget of $300–$500 for the following supplements to place in Zones B and C:
- Adjustable FID Bench: Look for a heavy-duty Flat/Incline/Decline bench (e.g., Rep Fitness AB-3100 or a used commercial bench). This allows you to perform dumbbell chest presses, seated shoulder presses, and chest-supported rows that the Weider's fixed bench cannot accommodate.
- Hex Dumbbell Set: A pair of rubber-coated hex dumbbells ranging from 15 lbs to 50 lbs. The hex shape prevents them from rolling into the Weider's weight stack or cable paths.
- Resistance Bands: Hang a set of loop bands on the wall in Zone D. You can attach these to the Weider's low-pulley station to add accommodating resistance to heavy rows or squats.
- Core & Mobility: A high-density foam roller and an ab wheel stored in Zone C to utilize the open floor space for warm-ups and cool-downs.
Summary: Your 2026 Action Plan
Building a home gym around a vintage Weider model is one of the most cost-effective decisions a beginner can make. By accurately measuring the dynamic footprint, reinforcing your floor with horse stall mats, upgrading frayed cables, and zoning your space to include free weights, you create a commercial-grade workout environment for a fraction of the cost.
Take your time drafting the floor plan on paper before moving the heavy steel. Respect the clearance zones, maintain the mechanical parts, and your older Weider home gym will serve as the reliable anchor of your fitness journey for decades to come.
More gear to consider
All reviews
Common Mistakes With Basic Home Gym Equipment in Rental Apartments

No-Damage Strength Training Home Gym: 2026 Rental Trends

Marcy Home Gym MWM 4965SC vs Bowflex: Remodel Guide
Building a Weirder Home Gym: The $500 Budget Breakdown
Centr 2 Home Gym vs Best Foldable Setups (2026 Guide)