
Complete Home Gym Floor Plans and the Pacific Fitness Home Gym Manual
Design your perfect workout space with our complete home gym floor plan guide. Includes layout tips, clearances, and Pacific Fitness home gym manual advice.

Building a home gym from scratch is one of the most rewarding investments you can make in your long-term health. According to the World Health Organization, consistent resistance training is vital for musculoskeletal health, but commercial gym memberships often create logistical friction that derails consistency. A well-planned home gym eliminates that friction entirely. However, buying equipment without a comprehensive floor plan is a beginner mistake that leads to cramped spaces, damaged drywall, and unsafe lifting zones.
This step-by-step guide will walk you through designing a complete home gym floor plan. We will cover spatial auditing, dynamic clearances, and how to handle complex cable machines—where tracking down a specific document, like a Pacific Fitness home gym manual, becomes absolutely critical for safe spatial planning.
Step 1: Audit Your Space and Map the 'Dead Zones'
Before you look at a single piece of equipment, you must understand the architectural realities of your room. Whether you are converting a two-car garage, a basement, or a spare bedroom, you need to map the 'dead zones'—areas that cannot be used for equipment placement due to structural or environmental factors.
- Ceiling Height: Measure from the floor to the lowest hanging obstruction (joists, ductwork, or light fixtures). A standard power rack is 80 to 84 inches tall. Add 6 inches for a pull-up bar, and another 12 inches for your head and hands during overhead presses. You need a minimum of 96 inches (8 feet) of clear ceiling height for a functional rack zone.
- Door Swings and Egress: Tape out the exact arc of every door swing on the floor. Never place a dumbbell rack or bench inside a door's swing path.
- HVAC and Electrical: Identify your outlets and air vents. In 2026, smart home gyms require dedicated 15-amp or 20-amp circuits for high-draw treadmills and smart cable machines. Do not block floor vents with heavy rubber mats, as this disrupts airflow and can cause equipment overheating.
Step 2: Decode Static vs. Dynamic Equipment Clearances
The most common error in home gym design is relying solely on the 'static footprint' provided by manufacturers. The static footprint is just the length and width of the machine's base. You must plan for the dynamic clearance—the space required for human movement, barbell travel, and weight stack operation.
The Vintage Multi-Gym Challenge
This distinction is most obvious when integrating classic or vintage multi-gyms into your layout. Brands like Pacific Fitness (which produced legendary models like the Pro Dual and Galileo before being absorbed by larger conglomerates) built incredibly durable, heavy-duty cable systems. However, because these are often purchased on the secondary market, buyers rarely have the original documentation.
Tracking down a Pacific Fitness home gym manual is essential because modern third-party spec sheets often omit the dynamic clearance required for the lat pulldown bar path and the leg extension swing radius. A manual from that era will explicitly state that while the machine base is 4 feet wide, you need an operational zone of at least 7x7 feet to safely perform seated rows without your elbows hitting a wall, and to allow enough rear clearance to service the weight stack guide rods.
| Equipment Type | Static Footprint | Dynamic Clearance Needed | Total Floor Plan Zone |
|---|---|---|---|
| Standard Power Rack (4x4) | 16 sq ft (4' x 4') | +16 sq ft (front/sides for loading) | 32 sq ft (4' x 8') |
| Vintage Cable Multi-Gym | 20 sq ft (5' x 4') | +29 sq ft (pulldown/leg ext swing) | 49 sq ft (7' x 7') |
| Adjustable Dumbbell Set | 2.5 sq ft (rack base) | +24 sq ft (arm swing & bench) | 26.5 sq ft (3' x 9') |
Step 3: Draft the Zoning Layout
A complete home gym floor plan should be divided into distinct zones based on the type of movement and the flooring requirements. Do not mix high-impact dropping zones with precision mobility areas.
Zone A: The Heavy Drop Zone
This is where your power rack, Olympic barbell, and bumper plates live. This zone requires the heaviest flooring protection and the most spatial buffer. Place this zone against a load-bearing exterior wall if possible, as dropping heavy weights on an interior partition wall can cause drywall cracks and noise transfer to the rest of the house.
Zone B: The Machine and Cable Zone
This is where your multi-gym, leg press, or functional trainer resides. Because these machines are heavy and difficult to move, anchor them against a flat wall. If you are using a vintage machine and have successfully sourced your Pacific Fitness home gym manual, use the provided anchor bolt schematics to drill directly into concrete or wood joists to prevent tipping during heavy lat pulldowns.
Zone C: The Floor and Mobility Zone
Reserve at least a 6x6 foot open area near a mirror for stretching, kettlebell swings, and dumbbell floor presses. This zone should be kept clear of all protruding bolts and weight plates.
Step 4: Select and Install Proper Flooring
Your floor plan is only as good as the foundation beneath it. As of 2026, the gold standard for home gym flooring remains 3/4-inch (19mm) vulcanized rubber mats. Avoid cheap, interlocking EVA foam tiles sold in big-box sporting goods stores; they compress under heavy racks, creating an unstable surface that can lead to ankle rolls during squats.
For the most cost-effective and durable solution, purchase 4x6 foot horse stall mats from agricultural supply stores (like Tractor Supply Co.). They typically cost between $55 and $75 per mat. According to extensive testing by the experts at Garage Gym Reviews, these dense rubber mats provide sufficient shock absorption for dropped bumper plates while remaining firm enough for heavy compound lifts.
Warning: If you are building your gym on a concrete slab (like a garage), you must use a vapor barrier beneath your rubber mats. Concrete sweats and traps moisture, which will cause mold to grow under your mats and rust your equipment bases within months.Step 5: Mirrors, Ventilation, and Safety Checks
The final step in your floor plan is mapping out the environmental and visual elements of the room. Mirrors are crucial for checking form, but their placement dictates safety.
The biggest mistake beginners make is placing large glass mirrors directly behind a power rack or multi-gym. Dropped barbells and swinging weight plates will shatter standard glass, creating a severe laceration hazard. Always use shatterproof acrylic gym mirrors and place them on the lateral walls to check your form without creating a danger zone.
Furthermore, consult the Consumer Product Safety Commission guidelines for home fitness equipment placement. Ensure that all walkways behind treadmills have at least 36 inches of clear space to prevent severe friction burns in the event of a fall. Finally, install a high-CFM exhaust fan or a smart air purifier in your floor plan; a 10x10 foot home gym can accumulate CO2 and humidity rapidly during an intense session, leading to premature fatigue and equipment rust.
Final Walkthrough
Designing a home gym floor plan is about respecting the physics of movement and the reality of your space. By auditing your dead zones, understanding the difference between static and dynamic footprints, and hunting down crucial documentation like a Pacific Fitness home gym manual for vintage gear, you will build a space that is safe, functional, and built to last a lifetime of training.
More gear to consider
All reviews
Home Gym Remodel: How Much Weight for RDLs Dumbbells to Buy

Marcy Home Gym MWM-990 & Weight Selection: How Much Do You Need?

Compact Foldable Gear & Paint Colors for Home Gym Layouts
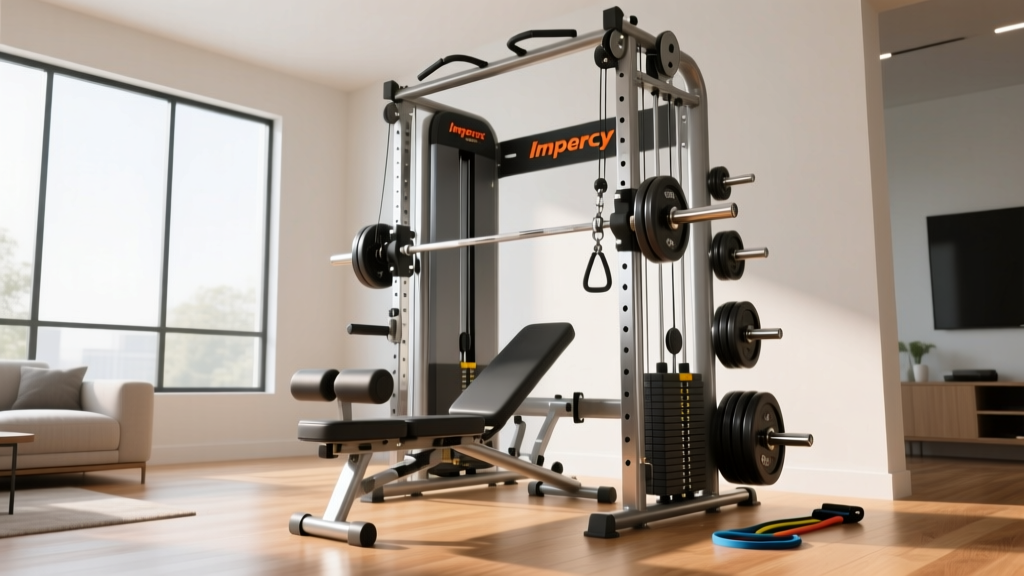
Impex Marcy Home Gym Setup: Complete Installation Walkthrough

Budget-Friendly Home Gym Ideas: Renovation & Remodeling Costs
