
Marcy 150 lbs. Stack Home Gym Upgrade Guide: Space & Layout Tips
Learn how to safely upgrade your Marcy 150 lbs. stack home gym while optimizing your floor plan, cable clearance, and workout zone layout.

The Spatial Reality of Upgrading a Marcy 150 lbs. Stack Home Gym
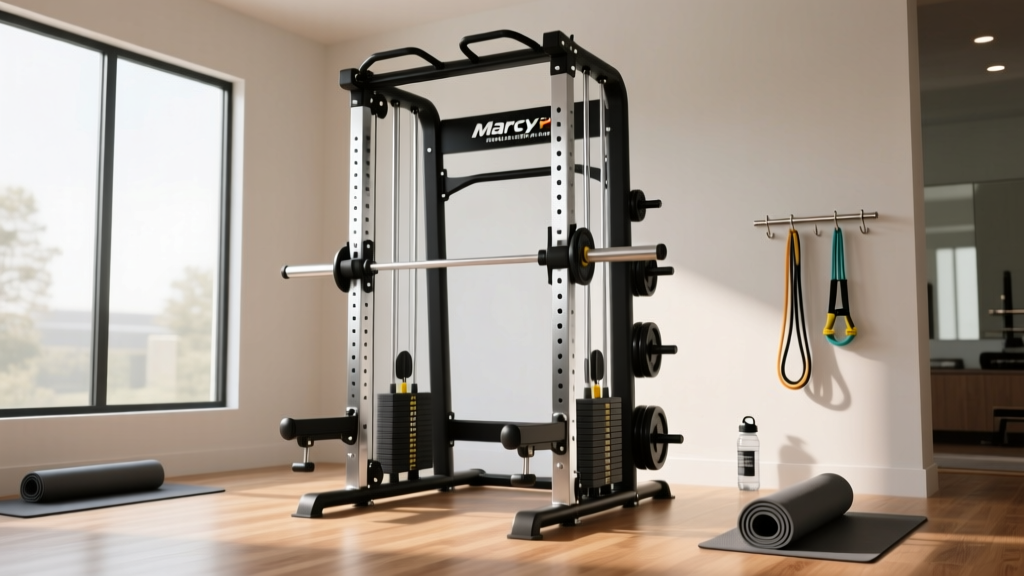
The primary appeal of a compact all-in-one system like the Marcy Pro Home Gym series is its ability to deliver a full-body workout within a minimal footprint. Models featuring a standard 150-pound weight stack (such as the popular MWM-990 or MWM-988) are engineered for small spare bedrooms, tight garages, and low-ceiling basements. However, as your strength progresses, 150 pounds quickly becomes insufficient for compound movements like lat pulldowns and chest presses. Upgrading the weight stack is a common and cost-effective solution, but it fundamentally alters the spatial dynamics of your home gym layout.
When you add mass to a selectorized weight stack, you are not just changing the resistance; you are altering the machine's Z-axis height, shifting its center of gravity, and increasing the kinetic energy transferred to your floor during eccentric drops. If you fail to account for these spatial shifts, an upgraded machine can become a hazard in a tightly configured room. This guide explores how to execute a weight stack upgrade on your Marcy 150 lbs. stack home gym while strictly maintaining an optimized, safe, and functional spatial layout.
⚠️ Critical Clearance Warning
Adding a 50 lb expansion kit (typically 10 extra plates) adds approximately 4.5 to 5.5 inches of physical height to the weight stack. If your Marcy home gym is placed in a room with a standard 7-foot (84-inch) ceiling, the top plate may physically strike the ceiling or the upper pulley housing during full-lat extensions. Always measure your vertical clearance before ordering upgrade plates.
Pre-Upgrade Spatial Audit: Stock vs. Upgraded Dimensions
Before purchasing custom guide rods or manufacturer add-on kits, you must audit your current layout against the projected dimensions of the upgraded machine. The table below outlines the spatial shifts you must plan for when moving from a stock 150 lb stack to a 200 lb or 250 lb configuration.
| Spatial Metric | Stock Marcy 150 lb Stack | Upgraded 200 lb Stack (+50 lbs) | Layout Action Required |
|---|---|---|---|
| Machine Base Footprint | ~68" L x 36" W | 68" L x 36" W (Unchanged) | None |
| Static Machine Height | ~71" H | ~76.5" H | Verify minimum 84" ceiling height |
| Top Plate Travel Clearance | ~6" above static height | ~6" above new static height | Ensure 82.5"+ total vertical clearance |
| Rear Wall Maintenance Gap | 18" recommended | 24"+ required | Pull machine 6" further from wall |
| Floor Point-Load Impact | Moderate (Standard EVA foam OK) | High (Requires 3/4" rubber mats) | Upgrade flooring under the stack tower |
Step-by-Step Stack Upgrade & Layout Reconfiguration
Executing the upgrade requires more than just sliding new plates onto the guide rods. You must adapt the surrounding environment to accommodate the new mechanical realities of the machine.
Step 1: Extend the Guide Rods and Secure the Z-Axis
Stock Marcy guide rods are cut specifically for the 150 lb stack height. To add 50 lbs of plates (roughly $85 to $110 for an OEM or third-party expansion kit), you must replace the guide rods with extended versions (typically costing $40 to $60). When installing the new rods, ensure the top mounting brackets are re-secured with Loctite threadlocker. Because the stack is now taller and heavier, the lateral sway during rapid weight changes increases. If your machine is positioned on an uneven floor, use adjustable rubber leveling feet on the rear base tube to eliminate micro-wobbles that can cause the extended guide rods to bind.
Step 2: Reconfigure the Rear Maintenance Zone
According to insights from Garage Gym Reviews, one of the most common layout mistakes in compact home gyms is pushing the machine flush against a wall. With a heavier stack, the main drive cable experiences up to 30% more peak tension. This accelerates wear on the rear swivel pulleys. You must expand your rear maintenance zone from 18 inches to a full 24 inches. This spatial buffer allows you to comfortably stand behind the machine to lubricate the guide rods with PTFE-based silicone spray and inspect the aircraft cable for fraying without having to dismantle your room's layout.
Step 3: Upgrade the Drop-Zone Flooring
A 200 lb stack dropping from a height of 12 inches generates significant kinetic force. Thin interlocking EVA foam tiles will compress and bottom out, transferring shock directly into your subfloor and causing the machine's base frame to shift over time. Reconfigure your floor plan by placing a dedicated 4x6 foot, 3/4-inch thick vulcanized rubber horse stall mat directly beneath the weight stack tower and the user seat. This isolates the vibration and prevents the machine from 'walking' across the room during heavy eccentric drops.
Designing the 3-Zone Cable Pull Layout
Upgrading the weight stack means you will be pulling heavier loads through the machine's pulley system. In a space-optimized room, the user's body positioning must align perfectly with the cable vectors to prevent friction against the machine's shrouds. Design your room layout around these three distinct operational zones:
- The Lat Pulldown Arc Zone: When performing heavy lat pulldowns with your upgraded 200 lb stack, the cable will pull at a steep upward angle. Ensure you have at least 36 inches of lateral clearance on both sides of the lat bar. If your machine is tucked into a corner, the outer edges of a 48-inch lat bar will strike the adjacent wall, limiting your range of motion and potentially snapping the cable under tension.
- The Low Row Extension Zone: The low row pulley requires a minimum of 72 inches of linear clearance from the front of the seat. In tight layouts, users often hit their feet or a nearby wall before the weight stack fully bottoms out. Map out this 6-foot extension zone and ensure no storage racks or dumbbell trees encroach on this path.
- The High-Pulley Tricep Zone: Standing cable pushdowns require the user to step 12 to 18 inches away from the base of the machine to maintain a proper spinal angle. Verify that your ceiling height and overhead lighting fixtures do not interfere with the user's head or the upward travel of the high-pulley cable when the heavier stack is fully engaged.
Expert Insight on Cable Tension: 'When you increase the mass of a selectorized stack, the return spring and the cable retraction speed increase proportionally. In tight home gym layouts where the cable is forced to route through tight, non-linear pulley angles due to spatial constraints, this higher tension will cause the nylon coating on the aircraft cable to strip. Always ensure your pulleys spin freely and are perfectly aligned with the cable vector.' — Home Gym Engineering Best Practices
Managing Cable Routing and Tension in Tight Spaces
The stock 1/4-inch nylon-coated aircraft cable on a Marcy 150 lbs. stack home gym is rated for roughly 1,000 lbs of tensile strength, which is more than adequate for a 150 lb load. However, when you upgrade the stack and alter the machine's layout in a cramped room, you introduce lateral friction. If the machine is placed at a slight angle to fit into an alcove, the cable may rub against the inner steel frame during low-row or ankle-attachment exercises.
To mitigate this, perform a 'tension trace' after your upgrade. Load the new maximum weight, sit in the user seat, and slowly pull the cable through every single pulley routing point. Watch the cable closely where it enters and exits the plastic shrouds. If you see the cable bowing or rubbing against the metal housing, you must adjust the machine's spatial alignment on your floor plan until the cable tracks in a perfectly straight line through all guide wheels.
Frequently Asked Questions: Space & Stack Upgrades
Can I use standard 1-inch Olympic plates on top of the Marcy selectorized stack?
While some DIYers attempt to rest standard Olympic plates on top of the selectorized stack using a custom peg, this is highly discouraged in compact spaces. It creates an unsecured, top-heavy mass that can easily shift during use, altering the center of gravity and requiring massive overhead clearance that most home gyms lack. Always use manufacturer-style rectangular or square add-on plates that slide securely onto the guide rods.
Does upgrading the stack void the Marcy warranty?
Yes, modifying the weight stack, extending the guide rods, or altering the cable routing generally voids the structural and parts warranty. To protect your investment, ensure your spatial layout provides ample lighting and access for you to conduct monthly safety inspections on the cable swages and pulley bearings, as you will no longer be covered for catastrophic cable failure.
How much space do I need for a functional Marcy home gym layout?
According to spatial guidelines referenced by home gym flooring and layout experts, you should allocate a minimum footprint of 10 feet by 8 feet (80 square feet) for a fully functional all-in-one machine layout. This accounts for the machine's physical footprint, the 24-inch rear maintenance gap, the 6-foot low row extension zone, and safe passage around the perimeter of the equipment.
More gear to consider
All reviews
Smith Machine Home Installation and Safety: Expanding Your Hoist V2 Home Gym

MacroFit Home Gym Setup & Multi-Station Comparison Guide
Home Gym Machines Buying Guide: Data-Driven Analysis for Smart Investment
Marcy Pro Deluxe Smith Cage Home Gym System: Warranty & Value

Tracker vs. Percussion: A Practical Comparison for Home Gym Machines
