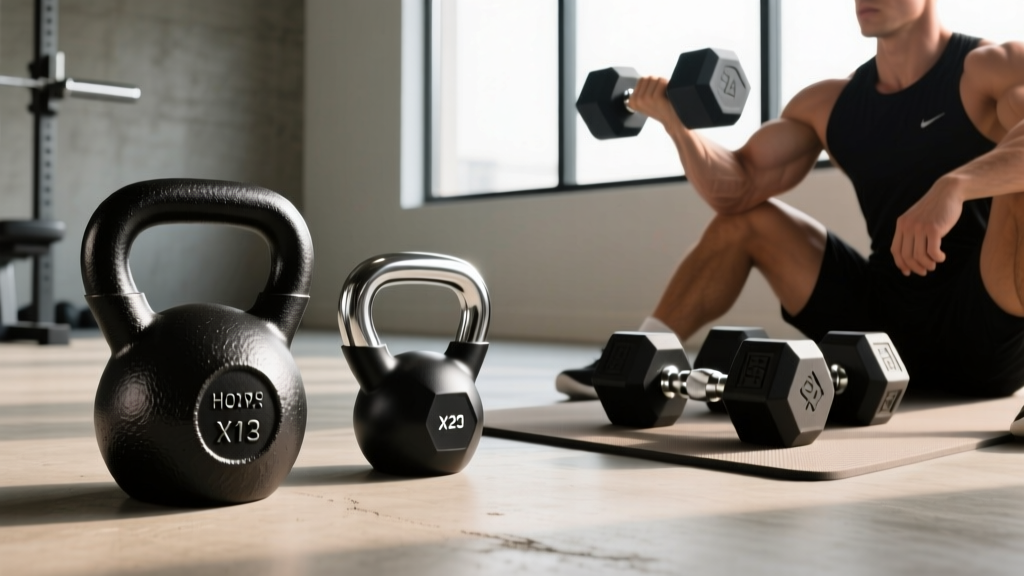
Power Rack vs Squat Stand: Triceps Workout Dumbbell Mistakes
Discover common power rack vs squat stand mistakes that ruin your triceps workout dumbbell routine. Learn rig dimensions, clearance fixes, and safety tips.

When building a home gym, most lifters obsess over barbell squats and bench presses, completely neglecting the geometry required for accessory isolation. If you have ever found yourself awkwardly shifting your bench or clipping your elbows against steel uprights during a heavy triceps workout dumbbell routine, your rig's footprint is to blame. The debate between a power rack, a half squat rack, and a squat stand is usually framed around barbell safety. However, from a troubleshooting perspective, the wrong choice can severely limit your range of motion, compromise joint safety, and ruin the biomechanics of targeted arm isolation.
In 2026, the home gym equipment market is saturated with 3x3-inch upright options, but dimensional nuances still cause massive headaches for accessory work. Below, we break down the most common mistakes lifters make when pairing their rig with a triceps workout dumbbell session, and how to troubleshoot your current setup for optimal muscle engagement.
The Core Dilemma: Power Rack vs Squat Rack vs Squat Stand
Before troubleshooting specific movement failures, we must define the structural limitations of the three primary rig types. According to BarBend's comprehensive power rack testing, the interior width, spotter arm adjustability, and overall footprint dictate whether a rig can handle wide, sweeping dumbbell movements or strict, confined isolation work.
| Rig Type | Top 2026 Model Example | Interior Width | Spotter Arm Adjustability | Avg. Price Range |
|---|---|---|---|---|
| Power Rack (Full) | REP Fitness PR-4000 | 43" to 49" | High (Pin-and-pipe or sandwich) | $699 - $999 |
| Squat Rack (Half) | Bells of Steel Half Rack | 43" (Open front) | Medium (Front-mounted only) | $450 - $650 |
| Squat Stand | Rogue SML-2C | Infinite (Adjustable) | Low (Fixed to upright height) | $300 - $450 |
Mistake #1: Ignoring Interior Width for Dumbbell Clearance
The most frequent complaint we see in home gym forums involves lifters buying a standard 43-inch interior width power rack (like the Titan T-2) and attempting lying dumbbell skull crushers. The long head of the triceps requires a deep stretch behind the head for maximum hypertrophy. If your bench is 12 inches wide and you are using 15-inch dumbbells, your elbows will naturally flare outward.
⚠️ Troubleshooting Alert: If your dumbbells are clipping the uprights during lying triceps extensions, your interior width is insufficient for your wingspan. Do not compromise your form by tucking your elbows unnaturally; this shifts the load to the lateral head and increases elbow tendonitis risk.The Fix: Offset Benching or Upgrading to Wide Racks
If you are locked into a standard 43-inch power rack, the troubleshooting solution is to offset your bench. Instead of centering the bench between the uprights, shift it 6 inches to the left or right, allowing one arm to operate in the open space of the rack's interior while the other operates outside the cage. If you are currently shopping and prioritize a triceps workout dumbbell routine, invest in a "Wide" power rack variant (49-inch interior), which provides the necessary 78-inch total width to accommodate heavy dumbbell arcs without steel interference.
Mistake #2: Spotter Arm Failures During Seated Overhead Extensions
Seated overhead dumbbell triceps extensions are a staple for mass building. However, performing these inside a squat rack or half rack introduces a massive geometric conflict: the spotter arms. To safely catch a barbell bench press, spotter arms must be set just below your chest level. But when you sit upright on a bench to perform overhead extensions, those same spotter arms are now positioned directly in the path of your descending dumbbell or your lower back.
"Proper spotting and safety barrier placement must account for the specific biomechanical path of the implement. A barrier set for a supine press becomes an obstruction for a seated vertical press." — National Strength and Conditioning Association (NSCA) Guidelines on Resistance Training Safety.
The Fix: Utilizing Pull-Up Bar Clearance or Squat Stands
If you are using a half squat rack, the troubleshooting protocol is to remove the spotter arms entirely for this specific exercise and rely on a spotter, or move the bench completely outside the rig. Conversely, this is where a squat stand actually outperforms a full power rack. Because squat stands lack enclosing crossmembers and fixed spotter arms in the bench zone, you can position your bench at any angle required for overhead triceps work without hitting steel. As noted in the Rogue Fitness squat stand specifications, the open footprint allows for 360-degree bench placement, making it a hidden gem for unrestricted dumbbell isolation.
Mistake #3: Asymmetrical Loading and Rig Stability
Unilateral triceps work—such as single-arm dumbbell kickbacks or single-arm overhead extensions performed while seated on the edge of a bench—creates asymmetrical weight distribution. A common and dangerous mistake is performing these movements on unbolted squat stands while leaning heavily to one side.
When you lean forward and to the right to stabilize a 70lb dumbbell during a unilateral triceps workout dumbbell movement, your center of gravity shifts. If the squat stand is not bolted to a platform or loaded with sufficient counterweight on the rear pegs, the entire rig can tip forward. While a power rack's 4-point base and rear crossmembers make it virtually tip-proof, squat stands require strict troubleshooting protocols.
The Fix: The Counterweight Rule
If you must use squat stands for heavy dumbbell isolation, apply the 2:1 counterweight rule. For every 50 lbs of dumbbell weight you plan to use while seated off-center, ensure you have 100 lbs of weight plates loaded on the rear storage pegs of the squat stands. Alternatively, perform unilateral triceps work standing, utilizing a cable attachment mounted to the rack's upright rather than risking a tip-over with free weights.
Step-by-Step Troubleshooting Guide for Your Current Setup
Don't tear down your gym just yet. Follow this diagnostic flow to optimize your current rig for your next arm day:
- Audit Your Upright Hole Spacing: Check if your rack features 1-inch Westside spacing in the bench zone. If it only has 2-inch or 3-inch spacing, you will struggle to set the exact J-cup height needed to safely unrack heavy dumbbells for close-grip floor presses or JM presses without straining your rotator cuffs.
- Measure Your Dumbbell Arc: Lie on your bench with your heaviest triceps dumbbells. Extend your arms and simulate the skull crusher movement. Measure the distance from the tip of the dumbbell to the upright. If it is less than 4 inches, you must offset your bench.
- Clear the Safety Zone: Remove all pin-and-pipe safeties and sandwich J-cups from the front uprights when doing seated overhead work. The risk of lacerating your forearm against a steel safety pin during a failed triceps extension is exceptionally high in confined 43-inch racks.
- Check Bench Pad Width: If you are constantly hitting the uprights, consider swapping your standard 12-inch flat bench for a narrower 10-inch competition-style bench. This 2-inch reduction in pad width often provides just enough lateral clearance for your elbows to drop safely below the torso line.
Expert Verdict: Which Rig Wins for Accessory Isolation?
If your training splits prioritize heavy barbell compounds, a power rack is non-negotiable for safety. However, if your programming heavily features a high-volume triceps workout dumbbell sequence, incline dumbbell presses, and wide-fly movements, a half rack or a heavy-duty squat stand setup actually provides superior spatial freedom. The key to troubleshooting your home gym is recognizing that a rig is not just a barbell holder; it is a three-dimensional workspace. Respect the geometry, adjust your bench offsets, and your isolation gains will follow.
More gear to consider
All reviews
2026 Bumper Plate vs Iron Plate Trends & Core Workouts with Dumbbells
Olympic Barbell Setup: Knurling Guide & Dumbbell Lateral Pullover

Barbell Collar Comparison: Safe Lifts Beyond a Dumbbell Step Up GIF
Power Rack vs Squat Rack vs Squat Stand: Incline Dumbbell Curl Alternative Setups

Power Rack vs Squat Stand: One Leg Romanian Deadlift with Dumbbells