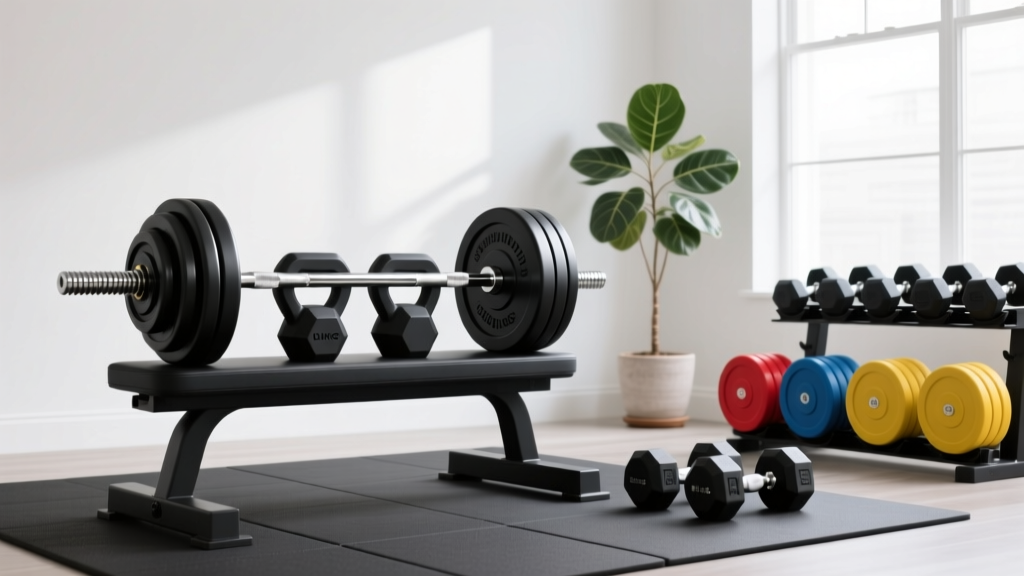
Space-Saving Layouts: Building a 140 lb Dumbbell with Plates
Discover how to design a space-efficient home gym layout using a 140 lb dumbbell setup with loadable handles and interchangeable plates.

The Spatial Crisis: Why Fixed Heavy Dumbbells Ruin Home Gyms
When designing a high-performance home gym, space is the ultimate premium. For strength athletes progressing into elite unilateral pressing and rowing, the need for heavy implements quickly collides with physical square footage. A commercial-grade fixed rubber hex dumbbell set ranging from 5 to 150 pounds requires a massive three-tier rack. This rack typically measures 96 inches long and 30 inches deep, consuming over 20 square feet of floor space and costing upwards of $4,500 in 2026.
The solution for the space-conscious lifter is the loadable dumbbell. By utilizing interchangeable plates and specialized handles, you can engineer a custom 140 lb dumbbell setup that occupies a fraction of the footprint. However, building a dumbbell of this magnitude introduces unique biomechanical and spatial challenges. Standard 14-inch handles simply cannot accommodate the physical volume of 120+ pounds of iron or urethane. This guide breaks down the exact engineering, plate mathematics, and layout design required to safely integrate a 140 lb loadable dumbbell system into a compact training environment.
Data Highlight: The Space-to-Weight Ratio
- Fixed 5-150lb Hex Set: Requires ~20 sq. ft. rack footprint + 3-foot walking clearance. Total zone: 35 sq. ft.
- Loadable 140 lb Dumbbell Setup: Two 20-inch handles + one A-frame plate tree (500lb capacity). Total zone: 6 sq. ft.
- Space Saved: 82% reduction in dedicated storage footprint.
- Cost Efficiency: ~$650 for handles, collars, and barebones plates vs. $4,500+ for fixed sets.
Engineering the 140 lb Dumbbell: Handle and Plate Specs
To build a true 140 lb dumbbell using interchangeable plates, you must abandon standard 1-inch diameter handles. The physical diameter of 1-inch cast iron plates means you would need an impractically long sleeve to hold enough weight, resulting in a dangerously unbalanced lever arm. The only viable path is a 2-inch Olympic loadable dumbbell handle.
The 20-Inch Handle Requirement
Most entry-level loadable handles are 14 to 16 inches long. These max out around 80 pounds before the plates hit the collar threads. To reach 140 pounds per hand, you must source 20-inch or 24-inch Olympic handles. According to comprehensive equipment testing by Garage Gym Reviews, 20-inch handles provide the optimal balance between sleeve capacity and overall implement width, ensuring the dumbbell doesn't become too wide to comfortably press or row.
Plate Profiling: Avoiding the 'Wide-Press' Failure Mode
The most common failure mode when building heavy loadable dumbbells is using standard 45-pound bumper plates. Bumpers are 17.5 inches in diameter and incredibly thick. Stacking them on a dumbbell handle ruins your range of motion and forces your shoulders into external rotation at the bottom of a press. You must use compact, high-density urethane or machined iron plates.
| Component | Specification | Weight Contribution |
|---|---|---|
| 20" Olympic Handle | Steel, medium knurl, 2" sleeves | ~15.0 lbs |
| 4x 25lb Urethane Plates | High-density, 6" diameter | 100.0 lbs |
| 2x 10lb Urethane Plates | High-density, 5" diameter | 20.0 lbs |
| Aluminum Clamp Collars | Quick-release, 2" bore | ~1.5 lbs (pair) |
| Total Assembled Weight (Per Hand) | ~136.5 - 140 lbs | |
Layout Design: Zoning Your Interchangeable Plate Station
Space optimization is not just about the storage footprint; it is about the operational footprint. Loading and unloading a 140 lb dumbbell requires bending, twisting, and sliding heavy plates. If your plate tree is shoved into a corner, you will constantly scrape your knuckles or fail to achieve proper lifting mechanics when picking the dumbbells off the floor.
The 36-Inch Loading Radius
Design your gym layout with a dedicated 'Loading Zone.' Place your A-frame or vertical plate tree at least 36 inches away from any wall, power rack, or cardio equipment. This radius allows you to squat or hinge properly to load the 25lb and 10lb plates without spatial restriction.
Strategic Mat Placement
Interchangeable plate dumbbells are notoriously hard on flooring if dropped, even with urethane. Unlike fixed hex dumbbells that have flat, impact-absorbing ends, loadable handles expose the metal collar and the edge of the plate.
- Base Layer: 3/4-inch thick vulcanized rubber stall mats.
- Impact Zone: Place a dedicated 4x6 foot drop pad or high-density EVA foam puzzle mat directly over the rubber where you perform floor presses or renegade rows.
- Clearance: Ensure an 84-inch by 48-inch clear floor space for unilateral movements like heavy Bulgarian split squats, where a 140 lb dumbbell requires significant lateral stabilization room.
Assembly Protocol: Securing 140 Pounds Safely
When dealing with a 140 lb dumbbell, gravity and momentum are unforgiving. The traditional spinlock collar (the threaded star nut) is a massive liability at this weight class. The vibration from heavy dumbbell rows or walking lunges will slowly unscrew the spinlock, leading to catastrophic plate slippage mid-set.
Expert Safety Warning: Never use threaded spinlock collars for loads exceeding 80 pounds per hand. The sheer rotational torque generated during unilateral exercises compromises the threads. Always upgrade to machined aluminum clamp collars, such as the Rogue HG 2.0 Collars or equivalent heavy-duty quick-release clamps, which grip the 2-inch sleeve via high-tension internal springs and rubberized pads.
Step-by-Step Loading Sequence
- Base the Handle: Stand the dumbbell handle vertically on a rubber mat. This prevents the plates from sliding down the sleeve while you load.
- Load Heaviest First: Slide the 25lb plates on first, ensuring they sit flush against the inner sleeve lip.
- Add Fractionals: Slide the 10lb plates on next. The smaller diameter plates should always go on the outside to maintain a lower center of gravity relative to the grip.
- Clamp and Test: Apply the aluminum clamp collars. Push them flush against the outermost plate and lock the lever. Perform a 'shake test'—lift the dumbbell an inch off the ground and shake it vigorously. If you hear metal-on-metal clicking, the plates are not flush. Add a thin rubber shim or tighten the collar.
Troubleshooting Common Loadable Dumbbell Edge Cases
Even with perfect layout design and high-end components, loadable dumbbells present unique edge cases that fixed dumbbells do not. Anticipating these issues is the hallmark of an optimized home gym.
The 'Rattle' and Rotational Inertia
Because interchangeable plates are not molded together like a solid rubber hex dumbbell, there is a microscopic gap between each plate. During explosive movements like dumbbell snatches, this gap creates rotational inertia and a rattling sensation. The Fix: Use precision-machined urethane plates with steel inner rings, and ensure your clamp collars are rated for at least 150 lbs of lateral clamping force. This compresses the plates into a single solid cylinder.
Sleeve Diameter Tolerances
Not all 2-inch Olympic handles are exactly 2.00 inches. Budget handles from overseas manufacturers often measure 1.96 inches, while premium plates measure exactly 2.00 inches. This 0.04-inch variance causes the plates to wobble violently during chest presses. Always measure your handle sleeve with digital calipers before purchasing plates, and buy from brands that guarantee a 50mm (1.968") IWF standard tolerance.
Grip Fatigue on Knurled Handles
A 20-inch loadable handle is completely knurled. When you grip a 140 lb dumbbell, your hand might slide into the aggressive center knurling, tearing calluses during high-rep sets. To optimize your layout and ergonomics, wrap the center 5 inches of the handle with athletic tape or use a specialized silicone grip sleeve. This creates a designated, smooth 'strike zone' for your palm, ensuring your grip fails only when your target muscles do, not because of abrasive steel.
By treating your loadable dumbbell setup as an engineered system rather than a collection of spare parts, you unlock elite-level 140 lb unilateral training without sacrificing the spatial efficiency that defines a modern, optimized home gym.
More gear to consider
All reviews
Form & Gear Mistakes: Rear Delt Flys with Dumbbells & Plate Types
The Golden Dumbbell Setup: Loadable Plates for Small Gyms

Barbell Collars vs Clamps for the Single-Leg Dumbbell Deadlift

Compact Gym Layouts: Kettlebells & Rowing Exercise With Dumbbells

How to Pack Dumbbells for Moving: 2026 Bumper vs Iron Plate Trends