Single Dumbbell Skull Crushers: Complete Setup Guide for Neoprene Home Gyms
Master the single dumbbell skull crusher setup. A complete walkthrough for selecting neoprene dumbbells, bench positioning, and biomechanics.

Introduction: Precision Isolation in the Home Gym
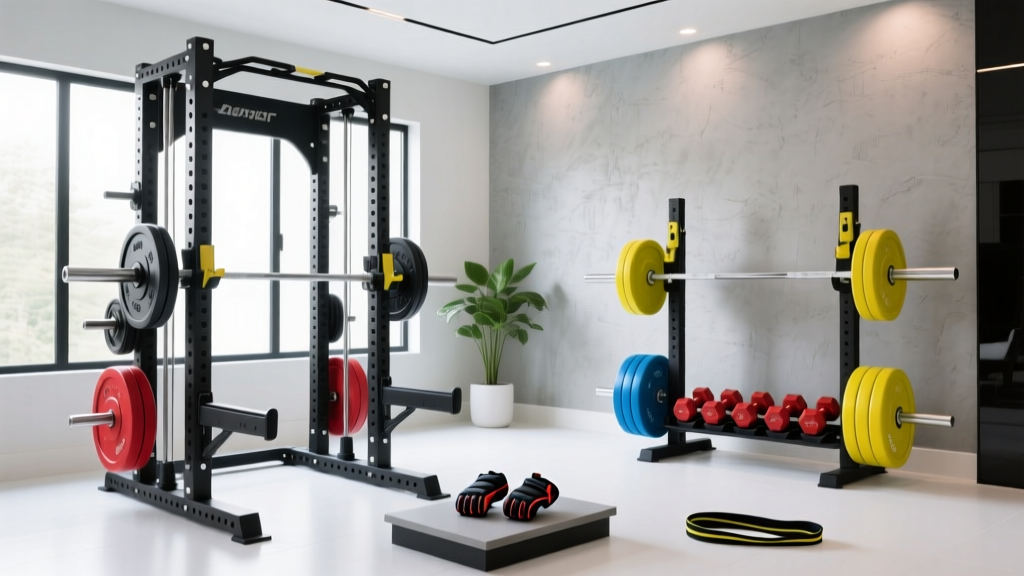
Building a complete home gym goes beyond simply purchasing equipment; it requires the strategic 'installation' of your workspace and the precise biomechanical setup of your movements. When targeting the triceps brachii, the single dumbbell skull crusher remains a gold-standard isolation exercise. However, executing it safely and effectively in a home environment—without the luxury of a dedicated spotter or commercial-grade cable machines—requires careful planning. This comprehensive walkthrough details how to configure your home gym space, select the ideal neoprene-coated dumbbells, and biomechanically set up the single dumbbell skull crusher for maximum hypertrophy and joint longevity.
Equipment Installation: Sourcing Neoprene Dumbbells for Isolation
For home gym isolation work, the coating of your dumbbell matters immensely. While cast iron and rubber are common, neoprene (polychloroprene) has emerged as the superior choice for indoor, high-repetition isolation exercises in 2026. Neoprene offers a Shore A hardness of roughly 60-70, providing a tactile, high-friction grip that outperforms smooth vinyl and heavily textured rubber when your hands begin to sweat during high-volume triceps work.
Furthermore, unlike cheap recycled rubber dumbbells that can off-gas volatile organic compounds (VOCs) and fill a closed garage or spare bedroom with a toxic odor, high-quality neoprene is virtually odorless. When sourcing your equipment, look for hex-shaped neoprene dumbbells from reputable manufacturers like CAP Barbell or Yes4All. As of early 2026, expect to pay between $1.40 and $1.80 per pound for premium neoprene sets. For skull crushers, you do not need the 50lb+ behemoths; a range of 15lb to 35lb dumbbells is typically sufficient for strict, controlled isolation.
Material Comparison for Triceps Isolation
| Material | Grip Friction (Sweaty) | Off-Gassing / Odor | Floor Protection | Ideal for Skull Crushers? |
|---|---|---|---|---|
| Neoprene | High | None | Excellent | Yes (Best) |
| Recycled Rubber | Medium | High (VOCs) | Good | No |
| Urethane | Medium-High | None | Excellent | Yes (but expensive) |
| Vinyl / Plastic | Low (Slippery) | None | Poor | No |
Spatial Configuration: The Drop Zone and Bench Setup
Before lifting, you must 'install' your physical environment. The single dumbbell skull crusher requires a specific spatial footprint to ensure safety during muscular failure.
- Bench Selection: Use a standard flat utility bench with a height of exactly 17 inches and a width of 10 to 12 inches. A bench that is too wide (over 14 inches) will force your elbows into an unnatural valgus angle, stressing the medial collateral ligament.
- The Drop Zone: Clear a minimum of 36 inches of lateral space on both sides of the bench. If you reach failure on a unilateral single-arm skull crusher, you must be able to safely drop the neoprene dumbbell to the floor without hitting a rack or wall.
- Flooring: Install 3/4-inch thick horse stall mats or high-density EVA foam tiles beneath the drop zone. Neoprene dumbbells are forgiving, but repeated drops on bare concrete will eventually compromise the polychloroprene coating and the internal cast iron core.
Biomechanical Setup: Executing the Movement
The term 'single dumbbell skull crusher' can refer to two distinct setups: a unilateral (one-arm) configuration using a lighter dumbbell, or a bilateral (two-arm) configuration where both hands grip a single, heavier dumbbell. According to biomechanical analyses of triceps activation, both are highly effective, but they require different grip installations.
Setup A: The Bilateral Diamond Grip (Two Hands, One Dumbbell)
This setup allows for heavier loading and is ideal for intermediate lifters.
- Positioning: Sit on the bench, place the neoprene dumbbell vertically on your right thigh, and use your leg to kick it back as you lie flat.
- Grip Installation: Grip the inner hexagonal plate of the dumbbell. Place your thumbs and index fingers in a 'diamond' shape around the handle collar. This secures the weight and prevents the dumbbell from slipping through your hands.
- The Descent: Press the weight directly over your chest. Slowly lower the dumbbell toward your forehead by bending only at the elbows. Stop when your forearms break parallel with the floor (roughly 110 degrees of elbow flexion).
- The Contraction: Drive the weight back up using the lateral and medial heads of the triceps, stopping just short of full elbow lockout to maintain constant mechanical tension.
Setup B: The Unilateral Isolation (One Hand, One Dumbbell)
This setup corrects muscular imbalances and allows for a deeper stretch.
- Positioning: Lie flat with a lighter neoprene dumbbell (e.g., 15-25 lbs) in one hand, arm fully extended toward the ceiling.
- Stabilization: Place your non-working hand flat on the floor or grip the bench frame to anchor your torso and prevent rotational cheating.
- The Descent: Lower the dumbbell not straight down to your ear, but in a slight arc toward your opposite shoulder. This cross-body path aligns perfectly with the natural carrying angle of the elbow joint.
The 15-Degree Decline Modification
To shift the emphasis to the long head of the triceps (which crosses both the elbow and shoulder joints), elevate the foot-end of your bench by placing a 45lb bumper plate underneath it, creating a roughly 15-degree decline. As noted in ExRx.net's kinesiology directory, placing the shoulder in slight flexion and extension via a decline angle pre-stretches the long head, resulting in greater hypertrophic stimulus during the concentric phase.
Troubleshooting Common Failure Modes
Even with the perfect neoprene grip and bench setup, lifters frequently encounter biomechanical breakdowns. Here is how to troubleshoot the most common edge cases:
- Edge Case 1: Wrist Extension Under Load. If your wrists bend backward at the bottom of the movement, you are leaking force and risking tendinitis. Fix: Squeeze the neoprene handle tightly and imagine 'punching' the ceiling. Keep the back of your hand perfectly flush with your forearm.
- Edge Case 2: Elbow Flare (Valgus Stress). Allowing the elbows to point outward shifts the load to the anterior deltoids and strains the elbow ligaments. Fix: Actively squeeze your biceps against your ribcage during the movement to lock the humerus in place. The elbows should act as a fixed hinge, pointing strictly toward the ceiling.
- Edge Case 3: Grip Slip from Sweat Saturation. While neoprene is high-friction, it is slightly porous. During high-rep drop sets, it can absorb sweat and become slick. Fix: Keep a microfiber towel nearby and wipe the dumbbell handle between every set, or apply a small amount of liquid chalk to your palms.
Safety Protocols for Unspotted Home Gyms
CRITICAL SAFETY WARNING: When performing skull crushers in a home gym without a spotter, never use lifting straps or grips that attach your wrist to the dumbbell. If you experience a sudden triceps spasm or failure, you must be able to instantly open your hands and drop the neoprene dumbbell to the reinforced floor matting beside the bench. Being tethered to a weight directly over your face and neck is a catastrophic risk.
For further reading on safe exercise execution and joint preservation, the ACE Fitness Exercise Library provides excellent visual cues for maintaining neutral spinal alignment during supine triceps extensions. Additionally, reviewing the National Strength and Conditioning Association (NSCA) guidelines on isolation exercise loading can help you program the correct volume without overtaxing the elbow connective tissue.
Conclusion: Finalizing Your Installation
Setting up the single dumbbell skull crusher in your home gym is a blend of environmental preparation and biomechanical precision. By investing in high-quality, odor-free neoprene dumbbells, configuring a safe 36-inch drop zone, and strictly managing your elbow hinge and wrist alignment, you can build massive, horseshoe-shaped triceps safely. Treat your movement setup with the same respect you give to assembling your power rack, and your home gym isolation work will yield commercial-grade results.
More gear to consider
All reviews
EZ Curl vs Straight Bar: Space Design & Dumbbell Shaped Water Bottle

Safe Storage for Back Arm Exercises with Dumbbells: Rack Care

Top Loadable Dumbbells to Accelerate Dumbbell Fat Loss (2026 Review)

Budget Storage for a Back Workout at Home With Dumbbells

Best At Home Dumbbell Workouts & 2026 Adjustable Gear Guide