
Power Rack vs Squat Rack vs Squat Stand: Setup for Lying Dumbbell Curls
Master your home gym installation. Compare power rack vs squat rack vs squat stand setups, from anchoring to configuring space for lying dumbbell curls.

The Footprint Dilemma: Choosing Your Rack Foundation
Building a home gym in 2026 requires more than just buying heavy iron; it demands a meticulous approach to spatial planning and structural integrity. When deciding between a full power rack, a half squat rack, or a pair of squat stands, you are fundamentally choosing how your training space will function for the next decade. The decision impacts not only your heavy compound lifts but also your ability to safely perform isolation movements in a confined space.
According to facility safety guidelines published by the National Strength and Conditioning Association (NSCA), proper equipment spacing and structural anchoring are the primary mitigators of home gym injuries. Before unboxing a single upright, you must understand the dimensional and functional differences between the three main rack categories.
Equipment Comparison Matrix
| Feature | Power Rack (e.g., Titan T-3) | Squat Rack (e.g., Rogue SML-2) | Squat Stands (e.g., Rep Ares) |
|---|---|---|---|
| Footprint | 47' x 47' (approx. 15.5 sq ft) | 49' x 43' (approx. 14.5 sq ft) | 48' x 48' (approx. 11 sq ft per pair) |
| Average Cost | $450 - $650 | $350 - $450 | $250 - $350 |
| Safety Spotter Arms | Integrated, 4-point catch | Integrated, 2-point catch | External, requires precise alignment |
| Interior Clearance | 24' - 42' (High versatility) | 40' + (Open front) | Variable (Depends on user placement) |
| Pull-up Bar | Standard (Rear or Front) | Standard (Rear) | Rarely included |
While squat stands offer the smallest footprint and open-front squat racks provide easy barbell un-racking, only a full power rack provides the enclosed 3D space necessary for advanced interior configurations, which we will cover in Phase 3.
Phase 1: Subfloor Prep and Clearances
Never assemble a rack directly on bare concrete or standard drywall. The drop of a 300-pound barbell generates thousands of pounds of peak impact force. Begin by laying down 3/8-inch or 1/2-inch thick vulcanized rubber stall mats. Ensure your chosen location has a minimum ceiling clearance of 90 inches to accommodate standard pull-up bars and overhead pressing.
Warning: The 7-Foot Barbell RuleA standard Olympic barbell is 86 inches long, with a 51.5-inch shaft between the collars. If you purchase a squat stand or narrow rack with an interior width of less than 43 inches, you will not be able to safely un-rack the bar without the sleeves hitting the uprights. Always verify the 'inside dimension' spec, not just the outer footprint.
Phase 2: Frame Assembly and Squaring
The most common failure mode in home gym installations is a 'racked' or twisted frame. If your uprights are not perfectly plumb and square, your J-cups will sit at uneven heights, and your safety spotter arms will fail to catch the barbell evenly during a failed lift.
- Loose Assembly: Insert all M20x50mm (or manufacturer-specific) hardware into the crossmembers and uprights, but only thread the nuts to 50% tightness. This allows the steel to shift and settle.
- The Diagonal Measurement Trick: Using a tape measure, measure the distance from the top-left corner to the bottom-right corner of the front face. Then measure top-right to bottom-left. If the measurements are not identical down to the millimeter, push the frame diagonally until they match.
- Plumb Check: Use a 48-inch magnetic torpedo level on the front and side of each upright. Adjust the leveling feet on the base plates until the bubble is dead center.
- Torque Sequence: Following Rogue Fitness engineering recommendations for structural steel, use a torque wrench to tighten all frame bolts to approximately 70-80 ft-lbs. Always tighten from the bottom up to prevent the frame from lifting off the floor during the final turns.
Phase 3: Interior Configuration (Heavy Lifts to Isolation)
Once the skeleton is square and bolted, the true value of a power rack reveals itself. A well-configured interior transforms the rack from a simple squat station into a comprehensive biomechanical laboratory. This is where interior clearance and accessory placement become critical.
Setting Up for Lying Dumbbell Curls
While most buyers focus on the rack for heavy squats and bench presses, a power rack is the ultimate safety enclosure for heavy isolation work. Consider the setup for lying dumbbell curls (often performed on a flat or slight incline FID bench to eliminate momentum and isolate the long head of the biceps).
When you position an adjustable bench inside the uprights for lying dumbbell curls, you can set the safety spotter arms exactly two inches below your elbows' lowest range of motion. This specific configuration provides three massive advantages:
- Failure Safety: If you reach muscular failure on a 75-pound dumbbell curl, you simply open your hands. The spotter arms catch the dumbbells, protecting your skull, your ribs, and your rubber flooring.
- Band Peg Integration: Most modern racks feature band pegs at the base. You can loop resistance bands from the bottom pegs, around the spotter arms, and onto your dumbbells to add accommodating resistance to the peak contraction of the lying dumbbell curl.
- Decline Adjustments: If you hook the bench into the rack's rear crossmember to perform decline lying dumbbell curls, the enclosed uprights prevent the bench from sliding backward under heavy loads.
'The versatility of a 4-post power rack lies in its Z-axis. By utilizing the interior depth for bench positioning and the vertical hole spacing for precise spotter arm placement, lifters can safely push isolation movements to absolute failure without a human spotter.' — Home Gym Engineering Review, 2025
Phase 4: Anchoring to the Subfloor
Even a 300-pound power rack can tip forward if a user kips violently on a pull-up bar or drops a barbell unevenly on the safety straps. Anchoring is non-negotiable.
Concrete Slab Installation
If your gym is in a garage with a concrete slab, use 1/2-inch diameter, 3.75-inch long wedge anchors. Do not use sleeve anchors or plastic plugs. Drill a 1/2-inch hole using a rotary hammer drill with a carbide masonry bit. Vacuum out the concrete dust from the hole—this is a critical step, as dust prevents the wedge from expanding. Insert the anchor, place the washer and nut, and torque to 45 ft-lbs.
Wood Subfloor Installation
If building on a wood-framed floor (like a basement or second story), you must locate the floor joists. Use 3/8-inch or 1/2-inch structural lag screws (minimum 4 inches long) driven directly through the rack's base plate and into the center of the joist. If the base plate holes do not align with your joists, drill new 9/16-inch holes through the steel base plate using a cobalt step bit.
Maintenance and Hardware Inspection Schedule
Vibration from dropped weights will slowly back out hardware over time. Implement this maintenance schedule to ensure your rack remains safe for everything from heavy squats to lying dumbbell curls.
| Interval | Component | Action Required |
|---|---|---|
| Monthly | Safety Spotter Arms & J-Cups | Inspect UHMW plastic liners for deep gouges or cracking. Replace if structural steel is exposed. |
| Quarterly | Frame Hardware (Bolts/Nuts) | Use a torque wrench to re-check all M20 crossmember bolts to 75 ft-lbs. |
| Bi-Annually | Anchor Points | Check wedge anchors or lag screws for upward play. Re-torque or replace if the concrete has spalled. |
| Annually | Pull-up Bar & Attachments | Inspect welds on the pull-up bar gussets for micro-fractures using a bright LED flashlight. |
By treating your rack installation as a permanent architectural addition rather than temporary furniture, you create a training environment that supports maximum intensity, total safety, and unparalleled exercise variety for years to come.
More gear to consider
All reviews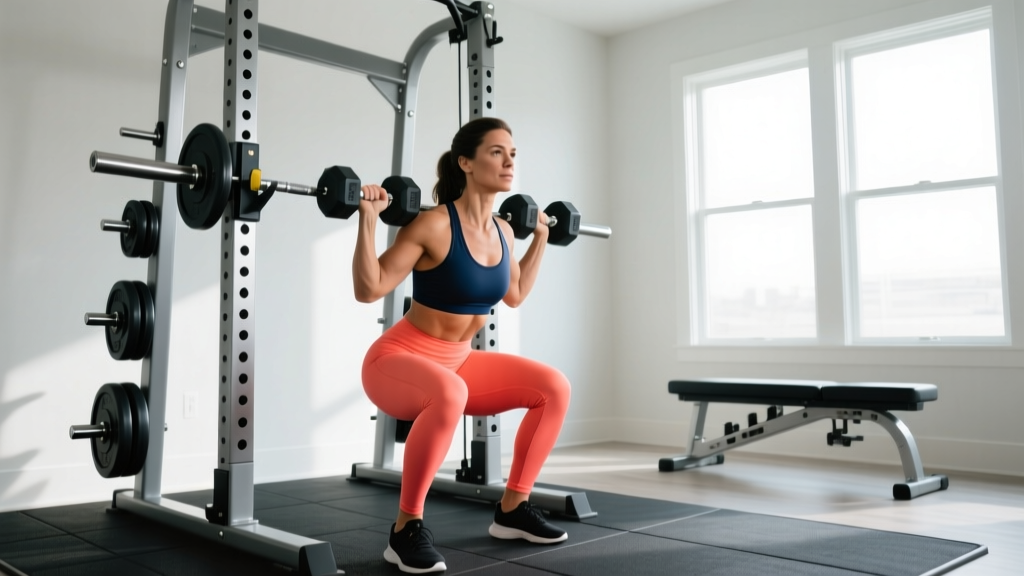
Power Rack vs Squat Stand: Female Dumbbell Gym Mistakes

Barbell Collars: Safe Setup for Back Exercises with Dumbbells

Cast Iron vs Competition Kettlebells & Lat Dumbbell Trends
EZ Curl Bar vs Straight Bar: Curls & Barbell Row With Dumbbells
Dumbbell Rack Care and Storage for a Safer Dumbbell Push Press
