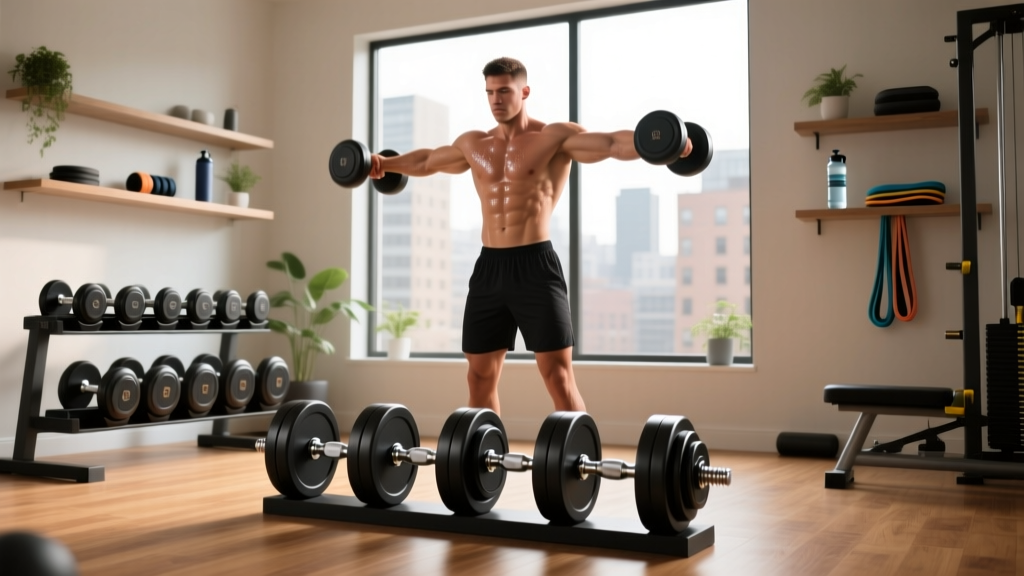
Power Rack vs Squat Rack vs Stand: Proper Dumbbell Fly Form Setup
Compare power racks, squat racks, and stands. Our setup walkthrough ensures heavy lift safety and proper dumbbell fly form for your home gym.

The Home Gym Dilemma: Heavy Compounds vs. Isolation Biomechanics
When building a versatile home gym in 2026, the centerpiece is undoubtedly your squatting and pressing rig. However, most buyers make a critical error: they choose a rack solely based on its barbell capacity, completely ignoring how its footprint and safety configurations impact accessory movements. If you want a single-rig solution that handles 500lb squats while also providing the clearance and safety required for proper dumbbell fly form, you must carefully weigh the differences between a full power rack, an open squat rack, and a minimalist squat stand.
This complete setup and installation walkthrough will guide you through selecting the right rig, anchoring it safely, and configuring your bench and spotting arms to protect your rotator cuffs during deep-stretch isolation work.
The Core Contenders: 2026 Equipment Breakdown
Before unboxing a single bolt, you need to understand the spatial realities of the three main rack categories. According to extensive testing by Garage Gym Reviews, the interior width and upright profile of your rack will directly dictate your bench placement and lateral arm clearance.
| Equipment Type | Top 2026 Model Example | Interior Width / Footprint | Approx. Cost | Best For |
|---|---|---|---|---|
| Power Rack | Rogue R-3 Monster Lite | 49" interior / 4'x4' base | $1,100 - $1,500 | Full enclosure, heavy safeties, band work |
| Squat Rack | Titan T-2 Series | 48" interior / Open front | $450 - $650 | Garages with limited depth, easy bench entry |
| Squat Stand | Rogue SML-1 | Variable / 2'x4' base | $350 - $500 | Tiny footprints, outdoor gyms, strict budgets |
Step-by-Step Installation Walkthrough
A rack is only as safe as its foundation. Whether you are bolting down a 4-post power rack or stabilizing a 2-post squat stand, follow this exact installation sequence to prevent catastrophic tipping.
Step 1: Subfloor Preparation
Do not place steel uprights directly on bare concrete or standard garage epoxy. The vibration from dropped barbells will crack the concrete over time. Lay down a subfloor of 3/4" tongue-and-groove plywood, topped with 3/4" vulcanized rubber horse stall mats. This provides a 1.5" shock-absorbing pad that deadens acoustic transfer and protects your hardware.
Step 2: Anchoring Strategy
- Concrete Wedge Anchors (Permanent): For a 4-post power rack, use 1/2" x 3-3/4" zinc-plated wedge anchors. Drill a 1/2" hole exactly 3.5" deep, vacuum the concrete dust (crucial for grip), and torque to 90 ft-lbs.
- Weighted Platform (Renter-Friendly): If you cannot drill, build a 4'x8' platform using three layers of 3/4" OSB. Bolt the rack to the wood, and store your heavy weight plates on the platform's rear storage horns to lower the center of gravity.
Configuring Your Rig for Proper Dumbbell Fly Form
Here is where the intersection of rack selection and hypertrophy biomechanics becomes critical. Achieving proper dumbbell fly form requires a deep eccentric stretch, meaning your elbows must drop significantly below the plane of your torso to fully elongate the pectoralis major fibers. As noted in the kinesiology breakdown of the sternal fly on ExRx.net, restricting this range of motion drastically reduces muscle fiber recruitment.
The Clearance Problem
If you are using a narrow 43" interior power rack, a standard 48" flat bench will fit between the uprights, but your arms will not. When executing a deep fly, your elbows or the dumbbells themselves will clip the steel uprights, forcing you to artificially shorten your range of motion.
The Solution: If you own a 43" rack, you must position the bench so your head is facing out of the rack, or bench entirely outside the rig. If you opt for a 49" interior rack (like the Rogue R-3 or Rep PR-4000), you can safely bench inside the enclosure with enough lateral clearance for a full fly arc.
Setting the "Drop Zone" Safeties
Unlike a barbell bench press, failing a heavy dumbbell fly puts immense shear stress on the anterior deltoid and rotator cuff. You cannot simply dump the weight backward.
- Use Nylon Safety Straps: Swap out your steel safety pins for heavy-duty nylon spotting straps. Set them exactly 2 inches below the height of your bench pad.
- The Catch Mechanism: If your pectorals fail at the bottom of the stretch, you simply open your hands and let the dumbbells drop 2 inches onto the straps. This saves your shoulders from overstretching and prevents the dumbbells from bouncing off steel pins onto your face.
- Squat Stand Limitation: This is the primary failure mode of squat stands. Because they lack lateral cross-members, you cannot set up interior safety straps. If you train to failure on flyes with squat stands, you must have a human spotter or avoid training to absolute muscular failure.
Pro-Tip for Scapular Retraction: To maintain proper dumbbell fly form, your upper back must be glued to the bench. Choose a bench with a pad width of 10 to 12 inches. Pads wider than 12 inches will physically block your elbows from dropping below the torso, ruining the stretch and shifting the tension to your biceps tendon.
Real-World Edge Cases & Hardware Nuances
When finalizing your 2026 build, keep an eye on these often-overlooked hardware specifications that impact your daily workflow:
- Upright Hole Spacing: Look for "Westside" hole spacing (1-inch spacing in the bench/squat zone). This allows you to micro-adjust your safety straps to the exact millimeter required for your specific bench pad height, which is vital for the 2-inch drop-zone mentioned above.
- Upright Deflection: Budget squat stands (often made with 2"x2" 14-gauge steel) will visibly bow outward when you aggressively rerack heavy dumbbells or barbells. Upgrade to 3"x3" 11-gauge steel (standard on most modern mid-tier racks) to eliminate this terrifying sway.
- Attachment Compatibility: If you plan to use a lat pulldown tower attached to the back of your power rack, ensure your garage has at least 108 inches of ceiling clearance. The pulley carriage requires overhead travel space that standard 8-foot ceilings cannot accommodate without a low-profile modification.
Final Verdict: Which Setup Wins?
If your primary goal is raw powerlifting and you have the space and budget, a 49-inch interior Power Rack bolted to a dedicated platform is the undisputed king. It provides the lateral clearance necessary for proper dumbbell fly form inside the cage, allows for strap-safeties to catch dropped isolation weights, and offers total barbell containment.
However, if you are outfitting a shallow garage bay or a basement with low ceilings, an open-front Squat Rack provides the best compromise. It allows you to slide a bench in and out laterally, giving you infinite arm clearance for flyes while still providing a stable barbell catching mechanism. Reserve the Squat Stand strictly for minimalist setups where you are willing to sacrifice interior safety spotting for isolation movements.
For more detailed specifications on upright gauges and base dimensions, always consult the manufacturer's official blueprints, such as the Rogue Fitness squat stand lineup, before pouring your concrete or laying your platform.
More gear to consider
All reviews
Dumbbell Power Snatch Gear: Bumper Plate vs Iron Plate

Neoprene Dumbbells Weight Showdown: Yes4All vs Amazon Basics 2026

Upgrade Your 20 Minute Full Body Dumbbell Workout: Kettlebell Guide
Free Weight Care: Cast Iron vs Competition Kettlebells & Back Workout with Dumbbells and Bench

Power Rack vs Squat Stand: Optimizing Your One Arm Dumbbell Workout