
Rack Setup: Power Rack vs Squat Rack vs Stand for Rotating Dumbbells
Master your home gym installation with our 2026 walkthrough comparing power racks, squat racks, and stands, optimized for rotating dumbbells and heavy lifts.

The Core Dilemma: Enclosure vs. Open Space
Building a commercial-grade home gym in 2026 requires more than just buying heavy iron; it demands a meticulous approach to spatial geometry and structural safety. When your training arsenal includes both traditional Olympic barbells and specialized rotating dumbbells—which feature independent sleeve rotation to reduce wrist torque during heavy presses—the choice between a power rack, a squat rack (half rack), and a squat stand becomes a complex calculation of clearance, safety, and footprint. This complete setup and installation walkthrough will guide you through selecting, assembling, and configuring the right rack infrastructure for your specific biomechanical needs.
Defining the Big Three: Rack Architectures
Before unboxing hardware, you must understand the structural differences that dictate how your equipment interacts with your training space. Below is a comparative matrix of the three primary rack categories, featuring current 2026 benchmark models.
| Feature | Power Rack (e.g., Rogue RML-390F) | Squat Rack / Half Rack (e.g., Titan T-2) | Squat Stand (e.g., Rep Fitness SR-4000) |
|---|---|---|---|
| Upright Config | 4 Uprights (Full Enclosure) | 2 Main Uprights + 2 Rear Stabilizers | 2 Independent Uprights + Base |
| Steel Gauge | 11-Gauge 3x3 Steel | 11-Gauge 2x2 Steel | 11-Gauge 3x3 Steel |
| Standard Depth | 24", 30", or 41" | 24" to 36" | N/A (Typically 28" base length) |
| Avg. 2026 Price | $1,150 - $1,300 | $450 - $600 | $350 - $450 |
| Safety Spotting | Internal Pin/Pipe Safeties | External Catchers / Internal Arms | External Spotter Arms Only |
The Rotating Dumbbell Variable: Why Clearance Matters
Why dedicate an entire section of a rack guide to rotating dumbbells? Because their physical profile fundamentally alters your required rack depth and spotter arm configuration. Unlike standard hex dumbbells, heavy adjustable rotating dumbbells (such as the Nuobell 80lb models or commercial Olympic rotating-handle dumbbells) possess elongated heads or bulky dial mechanisms that extend laterally.
Expert Insight: When performing heavy incline or flat dumbbell bench presses, the lateral extension of rotating dumbbells requires a minimum of 4.5 inches of clearance on either side of the bench. If you use a shallow 24-inch deep squat stand, the dumbbell heads will violently strike the uprights at the bottom of the eccentric phase, risking catastrophic failure of the dial mechanism or structural damage to the rack.
For dedicated rotating dumbbell work integrated with barbell lifting, a 30-inch to 41-inch deep power rack or an open-front half rack with extended spotter arms is mandatory. This allows you to position the bench centrally, ensuring the dumbbell heads clear the uprights entirely while keeping the spotter arms close enough to catch a failed rep.
Complete Installation Walkthrough: From Concrete to Calibration
Improper installation is the leading cause of home gym injuries. According to safety guidelines published by the National Strength and Conditioning Association (NSCA), structural integrity and proper spotting clearances are non-negotiable. Follow this step-by-step protocol to ensure your setup is bulletproof.
Step 1: Subfloor Prep and Anchoring
Squat stands and half racks are inherently front-heavy when loaded with a barbell, but they become highly unstable during unilateral movements like heavy dumbbell step-ups.
- Concrete Requirements: Your slab must be a minimum of 4 inches thick with a compressive strength of 3,000 to 4,000 PSI.
- Hardware: Use 3/8-inch x 3-inch stainless steel wedge anchors. Do not use Tapcon screws for structural rack anchoring; they lack the sheer strength for dynamic loading.
- Execution: Drill a 3/8-inch hole exactly 3.5 inches deep. Vacuum the concrete dust (crucial for anchor bite). Insert the wedge anchor and torque to exactly 60-80 ft-lbs using a calibrated torque wrench.
Step 2: Upright Assembly and Hardware Torquing
Whether you are assembling a 2x2 Titan rack or a 3x3 Rogue power rack, the sequence of tightening dictates whether your rack sits perfectly square.
- Hand-Tighten First: Assemble all crossmembers and uprights using the provided 5/8-inch or 1-inch bolts and nyloc nuts. Tighten only by hand until the entire skeletal frame is erected.
- Square the Frame: Use a 48-inch carpenter's square and measure the diagonal distances between opposite corners. They must be identical within 1/16th of an inch.
- The Star Pattern: Using a torque wrench set to 90 ft-lbs, tighten the hardware in a star pattern (top-left, bottom-right, top-right, bottom-left). This prevents the steel from pulling out of alignment as tension increases.
Step 3: Spotter Arm and J-Cup Configuration
This is where the rotating dumbbell integration is finalized. Install your J-cups on the front uprights. For safety spotter arms, install them one full hole (typically 2 inches on standard 3x3 racks) below the J-cups for barbell work. However, when switching to heavy rotating dumbbell presses, lower the spotter arms an additional 2 inches. Because rotating dumbbells require a deeper eccentric stretch to fully engage the pectoral muscles, standard barbell spotter heights will prematurely halt your range of motion.
⚠️ Critical Warning: The Tipping Hazard
If you are utilizing freestanding squat stands (like the Rep SR-4000) without bolting them to the floor, never perform heavy dumbbell step-ups or walking lunges where your body weight shifts dynamically outside the base of support. The biomechanical leverage generated during a missed step can generate over 400 lbs of lateral tipping force, easily overturning an unanchored 150-lb stand. For dynamic dumbbell work, a fully enclosed, floor-bolted power rack is the only safe option.
Real-World Failure Modes to Avoid
Even with premium 11-gauge steel, user error during setup leads to specific, predictable failure modes. Watch out for these edge cases:
- UHMW Plastic Degradation: Many modern J-cups feature UHMW plastic liners to protect barbell knurling. When using metal-handled rotating dumbbells, the aggressive metal-on-plastic friction during racking will shear the plastic within months. Swap to sandwich-style J-cups with replaceable inserts if dumbbell racking is frequent.
- Westside Hole Spacing Confusion: Racks with Westside spacing (1-inch holes in the bench press zone) are excellent for micro-adjusting barbell heights. However, the dense hole pattern weakens the upright if you attempt to mount heavy lat pulldown attachments directly to the bench zone. Always mount heavy cable attachments to the reinforced upper or lower sections of the upright.
- Nyloc Nut Re-use: The nylon insert in nyloc nuts loses its friction-holding capability after a single removal. If you disassemble your rack to move, you must purchase a fresh batch of Grade 8 nyloc nuts. Reusing them risks vibrational loosening during heavy drops.
Summary Framework: Making the Final Decision
Choosing between a power rack, squat rack, and squat stand ultimately hinges on your spatial constraints and your commitment to safety during complex movements. If your programming heavily features rotating dumbbells, unilateral work, and heavy eccentric loading, the 41-inch deep power rack is the undisputed champion of safety and versatility, despite its $1,200+ price tag and massive footprint. For garage gyms with low ceilings or limited depth, an open-front half rack with extended safety spotter arms offers the perfect compromise, allowing dumbbell clearance while maintaining a secure environment for barbell squats and presses.
For further reading on resistance training biomechanics and joint safety during heavy dumbbell pressing, refer to the educational resources provided by the American Council on Exercise (ACE). Proper equipment setup is not just about protecting your floors; it is about engineering an environment where your biomechanics can operate at peak performance without structural compromise.
More gear to consider
All reviews
Leg Workouts With Only Dumbbells: Troubleshooting Neoprene Mistakes

Home Gym Setup: Barbell Knurling & Back Fat Workouts With Dumbbells
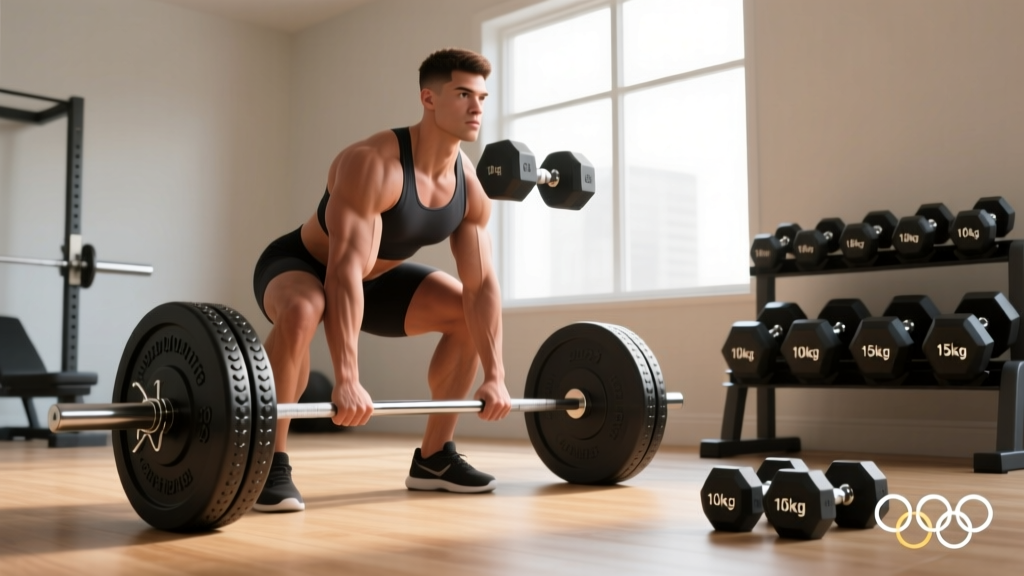
Barbell Guide: Knurling, Weight & Quadriceps Exercises with Dumbbells
Setup Guide: How to Exercise With 10 Pound Dumbbells at Home

Olympic vs Standard Plates for High Intensity Interval Training Workouts with Dumbbells
