
Installing a Power Rack vs Squat Stand for Dumbbell Arm Exercises
Compare power racks, squat racks, and stands. Follow our installation walkthrough to optimize your home gym for heavy lifts and dumbbell arm exercises.

The Home Gym Dilemma: Enclosed Rack vs. Open Stand
When building a home gym in 2026, the centerpiece is undoubtedly the squat rack or power rack. But while most buyers focus entirely on barbell squats and bench presses, a well-designed rack ecosystem fundamentally changes how you perform isolation movements. Specifically, configuring your rig to accommodate heavy dumbbell arm exercises requires strategic spatial planning, specialized attachments, and a rock-solid installation foundation. If you are trying to decide between a full power rack, a half squat rack, or a minimalist squat stand, this complete setup and installation walkthrough will guide you through the exact specifications, spatial requirements, and hardware configurations needed to build a versatile training station.
According to the ExRx Weight Room Guidelines, proper equipment spacing and structural stability are the primary predictors of long-term home gym safety and usability. A rack is not just a place to hold a barbell; it is a modular hub. By the end of this guide, you will understand how to bolt down your chosen rig and outfit it to safely support heavy dumbbell arm exercises, cable pushdowns, and landmine variations without compromising your floor space or structural integrity.
Equipment Breakdown: Footprint, Capacity, and Cost
Before unboxing any hardware, you must select the right chassis for your space. Here is how the three main categories compare in the current market:
| Feature | Power Rack (e.g., Rogue RM-6) | Squat Rack (e.g., REP SR-4000) | Squat Stand (e.g., Rogue S-2) |
|---|---|---|---|
| Footprint | 48' x 48' (Standard) | 48' x 36' (Compact) | 48' x 24' (Minimalist) |
| Weight Capacity | 1,000+ lbs | 800 - 1,000 lbs | 500 - 800 lbs |
| Avg. Price (2026) | $1,600 - $2,500+ | $600 - $900 | $400 - $550 |
| Best For | Heavy lifters, cable attachments, full enclosure | Garage gyms with limited depth, bench work | Tight spaces, outdoor gyms, budget builds |
| Arm Exercise Utility | High (Lat pulldowns, cable tricep extensions) | Medium (Band attachments, dumbbell trays) | Low (Mostly free-standing dumbbell work) |
Phase 1: Space Planning and Floor Preparation
The most common failure mode in home gym installations is neglecting the subfloor. Whether you are installing a 300-pound power rack or a 150-pound squat stand, the kinetic energy from dropped weights and the lateral force from rack pulls will destroy standard laminate or tile flooring.
⚠️ Ceiling Clearance Warning: Standard 90-inch uprights leave only 18 inches of clearance in a room with an 8-foot ceiling. If you plan to perform seated overhead dumbbell arm exercises or pull-ups inside the rack, you must opt for 84-inch uprights or ensure your ceiling height is at least 9 feet. The NSCA Home Gym Design Guidelines recommend a minimum of 36 inches of clearance around all sides of the rack for safe dumbbell loading and unloading.Subfloor Matting Protocol
Do not use cheap interlocking foam tiles. For a permanent rack installation, purchase 3/4-inch thick, 4x6-foot vulcanized rubber horse stall mats. These typically cost between $60 and $90 per mat at agricultural supply stores. Lay down a moisture barrier (6-mil polyethylene sheeting) if your rack is going directly onto a concrete garage slab to prevent sweat and humidity from trapping moisture under the rubber, which can cause concrete spalling over time.
Phase 2: Step-by-Step Installation Walkthrough
Once your matting is laid and cut precisely around the rack's footprint using a utility knife and a straight edge, it is time to assemble the steel. While specific instructions vary by manufacturer, the structural principles remain identical across all heavy-duty 3x3-inch 11-gauge steel racks.
- Stage the Base Assembly: Assemble the base crossmembers on the floor first. Do not fully tighten the hardware yet. Leave all bolts at about 80% tightness to allow for micro-adjustments when standing the uprights up.
- Erect the Uprights: With a partner, lift the uprights and slot them into the base. Insert the primary 5/8-inch Grade 8 structural bolts. If you are building a squat stand, ensure the rear gusset plates are perfectly flush against the uprights to prevent lateral sway.
- Install the Pull-Up Bar and Top Crossmembers: This is the critical step for squaring the rack. The pull-up bar acts as the final lateral stabilizer. Use a carpenter's level on the front and side uprights before tightening the top hardware.
- The Final Torque: Using a calibrated torque wrench, tighten all structural 5/8-inch bolts to 80-90 ft-lbs. This is the exact specification required to prevent the rack from loosening under the vibration of dropped barbells or the aggressive momentum of heavy dumbbell arm exercises like cheat curls.
- Bolt-Down vs. Flat-Foot: If you are using a squat stand or an open-front squat rack, you must bolt it to the floor using wedge anchors (for concrete) or structural lags (for wood subfloors). Power racks with heavy rear storage wings can often remain flat-footed, but bolting is always recommended for seismic stability.
Configuring Your Rack Ecosystem for Dumbbell Arm Exercises
Why does a heavy-duty rack installation matter for isolation work? The answer lies in ergonomics, cable integration, and storage. Performing dumbbell arm exercises in a cramped, poorly organized space leads to lower back strain from picking up heavy weights off the floor and limits your range of motion. Here is how to optimize your newly installed rack for arm day.
1. Rack-Mounted Dumbbell Storage Trays
If you invested in a power rack or half-rack with 3x3-inch uprights and 1-inch holes, purchase a pair of pin-and-pipe dumbbell storage trays. Mount these at waist height (approximately 40 inches from the floor). This allows you to safely lift 60lb, 80lb, or 100lb dumbbells directly into position for seated bicep curls or tricep extensions without having to deadlift them from the floor, preserving your lumbar spine for heavy compound movements.
2. FID Bench Positioning for Incline Curls
When setting up an adjustable FID (Flat/Incline/Decline) bench inside the rack for incline dumbbell curls, position the bench so the backrest is at a 45-to-60-degree angle. Ensure the bench is centered between the uprights. If you are using a squat stand, you have the luxury of unlimited lateral space, allowing you to flare your elbows out widely for chest-supported dumbbell curls without your elbows striking the steel uprights—a common issue in enclosed 48-inch wide power racks.
3. Landmine Attachments for Rotational Arm Work
Install a landmine attachment at the base of your rack. While often used for presses, the landmine is a phenomenal tool for single-arm rotational tricep extensions and concentration curls. The variable resistance curve of the landmine provides maximum tension at the peak contraction of the bicep, mimicking the effect of a preacher curl bench without requiring the extra floor space of a standalone preacher station.
4. Cable Pulley Integration
If your budget and rack type allow (specifically power racks and some modular half-racks), installing a lat pulldown / low row cable attachment transforms your rig. This enables constant-tension tricep pushdowns and cable bicep curls, which are vastly superior for joint health and time-under-tension compared to free weights alone. Ensure the cable stack is placed on the rear of the rack to maintain an open front profile for your dumbbell work.
Pro-Tip: When performing heavy dumbbell hammer curls inside a rack, use the uprights as a physical backrest. Standing with your back pressed firmly against a 3x3 upright eliminates momentum and cheating, forcing strict bicep isolation while the rubber-lined upright protects your spine from impact.
Safety Protocols and Failure Modes
Even when performing dumbbell arm exercises, safety hardware is non-negotiable. If you are doing heavy dumbbell floor presses or close-grip dumbbell bench presses inside the rack, always install the spotter arms or safety straps. Set the safety straps just below your chest's lowest point of travel. Unlike steel spotter arms, which can chip the knurling or rubber coating on your expensive dumbbells if you drop them, heavy-duty nylon safety straps will catch the dumbbells silently and without damaging the equipment.
Furthermore, regularly inspect the UHMW plastic liners on your J-cups and spotter arms. Over time, the friction of racking heavy weights can wear these liners down to the bare steel, leading to loud metal-on-metal impacts and potential barbell slippage. Replace these liners every 12 to 18 months depending on your training volume.
Frequently Asked Questions
Do I really need to bolt down a squat stand if I only do dumbbell exercises?
Yes. While dumbbell arm exercises themselves do not exert massive lateral force on the rack, the squat stand will inevitably be used for racking heavy dumbbells, performing pull-ups, or anchoring resistance bands. An unanchored squat stand has a high center of gravity and a narrow 24-inch base; a simple misstep while holding a heavy dumbbell can tip the entire structure. Always use wedge anchors on concrete.
Can I use a squat stand for cable tricep pushdowns?
Standard minimalist squat stands do not support integrated cable pulley systems due to the lack of a rear stabilizing base to counteract the weight of the cable stack. If cable tricep pushdowns are a priority for your arm workouts, you must upgrade to a half-rack or a full power rack that supports rear-mounted weight stacks or resistance band pegs.
What is the best ceiling height for a home gym rack?
To comfortably perform pull-ups, overhead presses, and standing dumbbell arm exercises without hitting your hands on the ceiling, a minimum ceiling height of 8 feet 6 inches is recommended if using standard 84-inch uprights. If your ceiling is exactly 8 feet, you must purchase specialized 72-inch or 80-inch short uprights.
More gear to consider
All reviews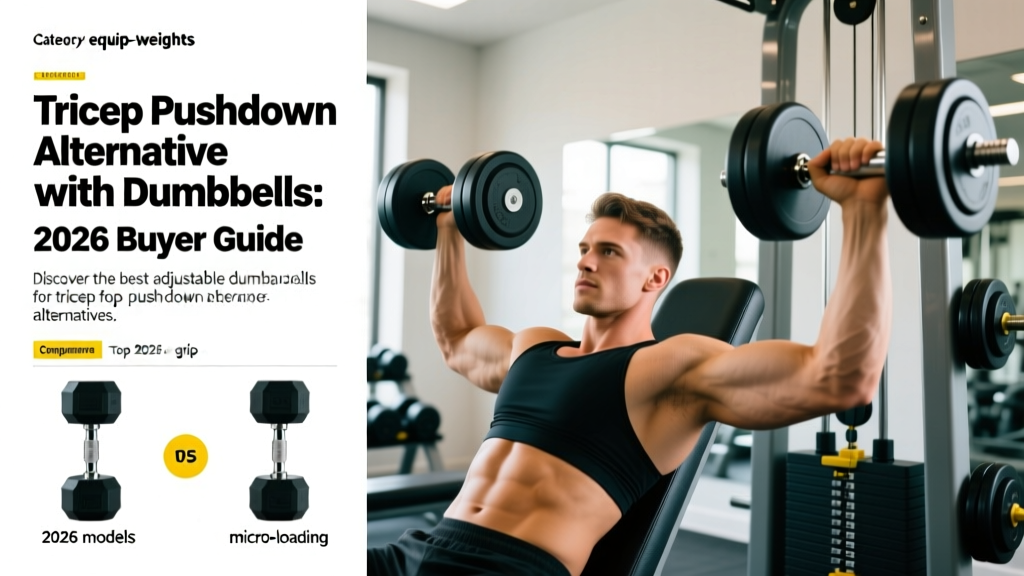
Tricep Pushdown Alternative with Dumbbells: 2026 Buyer Guide

Home Gym Setup: Full Arm Exercises With Dumbbells Using Neoprene
Cast Iron vs Competition Kettlebells & Triceps Workout with Dumbbells for Beginners
Nike Grind Dumbbell vs Adjustable: Beginner Step-by-Step Guide

Budget Racks for Good Back Workouts With Dumbbells 2026
