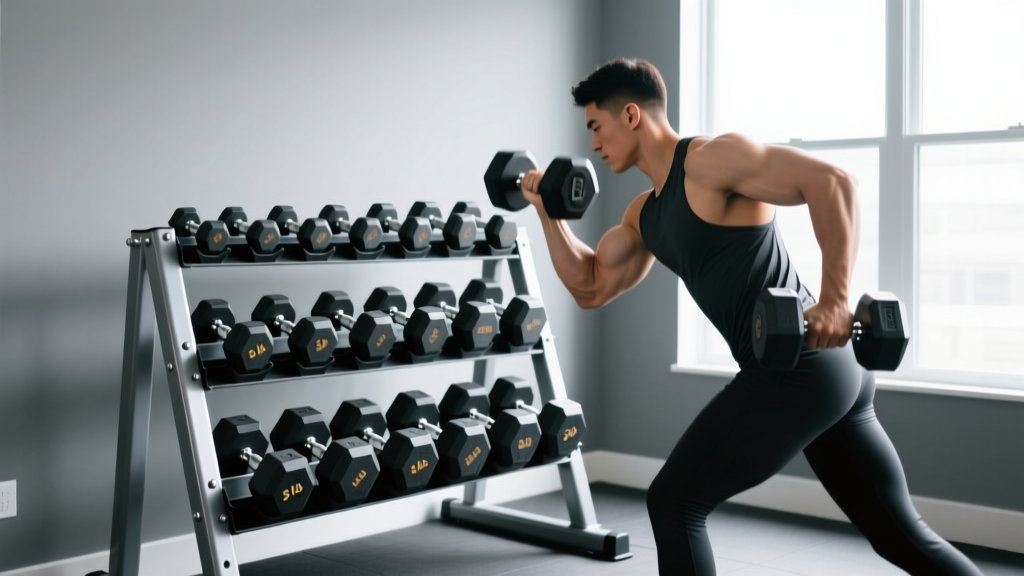
Maintaining Dumbbell Racks for Heavy Alternating Dumbbell Row Workouts
Learn how to maintain and optimize your dumbbell rack to withstand the heavy, asymmetric loads of the alternating dumbbell row and extend gear lifespan.

The Biomechanical Toll: How Unilateral Rows Stress Your Rack
When programming for back hypertrophy and functional strength, the alternating dumbbell row remains a foundational movement. However, from a facility management and equipment longevity perspective, this specific exercise introduces unique mechanical stresses to your dumbbell rack and storage solutions. Unlike bilateral movements where weights are lifted and racked symmetrically, the alternating dumbbell row involves heavy, unilateral loads—often ranging from 70 to 120+ pounds for advanced lifters—followed by fatigued, asymmetric racking.
According to biomechanical analyses published in the Strength and Conditioning Journal, the eccentric lowering phase of a heavy unilateral row generates significant rotational torque. When a lifter racks a 100-pound hex dumbbell after a grueling set, the off-center impact and lateral drag can exert peak forces exceeding 250 pounds on a single tier support. Over time, this repetitive asymmetric loading accelerates hardware fatigue, weld degradation, and tier misalignment. Proper maintenance is not just about aesthetics; it is a critical safety protocol.
⚠️ Safety Callout: The Asymmetric Racking HazardNever allow athletes to 'drop' heavy dumbbells onto the rack tiers from waist height after a set of alternating dumbbell rows. The resulting shear force can snap 14-gauge steel support brackets or strip the threading on M12 mounting bolts, leading to catastrophic tier collapse.
Rack Material & Weld Inspection Protocol
The longevity of your storage solution depends heavily on the steel gauge and the integrity of the welds at the tier-to-upright junctions. Commercial facilities in 2026 are increasingly moving away from 14-gauge steel for heavy dumbbell storage, favoring 11-gauge or 7-gauge steel uprights to handle the dynamic shock of heavy free weights.
| Steel Gauge | Max Recommended Tier Load | Weld Inspection Frequency | Ideal Use Case |
|---|---|---|---|
| 14-Gauge (Standard) | Up to 50 lbs per bell | Monthly | Light commercial / Home gyms (Neoprene/Vinyl sets) |
| 11-Gauge (Heavy Duty) | Up to 120 lbs per bell | Quarterly | Serious home gyms / CrossFit boxes (Urethane Hex sets) |
| 7-Gauge (Commercial) | 150+ lbs per bell | Bi-Annually | High-volume commercial gyms / Powerlifting facilities |
When inspecting welds, follow the visual inspection guidelines outlined by the American Welding Society (AWS). Use a high-lumen LED flashlight and a 10x magnifying loupe to check the heat-affected zones (HAZ) where the tier brackets meet the vertical uprights. Look for micro-fractures, indicated by faint, jagged lines or localized rust blooming, which is a primary indicator of internal stress fractures caused by repetitive impact loading.
Hardware Torquing and Tier Leveling
Vibration is the silent killer of bolted storage racks. Every time a heavy dumbbell is slammed down after a set of alternating dumbbell rows, micro-vibrations travel through the steel frame, gradually backing out nuts and bolts. To maintain structural rigidity, implement a strict hardware maintenance schedule.
Step-by-Step Torque and Leveling Procedure
- Clear the Rack: Remove all dumbbells. This is non-negotiable; you cannot accurately assess tier sag or torque bolts under an active load.
- Inspect the Fasteners: Identify your hardware. Most premium racks (like the Rogue RM-6 or Rep Fitness 3-Tier) use M12 or M16 Grade 8 hex bolts with nyloc (nylon insert) lock nuts.
- Apply the Torque Wrench: Set your torque wrench to the manufacturer's specification—typically between 60 and 85 ft-lbs for M12 bolts. Tighten until the wrench clicks. Note: If a nyloc nut spins freely before reaching torque, the nylon insert is stripped and the nut must be replaced immediately.
- Check Tier Leveling: Place a 24-inch magnetic torpedo level across the horizontal tier supports. If the rack sits on an uneven floor, adjust the foot caps or use steel shims beneath the base plates to eliminate lateral sway.
Protecting the Tiers: Coating Friction and Degradation
The interaction between the dumbbell coating and the rack tier material dictates the lifespan of both. The alternating dumbbell row requires a secure grip, meaning lifters often use heavily knurled handles and drop the bells onto the rack with residual chalk and sweat. This creates an abrasive paste that accelerates wear.
Urethane vs. Rubber on Painted Steel
Urethane dumbbells are the gold standard for commercial facilities because they resist tearing and do not off-gas. However, urethane is harder than rubber. When dragged across a powder-coated steel rack tier, urethane acts like sandpaper, stripping the protective coating and exposing the raw steel to oxidation. Conversely, cheap rubber dumbbells can chemically react with certain powder-coat finishes, leaving a sticky, degraded residue that is nearly impossible to remove.
"To preserve both your premium urethane dumbbells and your rack's powder coat, apply a layer of 3/4-inch heavy-duty horse stall matting to the rack tiers, secured with heavy-duty double-sided carpet tape. This dampens acoustic shock, eliminates steel-on-urethane friction, and provides a non-slip surface that prevents heavy bells from rolling off the tier when bumped."
— Facility Maintenance Guidelines, National Strength and Conditioning Association (NSCA)
Optimizing Rack Layout for Unilateral Workflows
Maintenance also encompasses how the equipment is organized to prevent unnecessary handling damage. The alternating dumbbell row is frequently performed in a superset or as part of a high-density hypertrophy block. If the rack is poorly organized, lifters will drag heavy bells across multiple tiers to find the correct 5-pound increment, causing deep gouges in the rack's finish and damaging the dumbbell heads.
- The 'Working Set' Zone: Dedicate the middle tier (waist height) strictly to the 40 lb – 90 lb range, which covers the vast majority of working sets for the alternating dumbbell row.
- Increment Spacing: Ensure there is a minimum of 2.5 inches of lateral clearance between each dumbbell pair. This allows lifters to grip and lift the bells straight up without scraping the adjacent weights.
- Heavy Bell Placement: Store dumbbells over 100 lbs on the bottom tier only. Racking a 120 lb dumbbell on a top tier after a taxing set of rows introduces a severe tipping hazard and places maximum bending moment on the upper weld joints.
Acoustic and Vibration Dampening for the Base
Finally, the base of your dumbbell rack must be isolated from the gym floor. When heavy dumbbells are dropped onto the floor adjacent to the rack—a common occurrence during the final, failure-inducing reps of an alternating dumbbell row—the shockwave travels through the concrete and up into the rack's base plates. Over years of use, this concrete-spalling effect can loosen the anchor bolts (if floor-mounted) or warp the base tubing. Always position your dumbbell rack on top of a dedicated 3/4-inch vulcanized rubber mat, leaving a 6-inch buffer zone around the perimeter to catch stray bells and absorb kinetic energy before it reaches the rack's structural foundation.
By treating your dumbbell storage not just as a static shelf, but as a dynamic piece of impact-absorbing equipment, you ensure that your facility remains safe, visually pristine, and structurally sound for decades of heavy unilateral training.
More gear to consider
All reviews
Beyond Seated Dumbbell Workouts: Barbell Weight & Knurl Guide

Iron vs Bumper Plates & Dumbbell Chest Supported Upright Row Budget
Bumper vs Iron Plate Care: Bent Over Two-Dumbbell Row with Palms In
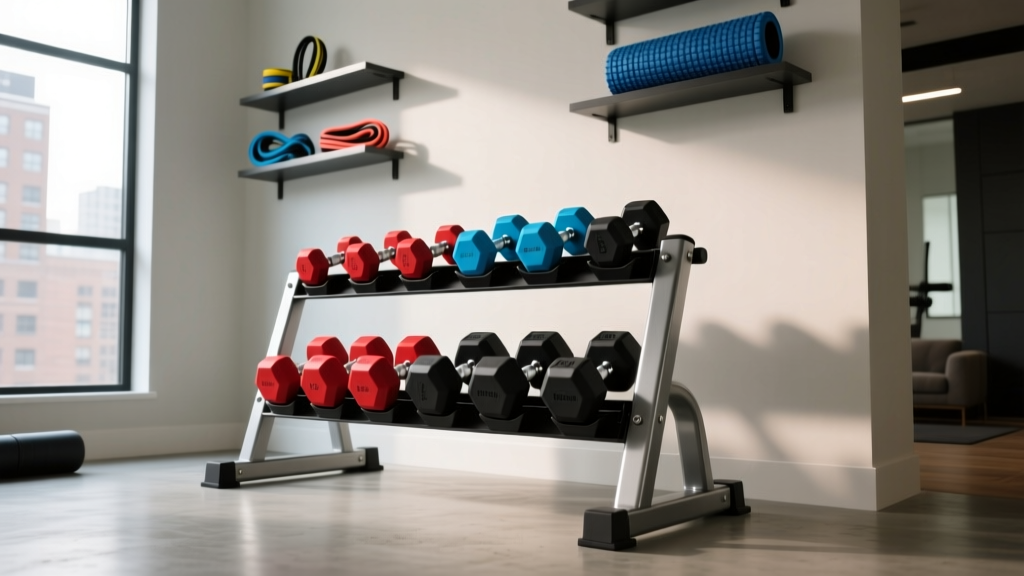
Budget Dumbbell Racks for Good Lat Workouts with Dumbbells
Side Lunges Exercise With Dumbbells: Top Loadable Picks
