Quad Exercises at Home with Dumbbells: Neoprene Setup Guide
Master quad exercises at home with dumbbells. Our complete walkthrough covers neoprene dumbbell selection, rack installation, and space setup.

The Complete Walkthrough: Setting Up for Quad Exercises at Home with Dumbbells
Designing a home gym specifically optimized for lower-body hypertrophy requires navigating unique spatial, structural, and equipment constraints. When executing quad exercises at home with dumbbells, the physical setup of your environment is just as critical as the biomechanics of the lift. Neoprene-coated dumbbells have surged in popularity for home use due to their noise-dampening properties, floor-friendly hexagonal molds, and sweat-resistant grip. However, they also present specific loading limitations that require strategic workarounds.
This comprehensive setup and installation walkthrough will guide you through sourcing the correct neoprene weight tiers, installing a heavy-duty storage rack, preparing your floor space, and biomechanically positioning your body to maximize quadriceps activation using neoprene dumbbells.
Quick Setup Specs & 2026 Pricing Baselines
- Optimal Floor Matting: 3/4-inch vulcanized rubber horse stall mats (~$55 per 4x6 ft sheet).
- Rack Footprint: Standard 3-tier horizontal racks require a 24" x 28" footprint.
- Neoprene Weight Ceiling: Most commercial hex neoprene lines cap at 50 lbs per dumbbell.
- Heel Elevation Tool: 10 lb neoprene-coated cast iron plates or a dedicated 15-degree urethane wedge.
Phase 1: Sourcing and the Neoprene Weight Ceiling
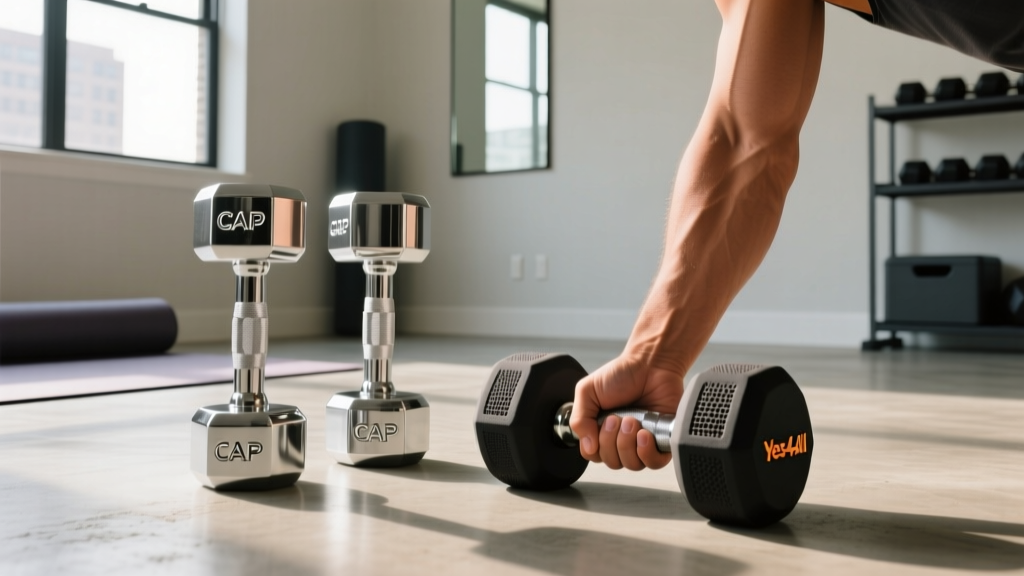
Before installing your equipment, you must address the primary limitation of neoprene dumbbells: weight capacity. Unlike bare cast iron or urethane, which easily scale to 120+ lbs, neoprene-coated dumbbells (such as the CAP Barbell Hex Neoprene series) typically max out at 50 lbs. For advanced lifters, bilateral movements like standard goblet squats will quickly become endurance work rather than hypertrophy triggers.
According to resistance training guidelines published by the American College of Sports Medicine (ACSM), maximizing muscle hypertrophy requires loading that induces momentary muscular failure within the 6-to-12 repetition range. To achieve this with a 50 lb neoprene ceiling, your setup must prioritize unilateral (single-leg) movements and extended time-under-tension protocols.
| Target Movement | Recommended Neoprene Tier | Setup Strategy to Hit Failure |
|---|---|---|
| Bulgarian Split Squat | 30 lbs - 45 lbs (per hand) | 1.5 Rep style (full depth, half up, full depth, stand) |
| Heel-Elevated Goblet Squat | 40 lbs - 50 lbs (single bell) | 3-second eccentric descent, 1-second pause at bottom |
| Deficit Reverse Lunge | 25 lbs - 40 lbs (per hand) | Stand on a 2-inch elevated platform to increase knee flexion |
Phase 2: Dumbbell Rack Installation & Floor Prep
Neoprene dumbbells are dense and awkwardly shaped compared to kettlebells. Dropping a 40 lb neoprene hex dumbbell onto standard laminate or vinyl flooring will cause immediate structural damage. Proper floor preparation and rack installation are non-negotiable.
Step 1: Sub-Floor and Mat Installation
Begin by laying down 3/4-inch vulcanized rubber mats. Do not use cheap interlocking foam tiles; they will compress under the point-load of a dropped dumbbell and fail to protect your subfloor. Cut the mats to fit your 6x6 ft workout zone, ensuring the seams are tightly butted. If installing over plush carpet, you must first lay down a 3/4-inch plywood sub-base to prevent the rack from sinking and becoming unstable.
Step 2: Assembling the 3-Tier Horizontal Rack
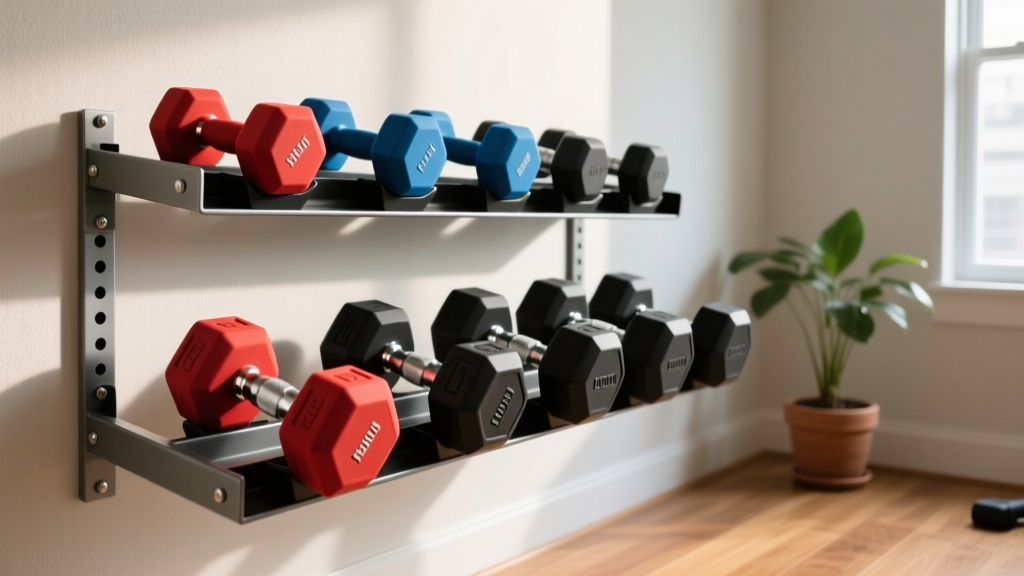
A-frame racks consume too much vertical space and make retrieving heavy 50 lb dumbbells dangerous. Opt for a 3-tier horizontal steel rack (e.g., the CAP Barbell 3-Tier Dumbbell Rack). Follow this installation sequence to ensure structural integrity:
- Base Assembly: Attach the front and rear base rails to the vertical uprights using the provided M10 hex bolts. Crucial Tip: Only tighten these bolts to 80% torque initially.
- Shelf Installation: Slide the three angled steel shelves into the pre-welded slots or bolt them to the side brackets. The steepest angle should be on the top tier for smaller 5-15 lb dumbbells, while the bottom tier remains nearly flat for the massive 40-50 lb neoprene bells.
- Squaring and Torquing: Place the empty rack on your rubber mat. Use a carpenter's level on the top shelf. If the rack wobbles, insert hard plastic Wobble Wedges under the base rail. Once perfectly level, go back and tighten all M10 bolts to 100% torque using a socket wrench.
- Loading Sequence: Always load the bottom tier first to lower the center of gravity, preventing tip-over hazards during heavy unilateral setups.
Phase 3: Biomechanical Setup for Quad-Dominant Movements
With your equipment installed, the final phase is setting up your body. The quadriceps are primarily responsible for knee extension. Therefore, any setup that maximizes knee flexion (the bending of the knee) while minimizing hip flexion will bias the quads over the glutes and hamstrings. The ExRx exercise directory highlights knee flexion as the primary biomechanical driver for quad isolation.
Setup A: The Heel-Elevated Goblet Squat
To perform this safely with a heavy 50 lb neoprene dumbbell, you must elevate your heels. This artificial increase in ankle mobility allows your knees to track further over your toes, drastically increasing the stretch on the vastus medialis and lateralis.
- The Platform: Place two 10 lb neoprene-coated weight plates flat on your rubber mat, spaced shoulder-width apart.
- Foot Placement: Step onto the plates so your heels are elevated exactly 1.5 inches off the ground. Angle your toes outward at a 15-degree angle.
- The Bell Position: Hoist the 50 lb dumbbell vertically. Cup the top inner head of the dumbbell with both palms, keeping your elbows tucked tightly against your ribcage to prevent lower back hyperextension.
- Execution: Descend until your hamstrings physically cover your calves. The heel elevation ensures your torso remains entirely upright, forcing the quads to absorb 80% of the load.
Setup B: The Deficit Reverse Lunge
Standard reverse lunges are excellent, but adding a deficit transforms them into a premier quad builder.
- The Deficit: Use a low plyo box or a stacked pair of 3/4-inch rubber mats to create a 2-inch elevation platform.
- Dumbbell Positioning: Hold a 35 lb or 40 lb neoprene dumbbell in each hand using a neutral grip (palms facing your thighs). The hexagonal shape of the neoprene coating prevents the bells from swinging and hitting your knees during the descent.
- The Stride: Step backward off the platform. Take a slightly shorter stride than a normal lunge; a longer stride biases the glutes, while a shorter, more vertical stride isolates the leading quad.
Expert Troubleshooting: If you feel the Bulgarian Split Squat primarily in your groin or hip flexor rather than your quad, your rear bench is likely too high. Lower the bench to exactly 14-16 inches (roughly knee height) and ensure your front foot is positioned far enough forward to allow a 90-degree knee bend at the bottom of the movement.
Phase 4: Maintenance and Preventing Neoprene Degradation
Neoprene is a synthetic rubber that is highly durable but susceptible to specific environmental failure modes. In a home gym setting, the primary enemy of neoprene is the acidity of human sweat combined with UV exposure.
Over time, acidic sweat can break down the chemical bonds in the neoprene coating, causing it to become sticky, peel, or emit a foul odor. To prevent this, implement a strict post-workout maintenance protocol:
- Wipe Down: Immediately after your quad session, wipe the knurled handles and the coated heads with a microfiber cloth dampened with a pH-neutral, non-bleach cleaner (such as a diluted Simple Green solution).
- UV Protection: Never store your dumbbell rack directly in front of a south-facing window. Prolonged UV exposure will dry out the neoprene, leading to micro-cracking along the hexagonal edges.
- Inspect the Parting Line: Cheaper neoprene molds often leave a raised plastic 'parting line' seam down the middle of the handle. If this seam begins to lift or dig into your calluses during heavy goblet squats, lightly sand it with 220-grit sandpaper and apply a thin layer of chalk to restore grip friction.
Final Thoughts on Home Quad Training
Executing effective quad exercises at home with dumbbells requires looking past the limitations of the equipment and optimizing your environment. By acknowledging the 50 lb neoprene weight ceiling, properly installing a heavy-duty horizontal rack on vulcanized rubber, and utilizing biomechanical setups like heel-elevations and deficits, you can stimulate profound quadriceps hypertrophy without ever needing a barbell or commercial gym machine. Treat your setup with the same precision as your rep schemes, and your home gym will yield elite-level results.
More gear to consider
All reviews
EZ Bar vs Straight Bar & Rear Delt Exercises at Home with Dumbbells
How to Workout Using Dumbbells: CAP vs. Yes4All Neoprene

EZ vs Straight Bar Budget Guide: What Does Dumbbell Row Work?

2026 Trend: Loadable Dumbbells for a 30 Minute Dumbbell Workout

Women's Dumbbell Workout Routine PDF Free Download: Time for a Rack?
