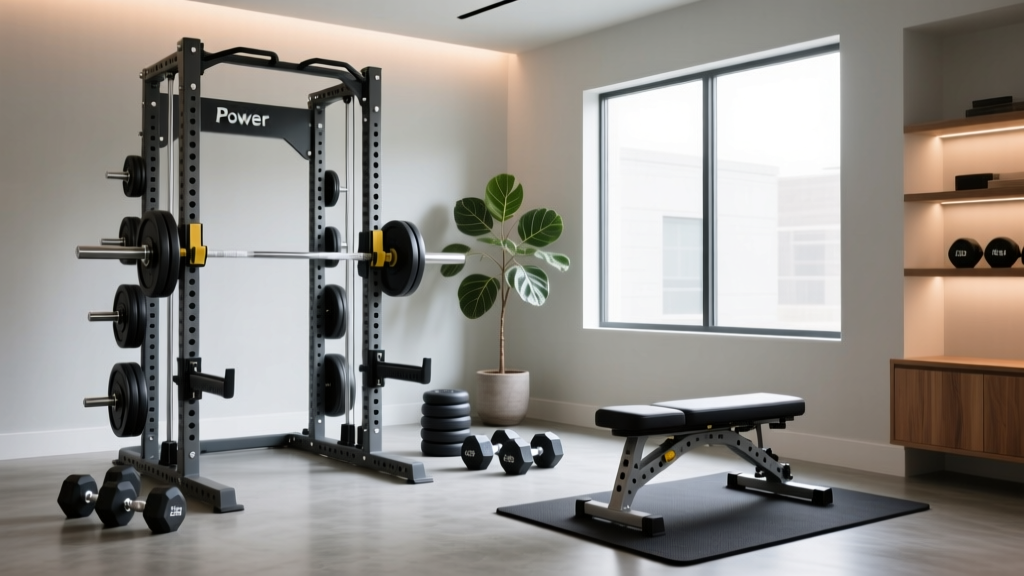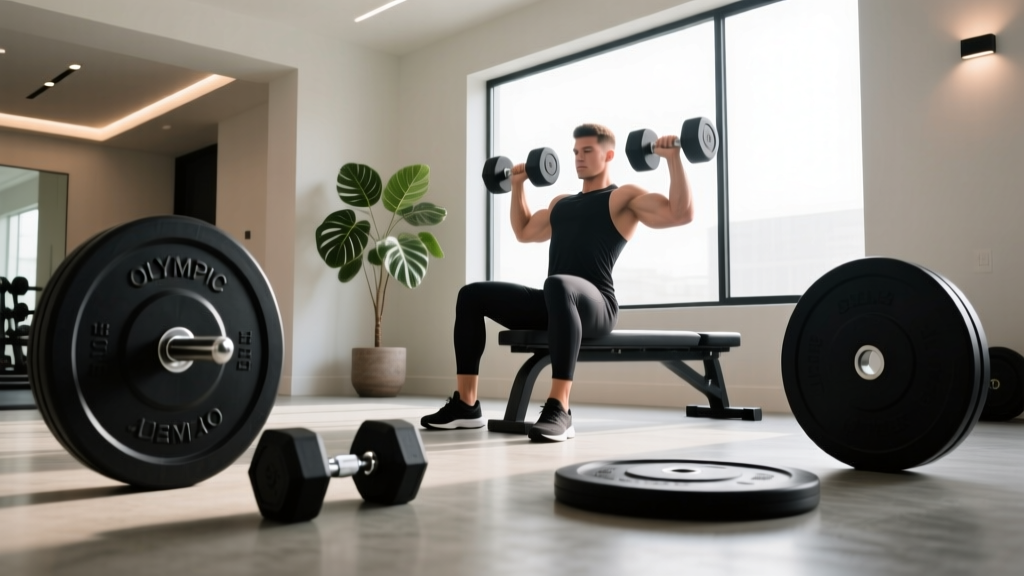
Olympic vs Standard Plates & Seated Dumbbell Shoulder Press Form
Compare Olympic vs standard weight plates for your home gym. Includes a beginner step-by-step guide to perfect seated dumbbell shoulder press form.

The Foundation of Your Home Gym: 1-Inch vs 2-Inch Plates
When building a free-weight setup in 2026, beginners are immediately confronted with a bifurcated equipment market: standard and Olympic weight plates. While both serve the fundamental purpose of adding resistance, their dimensional differences dictate the type of barbells, dumbbells, and storage racks you can use. More importantly, the gear you choose directly impacts your biomechanics during foundational movements, including your seated dumbbell shoulder press form.
Beginner Callout: The terms 'Standard' and 'Olympic' do not refer to the weight of the plates, but rather the diameter of the center hole and the corresponding barbell sleeve they fit onto.Standard Weight Plates (1-Inch Center Hole)
Standard plates feature a 1-inch (25.4mm) center hole. They are typically manufactured from cast iron or cement-filled vinyl and are designed to slide onto solid steel or hollow-core bars. Because 1-inch bars lack rotating sleeves and are generally made from lower-tensile steel, they have a strict weight ceiling. Loading a standard 7-foot bar beyond 200–250 lbs often results in permanent bar bending or sleeve failure.
Olympic Weight Plates (2-Inch Center Hole)
Olympic plates feature a 2-inch (50.8mm) center hole. They are the global standard for commercial gyms, competitive powerlifting, and serious home garages. Olympic bars feature rotating sleeves equipped with bushings or needle bearings, which reduces rotational torque during dynamic lifts. High-quality Olympic plates—whether cast iron, rubber-coated, or urethane—are engineered to withstand drops from overhead and can safely load bars with 500 to 1,500+ lbs.
Feature Comparison Matrix: Olympic vs Standard Plates
| Feature | Standard Plates | Olympic Plates |
|---|---|---|
| Hole Diameter | 1 inch (25.4mm) | 2 inches (50.8mm) |
| Average Cost (2026) | $1.00 - $1.50 / lb | $2.00 - $4.50 / lb |
| Max Safe Bar Load | ~250 lbs | 500 - 1,500+ lbs |
| Sleeve Rotation | None (Fixed) | Bushings or Bearings |
| Durability & Drop Test | Low (Cracks if dropped) | High (Bumper/Rubber options) |
How Plate Choice Impacts Dumbbell Mechanics
You might wonder how barbell plates affect dumbbell training. Many beginners purchase 'plate-loaded' dumbbell handles to save money. Here is where the Olympic vs standard debate directly intersects with your seated dumbbell shoulder press form.
If you use standard 1-inch dumbbell handles, the sleeves are typically only 10 to 12 inches long. This physically caps your maximum weight at around 40–50 lbs per hand before the plates slide off the sleeve. Furthermore, standard handles often feature narrow, straight grips that force excessive wrist extension under heavy loads.
Conversely, Olympic plate-loaded dumbbells (like the Rogue Loadable Dumbbell) can hold 100+ lbs per hand. However, the 2-inch Olympic plates create a massive, bulky profile. When you lower the weight to the bottom of a shoulder press, the wide diameter of the Olympic plates can clash with your forearms or wrists. To avoid this collision, lifters subconsciously flare their elbows outward, compromising their seated dumbbell shoulder press form and increasing the risk of rotator cuff impingement. According to biomechanical guidelines outlined by the National Strength and Conditioning Association (NSCA), maintaining proper scapular tracking and elbow alignment is critical for overhead pressing longevity.
Expert Verdict: For dedicated dumbbell work, bypass plate-loaded handles entirely. Invest in a set of fixed hex dumbbells or high-quality adjustables (like Nuobell or PowerBlock) to ensure clean clearance and perfect form.
Step-by-Step Guide: Perfecting Seated Dumbbell Shoulder Press Form
Once you have the correct equipment that allows for a natural range of motion, follow this step-by-step protocol to master the movement.
Step 1: The Bench Angle (The 85-Degree Rule)
Do not set your adjustable bench to a perfectly vertical 90 degrees. A 90-degree backrest forces the lumbar spine into an unnatural arch and increases shoulder impingement risk. Set the bench to an 80 or 85-degree incline. This slight recline accommodates natural thoracic kyphosis and allows the deltoids to press in a safer biomechanical path.
Step 2: The Kick-Up
Sit with the dumbbells resting on your thighs, just above the knees. As you lean back into the bench, drive your right knee up to launch the right dumbbell into position, followed immediately by the left. Do not attempt to curl the weights up with your biceps once your back is against the pad.
Step 3: The Scapular Plane Alignment
This is the most common failure point. Do not flare your elbows out perfectly to the sides (the frontal plane). Instead, tuck your elbows slightly forward—about 15 to 30 degrees in front of your torso. This is known as the scapular plane (or scaption). As noted in the ExRx.net biomechanical breakdown of the anterior deltoid press, this slight forward angle aligns the glenohumeral joint with the natural orientation of the shoulder blade, drastically reducing joint capsule stress.
Step 4: The Press and Lockout
Drive the weights up and slightly inward. Stop just short of full elbow lockout to maintain continuous tension on the medial and anterior deltoids. Never let the dumbbells clang together at the top; this destabilizes the shoulder girdle and wastes kinetic energy.
Step 5: The Eccentric Descent
Lower the weights under strict control for a 2-second count. Stop when your elbows break the plane of your torso (roughly when the dumbbell handles align with your ears). Going deeper with heavy dumbbells places excessive stretch-mediated tear risk on the pec-delt tie-in.
Common Gear & Form Failure Modes
- Standard Bar Yielding: If you buy a $40 standard 7-foot barbell from a big-box sporting goods store and load it with 250 lbs of standard plates, the bar will likely develop a permanent 'whip' or bend. This ruins barbell mechanics and makes racking dangerous.
- Wrist Extension from Bulky Handles: Using thick-grip or heavily loaded Olympic dumbbell handles forces the wrist into hyperextension during the press, shifting the load away from the deltoids and onto the carpal joints.
- Vinyl Plate Degradation: Standard cement-filled vinyl plates often leak or crack within 12–18 months if stored in an unclimate-controlled garage, shifting the center of mass and throwing off your lifting symmetry.
2026 Buying Framework for Beginners
How should you allocate your budget between plates and dumbbells this year?
- The Budget Setup (Under $400): Buy 150 lbs of standard cast-iron plates and a 1-inch solid steel barbell for basic deadlifts and rows. Pair this with a pair of 30 lb fixed hex dumbbells to practice your seated dumbbell shoulder press form safely without the bulk of plate-loaded handles.
- The Serious Home Gym ($800 - $1,500): Skip standard plates entirely. Invest in 250+ lbs of rubber-coated Olympic plates, a high-tensile Olympic barbell, and a set of adjustable dumbbells (e.g., PowerBlock Elite EXP). This setup provides commercial-grade durability and the precise weight increments needed for progressive overhead pressing.
Understanding the mechanical limitations of standard gear versus the expansive utility of Olympic equipment is the first step in building a home gym that supports, rather than hinders, your biomechanics. Prioritize joint-friendly angles, invest in rotating sleeves where possible, and always let proper form dictate your equipment choices.
More gear to consider
All reviews
Essential Gym Dumbbells Accessories: Rack Maintenance & Storage Care

How Low Should the Bench Be for Incline Dumbbell Press? (Barbell Guide)
Dumbbell Dead Row Mistakes: Troubleshooting Neoprene Weights

Standard vs Olympic Plates: Alternate Dumbbell Front Raise Guide

Best Racks for Your Weight Lifting Routine with Dumbbells (2026)