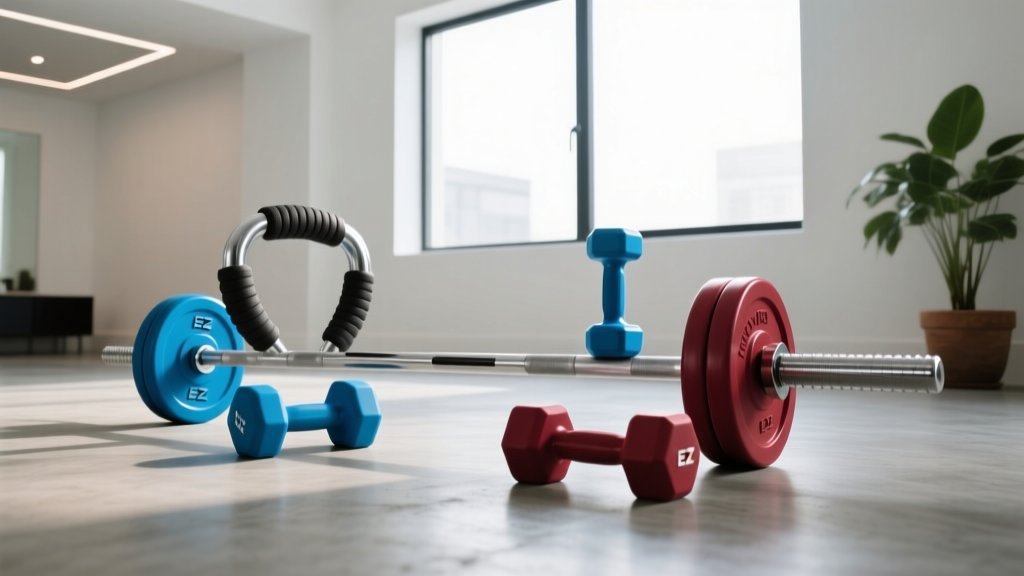
Olympic vs Standard Plates Setup & Seated Dumbbell Side Raises
Master your 2026 home gym setup with our Olympic vs standard weight plates guide and optimize your bench station for perfect seated dumbbell side raises.

The Dual-Zone Home Gym: Heavy Loading and Strict Isolation
Building a comprehensive home gym in 2026 requires balancing two fundamentally different training environments: the heavy compound loading zone and the precision isolation zone. Whether you are outfitting a two-car garage or a dedicated basement studio, the structural integrity of your weight storage and the spatial geometry of your bench stations dictate both safety and performance. This complete setup and installation walkthrough bridges the gap between heavy iron and targeted hypertrophy. We will first break down the installation and storage requirements for Olympic versus standard weight plates, then transition into configuring the precise clearances, bench angles, and spatial geometry required for strict, momentum-free seated dumbbell side raises.
The Core Foundation: Olympic vs Standard Weight Plates
Before bolting a single plate tree to your wall, you must commit to a plate ecosystem. The choice between Olympic and standard plates dictates your barbell compatibility, rack sleeve dimensions, and storage hardware. According to comprehensive equipment analyses by BarBend, the primary differentiator is the center hole diameter, but the downstream effects on weight capacity and durability are massive.
| Feature | Olympic Plates | Standard Plates |
|---|---|---|
| Center Hole Diameter | 2 inches (50.6mm) | 1 inch (25.4mm) |
| Max Load Capacity | 800 - 1,500+ lbs | 200 - 350 lbs |
| Material (2026 Market) | Cast Iron, Urethane, Crumb Rubber | Cast Iron, Vinyl/Cement Filled |
| Avg. Cost Per Pound | $1.50 - $3.00 | $0.80 - $1.50 |
| Storage Peg Size | 2" (Schedule 40 Steel Pipe) | 1" (Solid Steel Rod) |
Why Olympic Dominates the Heavy Zone
If your programming includes heavy squats, deadlifts, or Olympic lifts, standard plates are a safety hazard. Standard 1-inch spin-lock bars flex dangerously under loads exceeding 250 lbs, and the cast-iron standard plates often suffer from center-hole cracking due to poor tolerance matching. Olympic plates, paired with a 2-inch sleeve barbell, distribute sheer force evenly. For storage, Olympic plates require heavy-duty 2-inch diameter steel pegs, usually rated for 100+ lbs per peg.
Storage Installation Walkthrough: Mounting the Plate Tree
Improperly installed plate storage is a leading cause of home gym property damage and injury. The U.S. Consumer Product Safety Commission (CPSC) regularly flags tipping hazards associated with overloaded, freestanding weight trees. Wall-mounted storage is vastly superior for space efficiency and safety, provided it is anchored correctly.
Hardware Checklist for Wall-Mounted Plate Storage
- Stud Finder: Magnetic or electronic to locate 16" on-center wooden studs or metal framing.
- Fasteners: 3/8" x 3" structural lag screws (do not use drywall anchors or standard wood screws).
- Washers: 3/8" heavy-duty flat steel washers to distribute sheer load across the bracket.
- Tools: Impact driver, 1/2" drive torque wrench, and a 4-foot spirit level.
Step-by-Step Mounting Procedure
- Locate and Mark Studs: Identify at least two vertical studs. Mark the center of each stud at 48 inches and 24 inches from the floor for a two-tier wall bracket system.
- Pre-Drill Pilot Holes: Use a 7/32" drill bit to pre-drill 2.5 inches deep into the center of the studs. This prevents the wood from splitting when driving the 3/8" lag screws.
- Mount the Brackets: Align the heavy-gauge steel wall brackets. Drive the lag screws through the washers and brackets into the studs. Torque to 40 ft-lbs. Do not overtighten, as this can strip the wood threads.
- Install the Pegs: Slide the 2-inch (for Olympic) or 1-inch (for standard) pegs into the bracket sleeves and secure them with the provided set-screws using a 4mm hex key.
Designing the Isolation Zone: Seated Dumbbell Side Raises
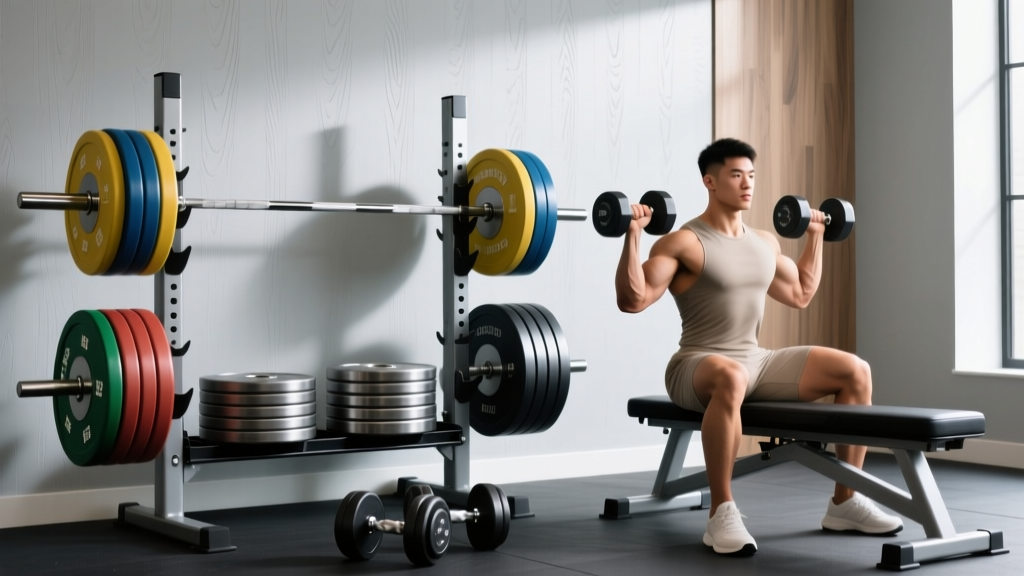
Once the heavy plate storage is secured, we shift to the isolation zone. The seated dumbbell side raise is a staple for medial deltoid hypertrophy, but it is notoriously easy to cheat using lower back momentum and leg drive. Performing this movement seated on an upright bench eliminates cheating, but it demands a highly specific spatial setup to avoid hitting adjacent racks or walls with the dumbbells.
Clearance Matrix for Lateral Movements
When setting up your adjustable bench for side raises, you must account for the full wingspan of the user plus the length of the dumbbells. A standard 30 lb hex dumbbell is roughly 14 inches long. If the user has a 70-inch wingspan, the total clearance required from left wall to right wall is a minimum of 98 inches.
Pro-Tip: Never place your isolation bench directly inside a power rack for side raises. The uprights will restrict your lateral arm path, forcing you to internally rotate your shoulders at the top of the movement, which drastically increases the risk of impingement.
Bench Assembly and Angle Calibration
For strict seated dumbbell side raises, the bench backrest must be set between 85 and 90 degrees. A perfectly vertical 90-degree backrest can cause users to arch their lumbar spine aggressively to clear their head, leading to lower back compression. An 85-degree incline (found on premium models like the Rep Fitness AB-3100 2.0 or Rogue Utility Bench 3.0) provides spinal support while keeping the torso locked.
Assembly and Torque Specifications
When assembling your adjustable bench, the pivot points and ladder mechanisms undergo immense sheer stress during adjustments.
- Main Frame Bolts: Use the included M10 x 80mm hex bolts. Apply blue Loctite (threadlocker) to prevent vibration loosening. Torque to 35 ft-lbs.
- Footpad Stabilizers: Ensure the rubber footpads are fully seated. If your floor is uneven (common in garages), use adjustable threaded leveling feet to eliminate the "wobble" that ruins isolation focus.
- Backrest Ladder Pin: Inspect the pull-pin mechanism. The spring must return the pin fully into the hole with an audible click. A partially engaged pin will slip under load.
Biomechanics and Spatial Optimization
The setup of your bench relative to your dumbbell rack is critical for maintaining tension. If the dumbbell rack is too far away, you waste energy and lose your mental connection to the working set picking up heavy 40 lb or 50 lb hex dumbbells. Position a tiered dumbbell rack exactly 24 inches behind the head of the bench. This allows you to lean forward, grab the dumbbells, and hinge back into the 85-degree upright position in one fluid motion.
Shoulder Health Warning: The Scapular Plane
According to orthopedic guidelines from the Cleveland Clinic, performing side raises strictly in the frontal plane (directly out to the sides) can compress the supraspinatus tendon against the acromion. To optimize your bench setup and protect your joints, angle your forearms roughly 15 to 30 degrees forward into the "scapular plane" (scaption). Ensure your bench placement allows for this slight forward drift without your knuckles striking a mirror or wall.
Real-World Troubleshooting & Edge Cases
Even with meticulous planning, home gym setups present unique edge cases. Here is how to troubleshoot the most common installation and spatial issues encountered in 2026 garage builds.
1. The Standard Plate Tree Tipping Hazard
The Issue: You opted for a freestanding standard 1-inch plate tree to save money, but it tips forward when you load three 25 lb vinyl plates on the top peg.
The Fix: Freestanding trees must be loaded from the bottom up. Always place 45 lb and 35 lb plates on the lowest, widest pegs to lower the center of gravity. If the tree lacks a wide triangular base, anchor the rear of the frame to the wall using a heavy-duty nylon ratchet strap or a steel L-bracket.
2. Dumbbell Handle Clearance on Narrow Benches
The Issue: When performing seated side raises with heavy hex dumbbells, the inner plates of the dumbbell strike the side of the bench pad at the bottom of the movement, halting your range of motion.
The Fix: This occurs when using a bench with an excessively wide backrest pad (over 12 inches). Swap to a bench with a 10-inch contoured pad, or use competition-style dumbbells with shorter, thicker handles rather than standard commercial hex dumbbells.
3. Wall Stud Misalignment for Plate Storage
The Issue: Your garage walls have metal studs spaced 24 inches apart, and your wall-mounted plate bracket only spans 16 inches, leaving one side unanchored.
The Fix: Install a horizontal 2x6 pressure-treated timber ledger board across the wall, lag-bolting it into the metal studs using toggle bolts or self-drilling metal lags. Then, mount your plate brackets directly into the timber ledger board using standard wood lags. This distributes the load and allows for infinite bracket spacing.
Final Walkthrough Inspection
Before loading your Olympic sleeves with 400 lbs or picking up your 50 lb dumbbells for your first set of seated side raises, perform a final structural audit. Pull down aggressively on the plate storage pegs to test sheer strength. Sit on the upright bench and simulate the lateral raise path with empty hands, verifying that your knuckles clear all adjacent walls, racks, and mirrors by at least 6 inches. A properly installed home gym doesn't just hold weight; it facilitates perfect biomechanics, keeping you safe and maximizing hypertrophy for years to come.
More gear to consider
All reviews
Power Rack vs Squat Rack vs Stand: Work Shoulders with Dumbbells
Power Rack vs Squat Stand: Female Dumbbell Gym Mistakes
How to Curl Dumbbells Correctly: Rubber Hex vs Urethane Budget Guide

Are Dumbbells Enough? Top Neoprene Sets for Home Use (2026)

Best Neoprene Weights for a Dumbbell Routine for Beginners