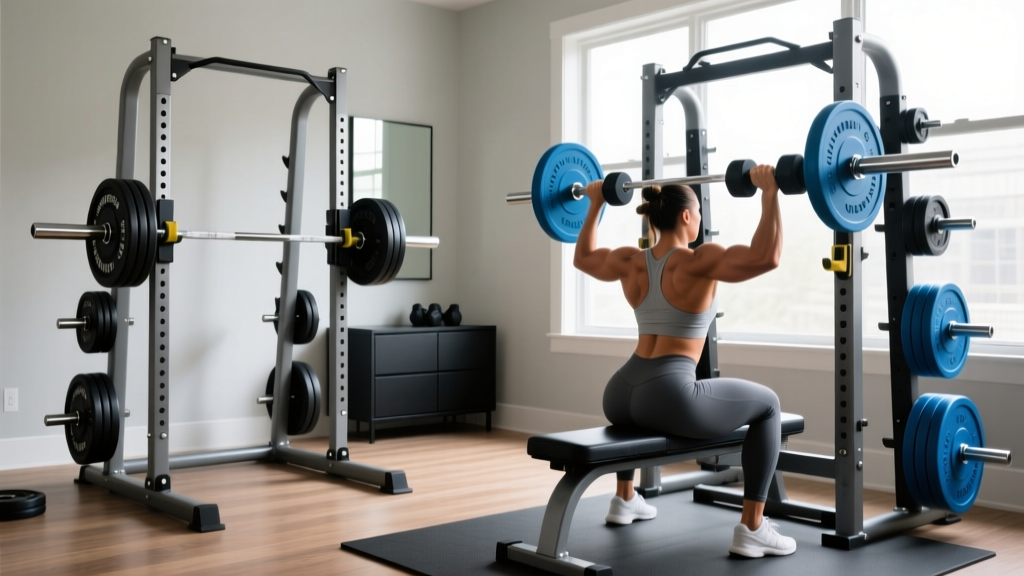
Standard vs Olympic Plates Setup & Seated Dumbbell Power Clean
Master your 2026 home gym setup. Compare Olympic vs standard plate installations and learn the seated dumbbell power clean for explosive power.

Building a comprehensive home gym in 2026 requires more than just buying iron; it demands a strategic approach to equipment compatibility, spatial planning, and biomechanical setup. Whether you are outfitting a two-car garage or a dedicated basement training space, the foundational decision of your free weight ecosystem hinges on the debate of weight plate types: Olympic vs standard. This choice dictates your barbell sleeves, rack storage pegs, and long-term loading capacity.
However, a complete free weights and racks setup isn't just about barbell work. To build true functional explosiveness and shoulder stability, your dumbbell zone must be meticulously configured. In this complete setup and installation walkthrough, we will guide you through choosing and installing your plate ecosystem, racking your hardware safely, and configuring your bench zone to master the seated dumbbell power clean—a highly specific, upper-body-dominant explosive movement.
The Core Decision: Olympic vs. Standard Weight Plates
Before bolting your rack to the concrete, you must commit to a plate standard. The fitness industry in 2026 still offers both, but their use cases are vastly different. Standard plates feature a 1-inch (25.4mm) center hole, while Olympic plates adhere to the International Weightlifting Federation (IWF) standard with a 2-inch (50.8mm) center hole.
⚠️ Critical Warning: Never attempt to use standard 1-inch plates on an Olympic barbell without a specialized sleeve adapter. Doing so will cause the plates to wobble violently during dynamic movements, leading to severe barbell oscillation, sleeve scoring, and potential catastrophic failure during heavy lifts.| Feature | Standard Cast Iron (1-Inch) | Olympic Bumper/Iron (2-Inch) |
|---|---|---|
| Center Hole Diameter | 1.00 inch (25.4mm) | 1.96 inches (50mm) |
| Max Load Capacity | ~250 lbs (before bar bend) | 700+ lbs (IWF spec bars) |
| Average 2026 Cost | $0.90 - $1.20 per lb | $1.60 - $2.50 per lb |
| Ideal Application | Light isolation, budget setups | Olympic lifts, heavy compounds |
Step-by-Step Rack and Plate Storage Installation
Once you have selected your plate ecosystem (we highly recommend Olympic for any serious lifter in 2026), the next phase is the physical installation of your power rack and plate storage trees. For this walkthrough, we are using the Titan T-3 Power Rack (50x50mm uprights with 5/8-inch hardware) paired with a Rogue Fitness plate storage tree.
Phase 1: Anchoring and Upright Assembly
- Layout and Marking: Measure a 48x48-inch footprint. Use a laser level to mark your concrete anchor holes if you are bolting down. If using a sandwiched bolt-together base, ensure the floor is perfectly level to prevent rack sway.
- Upright Erection: Assemble the base crossmembers first. Slide the 90-inch uprights into the base sockets. Insert the 5/8-inch Grade 8 bolts and hand-tighten. Do not fully torque until the entire skeleton is assembled to allow for micro-adjustments.
- Hardware Torquing: Using a calibrated torque wrench, tighten all structural bolts to 85 ft-lbs. This prevents metal-on-metal squeaking during heavy rack pulls.
Phase 2: Installing the Plate Storage Pegs
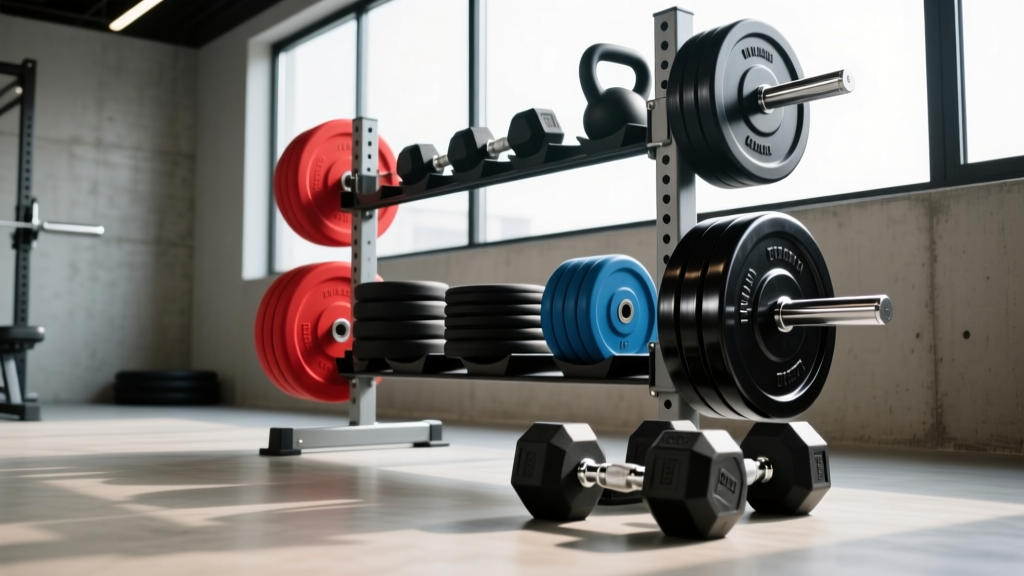
Plate storage is where the Olympic vs standard decision becomes physically apparent. Standard 1-inch storage pegs are typically solid steel rods that will permanently bend if you load more than four 45-pound cast iron plates on them. Olympic storage pegs are hollow, thick-walled steel tubes designed to hold 300+ lbs per peg.
- Placement Strategy: Install your heaviest plate pegs (45lb and 35lb) on the lowest rungs of the rack's rear uprights to lower the center of gravity.
- Clearance Check: Ensure there is at least 14 inches of lateral clearance between pegs so you can easily slide bumper plates on and off without pinching your fingers.
Configuring the Dumbbell Zone for the Seated Dumbbell Power Clean
While your barbell zone is built for heavy axial loading, your dumbbell zone must be optimized for dynamic, multi-planar movements. The seated dumbbell power clean is an elite exercise for developing upper-body rate of force development (RFD) without the systemic fatigue of a full barbell clean. According to biomechanical analyses referenced by the National Strength and Conditioning Association (NSCA), removing the lower-body stretch-shortening cycle forces the traps, deltoids, and biceps brachii to absorb the entirety of the explosive second pull.
Equipment Setup & Bench Calibration
To perform this movement safely, your bench setup must be exact. We recommend an adjustable FID bench like the REP AB-3100 2.0, which features a 12-gauge steel frame and zero-gap seating.
- Seat Height: Set the seat pad to exactly 17.5 inches from the floor. This allows your feet to plant firmly, creating a stable base for force transfer.
- Backrest Angle: Adjust the backrest to 75 or 80 degrees. A perfectly vertical 90-degree backrest restricts scapular retraction during the catch phase, increasing the risk of shoulder impingement.
- Dumbbell Selection: Use Rubber Hex Dumbbells (e.g., Rogue or REP Fitness). The hexagonal heads prevent the dumbbells from rolling off your thighs during the initial setup phase before the pull.
"The seated variation of the power clean isolates the upper body's explosive pulling mechanics. It is a vital tool for athletes who need to develop shoulder girdle power while managing lower-body fatigue or recovering from lumbar spine injuries." — Biomechanics insights adapted from ExRx.net Kinesiology Archives.
Execution Walkthrough: The Seated Dumbbell Power Clean
- The Start: Sit on the bench with a backrest set at 75 degrees. Rest a pair of heavy hex dumbbells vertically on your thighs, just above the knees. Your grip should be neutral (palms facing each other).
- The Momentum Shift: In one fluid motion, kick the dumbbells up using your thighs while simultaneously leaning your torso forward about 15 degrees. This creates the initial upward momentum.
- The Second Pull (Explosion): As the dumbbells become weightless from the thigh kick, violently extend your hips against the bench and shrug your traps upward. Pull the dumbbells straight up the torso, keeping the elbows high and outside (the 'scarecrow' position).
- The Catch: Rapidly drop your elbows under the weight, rotating your wrists so the palms face forward. Catch the dumbbells at shoulder height with your elbows slightly in front of the torso to protect the rotator cuff.
- The Reset: Lower the dumbbells under control back to the thighs. Do not drop them directly to the floor from shoulder height, as this generates excessive eccentric force on the biceps tendon.
💡 Troubleshooting Common Failure Modes
Wrist Impingement on the Catch: If you feel sharp pain in the lateral wrist during the catch, your grip is too wide. Narrow your starting grip by 2 inches to ensure the forearm is perfectly vertical when the dumbbell reaches the shoulder.
Lumbar Hyperextension: If your lower back arches off the pad during the pull, the weight is too heavy, or your backrest is set too far back. Drop the weight by 15% and increase the backrest angle to 80 degrees.
Frequently Asked Questions (FAQ)
Can I mix standard and Olympic plates in the same home gym?
Yes, but they require entirely separate storage and handling ecosystems. You will need standard 1-inch dumbbell handles and standard plate trees, alongside your Olympic barbell setup. In 2026, most serious lifters avoid this redundancy to save floor space and budget, opting to use adjustable dumbbells (like Nuobell or PowerBlock) instead of standard plate-loaded handles.
Why use the seated dumbbell power clean instead of a seated dumbbell shoulder press?
The shoulder press is a strict strength movement focusing on time-under-tension and absolute force. The seated dumbbell power clean trains power (Force x Velocity). It teaches the central nervous system to recruit high-threshold motor units rapidly, which translates directly to improved performance in sports requiring upper-body explosiveness, such as martial arts, wrestling, and football line play.
Do Olympic bumper plates damage standard steel storage pegs?
Yes, over time. The thick steel hubs of Olympic bumper plates (especially competition-calibrated plates with 50.4mm hubs) will scrape and degrade the paint on standard steel pegs. Always use storage pegs with UHMW plastic liners or nylon sleeves to protect both your expensive plates and your rack hardware.
More gear to consider
All reviews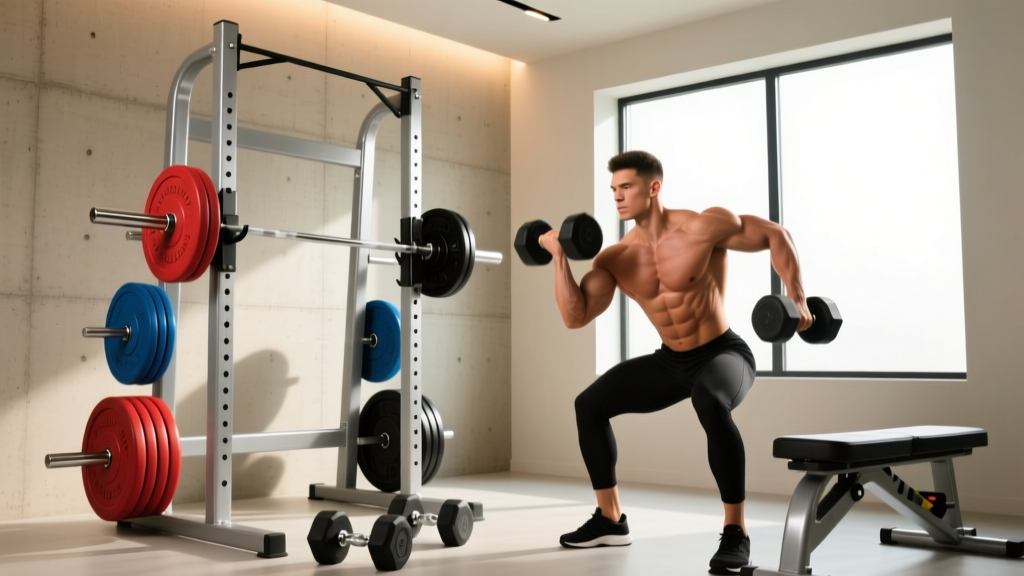
Bumper vs Iron Plates and Dumbbell Fly Muscles Worked: Fitness Guide
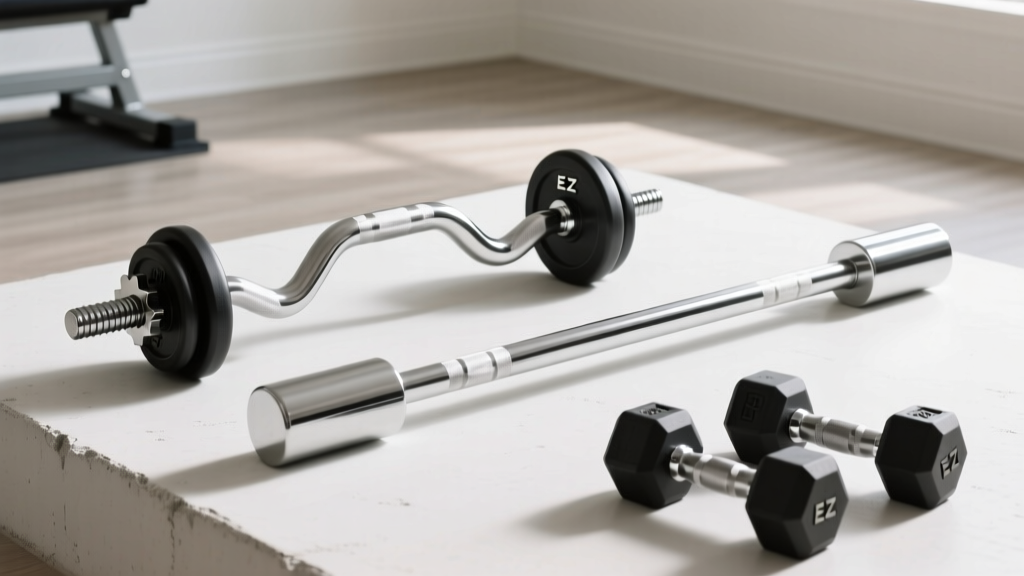
EZ Curl Bar vs Straight Bar: Upgrading Your Dumbbell Workout Sheet

Lying Dumbbell Chest Fly Mistakes & Barbell Collar Clamp Comparison
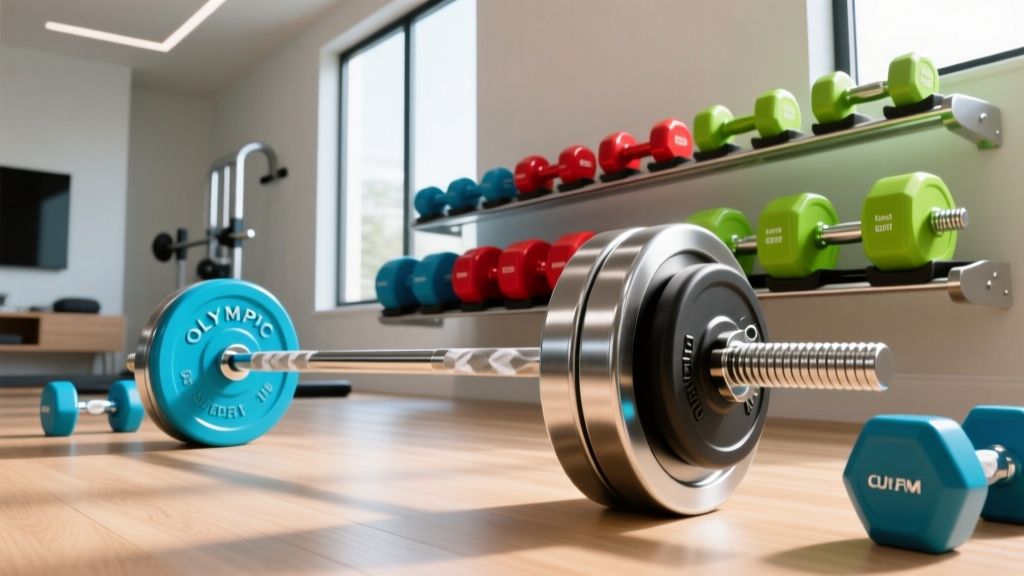
Olympic Barbell Buying Guide: Weight, Knurling & the Dumbbells Candy Color Trend
Bumper vs Iron Plates: Fund the Best Glute Exercises with Dumbbells
