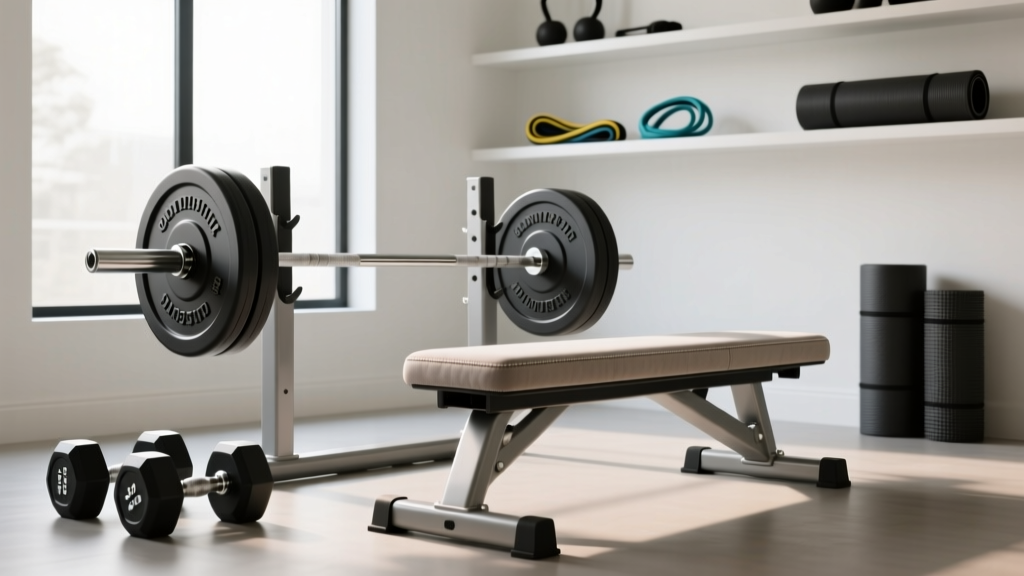
Olympic Barbell Setup: Knurling Guide & Dumbbell Lateral Pullover
Master your home gym installation with our Olympic barbell knurling guide, weight specs, and complete bench setup for the dumbbell lateral pullover.

Complete Free Weight Station: Installation & Configuration Walkthrough
Building a comprehensive home gym in 2026 requires more than just dropping equipment into a spare room. A true free weight station demands precise installation, an understanding of metallurgy, and ergonomic spatial planning. This walkthrough covers the critical selection and installation of your primary Olympic barbell, followed by the specific spatial configuration required to safely execute accessory movements like the dumbbell lateral pullover. Whether you are bolting down a new power rack or fine-tuning your bench clearances, this guide provides the exact specifications you need.
Phase 1: Olympic Barbell Buying Guide — Weight and Tensile Strength
The foundation of any rack setup is the barbell. When selecting an Olympic barbell, weight and tensile strength dictate the bar's performance, whip, and longevity. Standard men's Olympic bars weigh exactly 20kg (44 lbs) and measure 2.2 meters in length with a 28mm to 29mm shaft diameter. Women's Olympic bars weigh 15kg (33 lbs), measure 2.01 meters, and feature a narrower 25mm shaft.
However, weight is only half the equation. Tensile strength, measured in pounds per square inch (PSI), determines how much load the bar can take before permanently deforming. As of 2026, a high-quality multi-purpose bar should feature a minimum tensile strength of 190,000 PSI. For heavy powerlifting or frequent dropping, look for bars rated at 205,000 PSI or higher. Bars below 165,000 PSI are prone to permanent bending and should be avoided for serious training.
Decoding Knurling Profiles
Knurling is the machined pattern on the barbell shaft that provides grip. The depth and shape of the knurl drastically alter the feel of the bar. According to comprehensive testing by BarBend's barbell knurling guide, manufacturers generally utilize three distinct profiles:
| Knurl Profile | Shape & Depth | Best Use Case | Aggressiveness |
|---|---|---|---|
| Volcano | Conical peaks with a cratered center (approx. 0.025' depth) | Powerlifting, heavy deadlifts, low-rep squats | High (Grippy but tears calluses if unmanaged) |
| Mountain | Sharp, pointed peaks (approx. 0.030' depth) | Olympic weightlifting, competitive pulling | Very High (Can cause skin tearing on high-rep work) |
| Hill | Rounded, smooth peaks (approx. 0.015' depth) | High-rep CrossFit, pressing, home gym multi-use | Low to Medium (Comfortable for bare hands) |
Expert Tip: If your home gym serves multiple users or you frequently perform high-rep overhead pressing, a 'hill' or mild 'volcano' knurl is optimal. Reserve aggressive mountain knurling strictly for dedicated deadlift bars.
Phase 2: Power Rack Installation and Barbell Storage
Before configuring your bench zones, the power rack must be securely installed to handle the dynamic loads of Olympic lifting and heavy racking.
- Floor Assessment: Ensure your flooring is high-density rubber (minimum 3/8-inch thick) placed over a concrete subfloor. Do not anchor a rack into wood subfloors without structural reinforcement.
- Hardware Torquing: Most premium racks utilize 5/8-inch Grade 8 hex bolts. During assembly, hand-tighten all bolts first to allow the frame to square itself. Once squared, use a calibrated torque wrench to tighten all structural bolts to 85-95 ft-lbs.
- J-Cup and Spotter Arm Placement: Install your J-cups so the barbell rests at mid-sternum height. For barbell storage, attach your specialized barbell holders to the rear or side uprights, ensuring at least 12 inches of clearance from the wall to allow for easy sleeve loading.
Phase 3: Bench Configuration for the Dumbbell Lateral Pullover
While the barbell and rack form the core of your station, accessory movements require specific spatial configurations. The dumbbell lateral pullover is a highly effective exercise for targeting the latissimus dorsi, serratus anterior, and the sternal head of the pectoralis major. However, improper bench setup severely limits the range of motion and increases the risk of shoulder impingement.
Biomechanical Clearance Requirements
To achieve the deep stretch required for the dumbbell lateral pullover, your elbows must travel 4 to 6 inches below the horizontal plane of your torso. If your bench is too low, your elbows will strike the floor, abruptly halting the movement and placing dangerous eccentric stress on the glenohumeral joint.
Step-by-Step Pullover Station Setup
- Bench Height Selection: Use an adjustable flat bench set to a minimum height of 17.5 to 18.5 inches. Standard commercial benches often sit at 17 inches, which is adequate for most users, but taller lifters (over 6 feet) should seek out 18.5-inch benches or place the bench on a low, stable plyo box to elevate the torso.
- Orientation: Lie longitudinally (lengthwise) on the bench. While some lifters perform pullovers cross-bench (shoulders only on the pad), the longitudinal setup is vastly superior for the dumbbell lateral pullover variation as it provides full spinal support and allows for safer handling of heavy, single-dumbbell loads.
- Dumbbell Selection and Grip: Select a single hex or urethane dumbbell. Hex dumbbells are preferred here because the flat edges prevent the weight from rolling if you need to rest it on your thighs during the setup phase. Grip the inner plate of the dumbbell with your hands forming a diamond or triangle shape.
- Clearance Check: Before lifting the weight, perform a dry run with empty hands. Lower your arms backward until you feel a deep stretch in your lats. Verify that your elbows have at least 2 inches of clearance from the floor. If they touch, elevate the bench immediately.
For a detailed breakdown of the muscle activation and joint mechanics involved in this movement, refer to the ExRx dumbbell pullover directory, which remains the gold standard for exercise biomechanics.
Phase 4: Barbell Sleeve Maintenance and Final Safety Walkthrough
With the rack bolted and the bench zone configured, the final step in your installation walkthrough is establishing a maintenance baseline for your Olympic barbell. The sleeves (the rotating ends where plates are loaded) rely on either bronze bushings or needle bearings.
Warning: Never use standard WD-40 on your barbell sleeves. WD-40 is a solvent and degreaser, not a long-term lubricant. It will strip the factory grease from your bushings and lead to rapid metal-on-metal degradation.
For bushing bars, apply a few drops of 3-in-One oil or a specialized barbell sleeve oil into the gap between the shaft and the sleeve every three months. For needle bearing bars, a high-quality white lithium grease applied bi-annually is required to maintain the smooth, rapid spin necessary for Olympic lifts. Wipe down the knurling with a stiff nylon brush after every heavy session to remove chalk and dead skin, preventing rust and maintaining the aggressive bite of the volcano or mountain profile.
Final Walkthrough Checklist
- [x] Rack bolts torqued to 85-95 ft-lbs.
- [x] Barbell knurling profile verified for intended use case.
- [x] Bench height measured at 17.5+ inches for dumbbell lateral pullover clearance.
- [x] Dumbbell storage positioned within arm's reach of the bench zone.
- [x] Barbell sleeves lubricated and spinning freely without grinding noises.
By meticulously following this setup and installation walkthrough, you ensure that your free weight station is not only safe and durable but also biomechanically optimized for both heavy compound barbell lifts and precise accessory movements.
More gear to consider
All reviews
Bumper vs Iron Plates: Single Arm Overhead Dumbbell Extensions Space
Olympic vs Standard Plates & Proper Dumbbell Bench Press Form

Perfecting the Dumbbell Row for Lats: Rubber Hex vs Urethane
65 Pound Dumbbells in 2026: Neoprene vs. Rubber Hex Showdown

200 lb Dumbbell Market Trends 2026: Urethane vs Rubber Hex
