Olympic Barbell Weight, Knurling & Arm Workouts with Dumbbells Female
Master your home gym setup. This 2026 walkthrough covers Olympic barbell weight, knurling profiles, and rack installation for transitioning lifters.

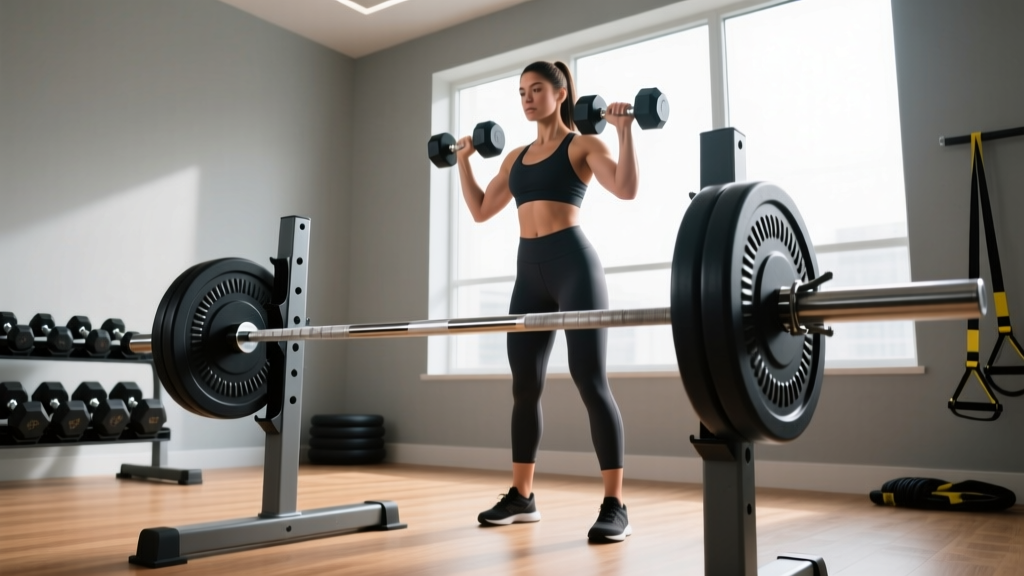
Setting up a dedicated home gym barbell station is a major milestone in any lifter's journey. If you have outgrown the popular arm workouts with dumbbells female fitness influencers recommend, it is time to invest in a proper Olympic barbell station. While adjustable dumbbells are fantastic for isolation hypertrophy, progressing to heavy compound movements like squats, deadlifts, and overhead presses requires the systemic loading that only a high-quality Olympic barbell can provide.
This complete setup and installation walkthrough will guide you through selecting the correct barbell weight and knurling profile, unboxing and inspecting your equipment, and properly installing it into your power rack. We are writing this from a 2026 perspective, factoring in current steel prices, modern knurling innovations, and the latest rack compatibility standards.
Phase 1: Sourcing the Barbell (Weight, Dimensions, and Tolerances)
The first step in your setup walkthrough is choosing the right barbell. The International Weightlifting Federation (IWF) and USA Weightlifting recognize two primary Olympic barbell standards: the 15kg (33lb) women's bar and the 20kg (44lb) men's bar. Understanding the dimensional differences is critical for rack compatibility and sleeve loading capacity.
| Specification | 15kg Women's Olympic Bar | 20kg Men's Olympic Bar |
|---|---|---|
| Total Weight | 15 KG (33 LBS) | 20 KG (44 LBS) |
| Shaft Diameter | 25mm | 28mm - 29mm |
| Shaft Length (Between Collars) | 1310mm (51.5 inches) | 1310mm (51.5 inches) |
| Sleeve Length | 320mm (12.6 inches) | 415mm (16.3 inches) |
| Total Length | 2010mm (79.1 inches) | 2200mm (86.6 inches) |
| Knurl Marks | Single (IWF) | Dual (IWF & IPF) |
Phase 2: Decoding Knurling Profiles for Your Grip
Knurling is the machined pattern on the barbell shaft designed to increase friction. For lifters transitioning from dumbbells, the aggressive bite of a powerlifting bar can feel jarring and tear up calluses during high-rep hypertrophy work. According to equipment experts at Rogue Fitness, there are three primary knurl profiles you will encounter in 2026:
- Hill (Avoid): The peaks are rounded off. Common on cheap, imported Amazon bars. It feels slippery when chalked and is not recommended for serious setups.
- Mountain (Aggressive): Sharp, steep peaks with deep valleys. Found on dedicated power bars (like the Rogue Ohio Power Bar). Excellent for heavy 1-rep max deadlifts, but will tear your hands during high-volume Olympic lifts or dynamic effort work.
- Volcano (The Sweet Spot): The peaks are slightly flattened with a small crater in the center. This provides immense surface area for grip without acting like a cheese grater on your skin. A 25mm shaft with a volcano knurl (such as the Rogue Bella Bar 15KG, priced around $245) is the gold standard for female lifters and anyone prioritizing joint comfort and high-rep durability.
Phase 3: Unboxing and Pre-Installation Inspection
Once your barbell arrives, do not immediately throw it on the rack. Follow this inspection walkthrough to ensure you received a defect-free product and to prep the steel for use.
- Remove the Shipping Grease: Manufacturers pack bars in heavy cosmoline or shipping grease to prevent rust during transit. Wipe the entire shaft and sleeves down with a microfiber towel and a light application of 3-IN-ONE oil.
- Inspect the Knurling: Run your fingers lightly over the knurl. Look for any smooth patches or machining errors where the pattern failed to cut deeply into the steel.
- Test the Sleeve Spin: Hold the shaft firmly and spin the sleeve with your free hand. A bar utilizing bronze or composite bushings should spin smoothly with a slight, consistent drag. If you hear grinding, clicking, or feel a 'catch' in the rotation, the internal bushings may be misaligned or damaged. Contact the manufacturer immediately.
- Check the End Caps: Ensure the snap rings or roll pins securing the end caps are fully seated. A protruding snap ring can scratch your rack's J-cups during re-racking.
Phase 4: Rack Installation and J-Cup Setup
Integrating your new barbell into your power rack or squat stand requires precise measurements to ensure safety and longevity of your equipment.
Step 1: J-Cup Spacing and Protection
Standard power racks feature an inner width of 49 inches. When installing your J-cups, ensure they are lined up perfectly parallel. If you are using a 15kg barbell, the shorter overall length (79.1 inches) means you have less margin for error on the sleeves. Catalyst Athletics emphasizes that improper J-cup alignment can cause the barbell to slip off the rack during heavy squats. Always use UHMW plastic-lined J-cups to protect the barbell's zinc or chrome finish from being scraped off by raw steel.
Step 2: Safety Strap or Pin Placement
Set your safety straps or spotter arms exactly one inch below the bottom position of your squat. For a 25mm shaft barbell, the bar will flex slightly differently than a stiffer 29mm power bar. Nylon safety straps are highly recommended over steel pins, as they will not damage the knurling or the bar's finish if you fail a rep and drop the weight.
"The setup of your barbell on the rack dictates the safety of your entire training session. Never sacrifice J-cup alignment for speed; a misaligned rack is a primary cause of bent barbell shafts and failed lifts." — Home Gym Engineering Standards, 2025
Phase 5: Transitioning Your Programming (Beyond Dumbbells)
With your Olympic barbell station fully installed, it is time to adapt your programming. Moving away from isolated arm workouts with dumbbells allows you to leverage the bilateral stability of the barbell.
Start by integrating the barbell into your routine twice a week. Focus on the 'Big Three' compound movements: the back squat, the strict overhead press, and the conventional deadlift. Because a 15kg barbell is 11 pounds lighter than a standard 20kg bar, you will need to adjust your starting percentages. Furthermore, the 25mm shaft diameter allows for a fuller wrap of the thumb around the bar, which is particularly beneficial for lifters with smaller hand spans utilizing the hook grip during deadlifts and cleans.
Maintenance Walkthrough: Keeping Your Knurling Pristine
To ensure your barbell lasts a lifetime, implement a bi-weekly maintenance routine. Dead skin, chalk, and sweat will pack into the knurling valleys, creating a breeding ground for rust and reducing the bar's grip. Use a stiff nylon brush (never brass or steel, which can strip zinc coatings) and scrub the knurl in a circular motion. Wipe away the debris with a dry cloth, and apply three to four drops of 3-IN-ONE oil along the shaft, rubbing it in with a paper towel. This simple 5-minute walkthrough will keep your volcano knurl biting perfectly for years to come.
More gear to consider
All reviews
Space-Saving VTX Dumbbell Set Layouts & Loadable Plates

EZ Curl Bar vs Straight Bar & Dumbbell Bench Press Without Bench

Reverse Pec Deck with Dumbbells Setup & Adjustable Dumbbell Comparison

Best Neoprene Dumbbells & Hooks for Dumbbells (2026)
Incline Dumbbell Press vs Shoulder Press: Rack & Storage Budget Guide
