
McGregor Dumbbell Setup Guide: Space Optimization for Home Gyms
Maximize your home gym footprint with our McGregor dumbbell setup guide. Learn clearance requirements, rack pairing, and space-saving layout strategies.

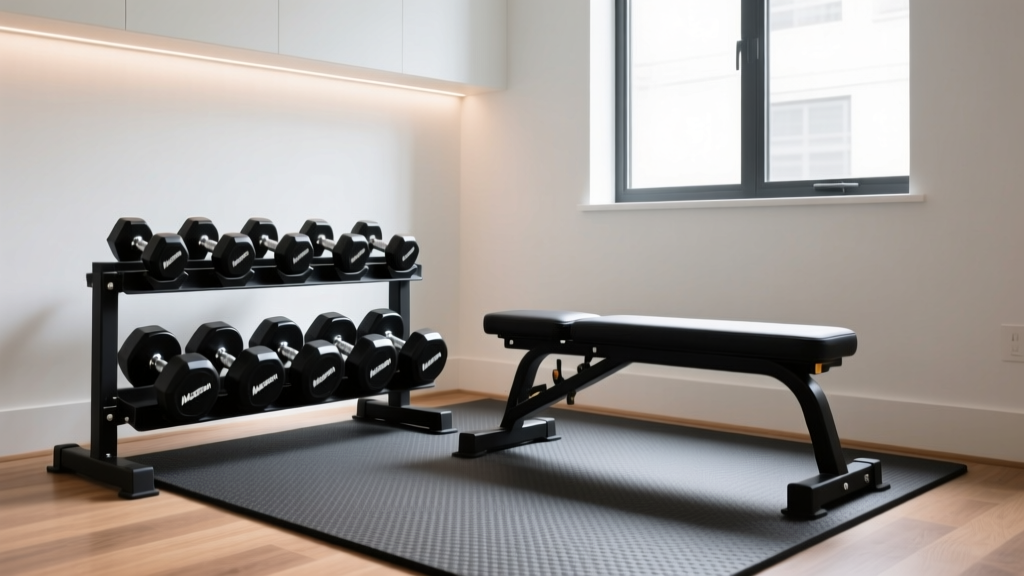
Small home gyms demand equipment that maximizes utility without consuming valuable square footage. When planning a high-density training space, integrating a mcgregor dumbbell system offers a distinct advantage over traditional tiered racks. This specialty adjustable setup replaces up to 15 pairs of fixed-weight hex dumbbells, condensing a 120-pound total weight capacity into a footprint smaller than a standard microwave. However, the unique block-style geometry and caged handle design require specific spatial planning to ensure safe, unobstructed movement patterns.
The Spatial Advantage: Block vs. Traditional Hex
To understand the space-saving potential of this equipment, we must compare its physical dimensions against traditional free weights. A standard 5-to-50-pound rubber hex dumbbell set requires a 44-inch wide, three-tier A-frame rack. When you factor in the necessary pull-out clearance and walking space, a traditional rack consumes approximately 14 square feet of floor space.
In contrast, the McGregor system utilizes a vertical cradle stand. Each dumbbell measures exactly 12.5 inches in length, 6.2 inches in width, and 6.5 inches in height. The vertical storage stand occupies just 1.8 square feet. For apartment dwellers or those converting small spare bedrooms into fitness zones, reclaiming 12 square feet of floor space allows for the addition of a functional trainer, a rowing machine, or simply a dedicated stretching zone.
• Traditional Hex Set + Rack: 14.2 sq. ft. footprint
• Adjustable Dial System + Tray: 4.5 sq. ft. footprint
• McGregor Block System + Vertical Stand: 1.8 sq. ft. footprint
Calculating Clearance and Swing Radius for the McGregor Dumbbell
While the storage footprint is minimal, the operational footprint requires careful calculation. Because block-style adjustable dumbbells have a wider medial profile than slender fixed dumbbells, exercises that involve wide arcs of motion require specific spatial awareness. The cage design restricts extreme wrist supination at the bottom of certain movements, meaning the physical blocks will dictate your clearance limits.
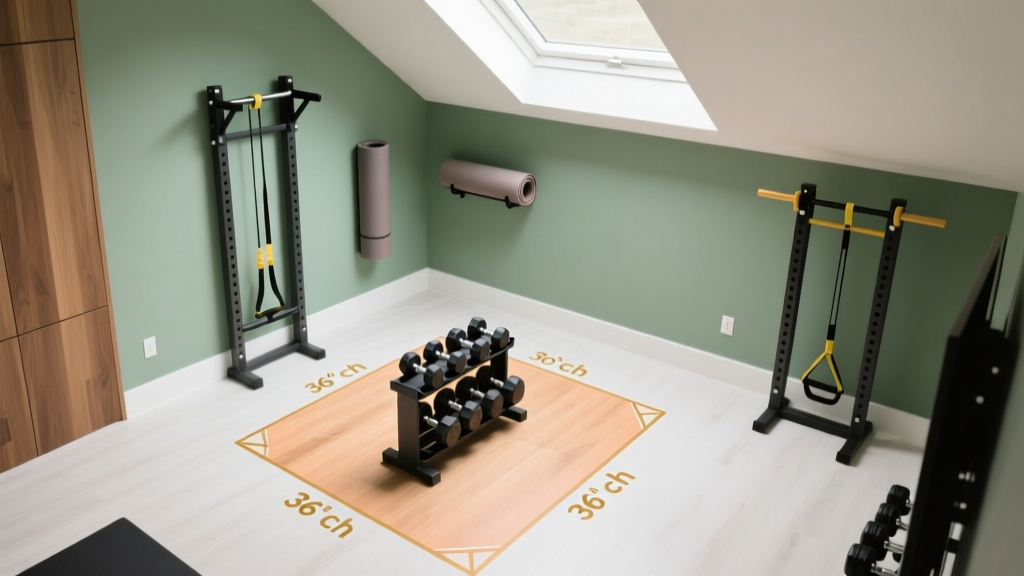
| Exercise | Required Lateral Clearance | Required Overhead Clearance | Spatial Notes |
|---|---|---|---|
| Dumbbell Chest Fly | 22 inches from bench edge | Standard ceiling | Blocks cannot rotate inward at the bottom stretch; requires wider lateral arc. |
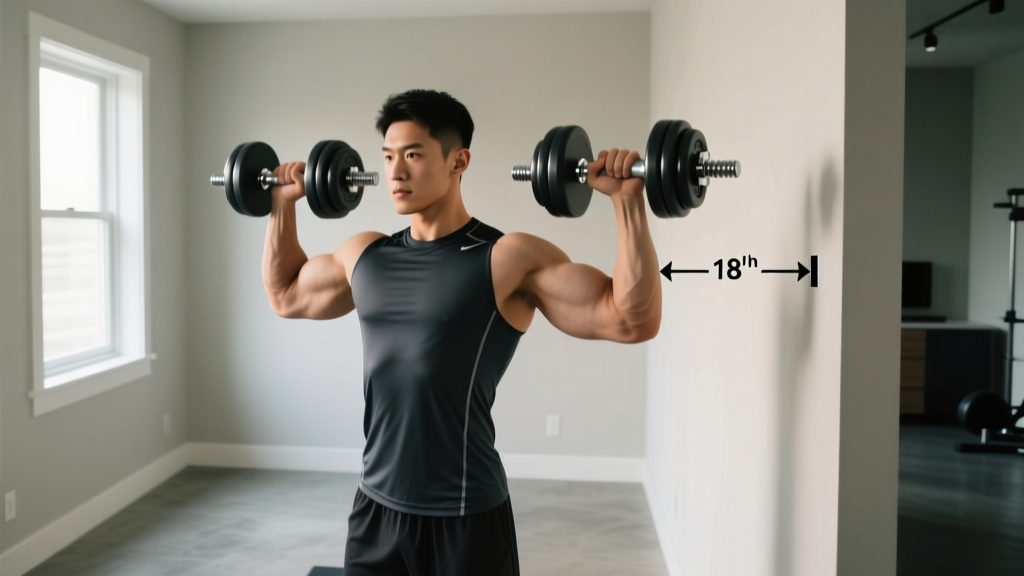
| Lateral Raise | 18 inches from torso | Standard ceiling | Medial width of the block stops just short of standard drywall if standing 18" away. |
| Overhead Press | 12 inches from wall | 8 feet minimum | Account for the 6.5" block height extending above the grip at full lockout. |
| Skull Crushers | N/A (Supine) | 6 feet above bench | Distal end does not swing wide due to centered cage grip; excellent for low ceilings. |
According to guidelines on creating safe home exercise environments published by the National Institute on Aging, removing tripping hazards and ensuring adequate clearance around equipment is critical for preventing falls and impact injuries. Mapping your swing radius before anchoring your bench ensures you never clip a wall or mirror during a heavy set.
Biomechanical Shifts: How the Cage Design Alters Your Layout
One of the most frequently overlooked aspects of setting up a specialty block dumbbell system is the shift in the center of mass. With a traditional hex dumbbell, the weight sits distal to your grip. With the McGregor dumbbell, your hand is positioned inside the caged handle, placing the center of mass directly over the wrist joint.
This biomechanical reality fundamentally changes how you position your bench. During incline presses, the medial width of the blocks means they will collide at the top of the movement if your hands are brought too close together. To accommodate this, you must pair the system with an adjustable FID (Flat/Incline/Decline) bench that features a wider backrest pad. A standard 10-inch wide flat bench is too narrow; opt for a 14-inch to 16-inch wide commercial-grade bench. This wider pad allows your elbows to tuck naturally without the weight blocks clipping the upright steel supports of the bench.
Step-by-Step Layout Planning for a 50-Square-Foot Zone
If you are dedicating a 5x10 foot corner of a room or garage to your training, follow this precise layout sequence to maximize the utility of your adjustable weight system.
- Anchor the Vertical Stand in a Load-Bearing Corner: Place the cradle stand in a corner where two walls meet. This protects the drywall from accidental drops and naturally restricts foot traffic behind the weights.
- Position the FID Bench at a 45-Degree Angle: Instead of placing the bench parallel to the wall, angle it at 45 degrees facing the center of the room. This provides the necessary 22-inch lateral clearance on both sides for chest flies and dumbbell rows.
- Establish the "Drop Zone": The area immediately adjacent to the bench must be kept clear of plates, resistance bands, or foam rollers. When training to failure, you need a safe, unobstructed path to drop the blocks to the floor.
- Mount a Pegboard for Micro-Load Expansion: The McGregor system utilizes 2.5 lb expansion collars. Mount a small 12x12 inch pegboard on the wall directly above the vertical stand to store these small plates, keeping them off the floor and out of the tripping zone.
Flooring, Point-Load, and Storage Safety
A major mistake home gym owners make is underestimating the point-load PSI (pounds per square inch) generated by compact, heavy equipment. A pair of fully loaded 90-pound adjustable dumbbells, combined with the steel vertical stand, concentrates over 210 pounds of static weight onto four small rubber feet, each measuring roughly one square inch.
Expert Flooring Insight: Standard 1/4-inch interlocking foam tiles will compress and bottom out under this point-load, transferring destructive shock directly to your concrete or wood subfloor. You must use a minimum 3/8-inch thick vulcanized rubber mat with a 60A durometer rating to properly disperse the impact force of a dropped 90-pound block.
Furthermore, environmental safety plays a role in equipment longevity. The Centers for Disease Control and Prevention notes that maintaining a safe, well-ventilated physical activity environment reduces the risk of both acute injury and long-term respiratory issues. If your compact gym is in a basement or garage, ensure the vertical stand is kept at least six inches away from exterior walls to prevent condensation from causing rust on the internal selector pins and expansion rods.
Common Setup Mistakes to Avoid
- Using Plush Carpeting: Never place the vertical cradle stand on thick residential carpet. The uneven surface creates a tipping hazard when pulling a heavy 50+ pound dumbbell from the top tier. Always place a rigid 3/4-inch plywood board under the rubber mat if carpet is unavoidable.
- Ignoring the Medial Width During Overhead Presses: Because the blocks sit over the wrist, pressing them straight up from the shoulders will cause the blocks to smash into your head. You must press in a slight converging arc, starting wider at the shoulders and meeting at the top.
- Storing Expansion Kits on the Floor: The 10-pound and 20-pound expansion sleeves are cylindrical and will roll. Store them on a wall-mounted shelf or inside the designated lower tray of the cradle stand to prevent ankle-rolling hazards, aligning with general home fitness safety guidelines.
Optimizing a small home gym is not just about buying compact equipment; it is about understanding how that equipment moves through three-dimensional space. By respecting the unique clearance requirements, pairing the system with a wider FID bench, and reinforcing your flooring against high-PSI point loads, you can build a commercial-grade training environment in less than 50 square feet.
More gear to consider
All reviews
Standard vs Olympic Plates Setup & Seated Dumbbell Power Clean

Power Rack vs Squat Stand: Full Body Dumbbell Workout Female Upgrade

EZ Curl Bar vs Straight Bar & Cap Barbell Dumbbell Set with Rack

Rubber Hex vs Urethane for Dumbbell Love Handle Exercises (2026)

Beyond the 15 Minute Dumbbell Workout: 2026 Kettlebell Market Guide
