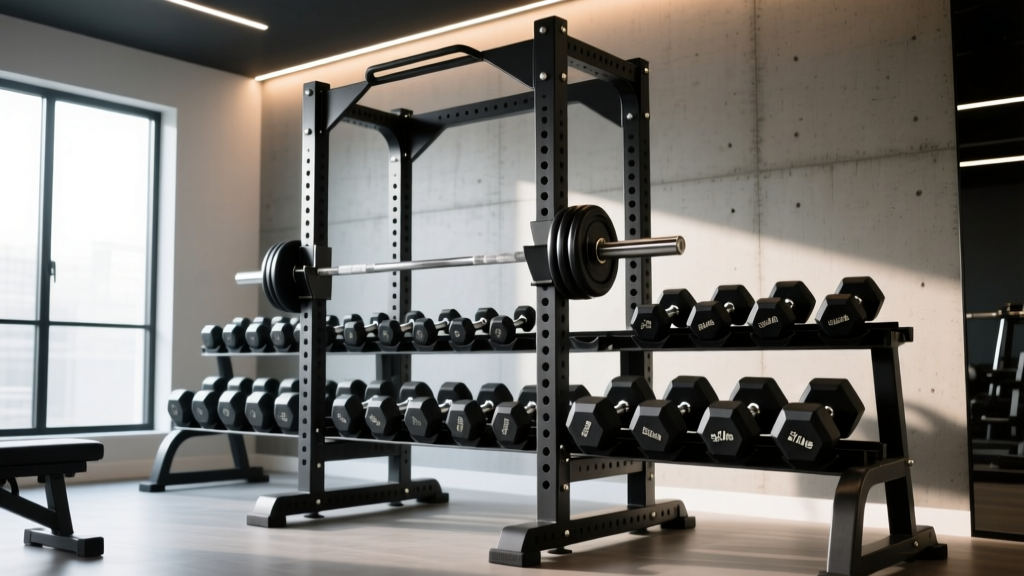
How Do You Spell Dumbbell? Barbell Collar Types Guide
Learn how to spell dumbbell correctly and master barbell safety. Our step-by-step guide compares collar types, exact pricing, and real-world failure modes.

The Gym Spelling Bee: Dumbbell vs. Barbell
When you first step into a home gym or a commercial weight room, the learning curve isn't just physical—it's linguistic. Beginners frequently search the internet asking, 'how do you spell dumbbell?' The correct spelling is D-U-M-B-B-E-L-L, featuring two Bs and two Ls. The term actually derives from the 18th-century practice of using weighted hand-bells with the clappers removed to make them 'dumb' (silent) for indoor exercise, a fact confirmed by historical fitness archives.
But once you have mastered the spelling, built your foundational strength, and graduated from dumbbells to the barbell, a new piece of vocabulary and hardware becomes absolutely critical for your safety: the barbell collar (also known as a clamp). Failing to secure your weight plates can lead to catastrophic barbell tipping, ruined knurling, and severe injury. This beginner-friendly, step-by-step guide will walk you through the exact types of barbell collars available in 2026, their real-world pricing, and the specific failure modes you need to avoid.
Step 1: Measure Your Barbell Sleeve (The 50mm Rule)
Before you can buy a collar, you must understand what you are clamping onto. Barbell sleeves (the ends where the plates slide) come in two primary diameters:
- Olympic Standard (50mm / 1.97 inches): This is the universal standard for almost all commercial gyms, serious home gyms, and powerlifting/weightlifting federations. If you own a bar from Rogue, Eleiko, or Titan, it has a 50mm sleeve. All collars discussed in this guide are designed for 50mm sleeves.
- Standard / Economy (25mm / 1 inch): Found on cheap, entry-level department store barbells. These require specific 1-inch spring collars, which we generally advise against due to severe safety limitations.
Step 2: Compare Barbell Collar Types (2026 Data Matrix)
Not all collars are created equal. The physics of a heavy deadlift (where the bar bends, or 'whips') requires a different clamping force than a casual bicep curl. Below is a comparison matrix of the four primary collar types on the market today.
| Collar Type | Primary Material | Avg Price (2026) | Clamping Force | Best Use Case |
|---|---|---|---|---|
| Spring Clip | Chrome Steel Wire | $12 - $18 (pair) | Low | Light warm-ups, technique work |
| Nylon Clamp (Lock-Jaw) | Glass-Filled Nylon | $30 - $35 (pair) | Medium-High | CrossFit, general home gym, fast changes |
| Lever Collar | Aircraft Aluminum / Nylon | $45 - $60 (pair) | Very High | Powerlifting, heavy static loads |
| Competition Spinlock | Forged Steel / Aluminum | $90 - $150 (pair) | Absolute (IWF Rated) | Olympic Weightlifting, sanctioned meets |
Step 3: Match the Collar to Your Training Style
Choosing the right collar is about matching the tool to the biomechanical demands of your workout. Here is how to decide based on your specific training modality.
For Powerlifters & Heavy Strength Trainees
If you are squatting 300+ lbs or pulling heavy deadlifts, the barbell experiences significant 'whip' (elastic deformation). You need a Lever Collar like the Rogue HG 2.0 ($45). The aluminum lever creates a massive mechanical advantage, pulling a nylon strap or resin block tight against the sleeve. Warning: Lever collars can scratch barbell sleeves if chalk or metal shavings get trapped between the clamp and the steel. Wipe your sleeves down regularly.
For CrossFitters & High-Volume Circuits
When you are doing 'Fran' or a complex with rapid weight changes, speed is everything. The Lock-Jaw Pro ($32) is the industry standard here. Its dual-action latch releases with a simple thumb press. According to extensive drop-testing by BarBend's equipment review team, high-quality glass-filled nylon clamps can withstand repeated 15lb bumper plate drops from overhead without slipping, provided the latch is fully engaged.
For Olympic Weightlifters
If you are performing snatch and clean & jerk movements, you must use Competition Spinlock Collars. The International Weightlifting Federation (IWF) mandates that competition collars weigh exactly 2.5kg each and lock via a threaded spinlock mechanism. Brands like Eleiko and Uesaka dominate this space, with prices hovering around $120. These are overkill for a casual home gym but mandatory for sanctioned competition prep.
⚠️ Beginner Safety Callout: The Spring Clip TrapNever use cheap steel spring clips for heavy squats or bench presses. When a barbell whips under a heavy load, the steel spring flexes, momentarily losing its friction grip on the sleeve. This can cause plates to slide outward, shifting the barbell's center of gravity and leading to a catastrophic dump of the weight. As noted in Garage Gym Reviews' safety testing, spring clips should only be used for loads under 135 lbs where bar whip is negligible.
Step 4: Step-by-Step Application & Safety Protocol
Even a $150 competition collar will fail if applied incorrectly. Follow this exact 4-step protocol every time you load your barbell.
- Load and Align: Slide your bumper or iron plates onto the sleeve. Ensure the plates are flush against the inner shoulder of the barbell sleeve. Do not leave gaps between plates.
- The 1/4 Inch Rule: Slide the collar onto the sleeve, pushing it firmly against the outermost plate. Leave exactly a 1/4 inch (about the width of a standard pencil) between the collar and the end of the sleeve. This allows room for the collar's clamping mechanism to bite down without bottoming out against the sleeve's lip.
- Engage the Lock:
- For Clamps: Squeeze the handles until you hear/feel the dual-latch click into the final locking groove.
- For Levers: Pull the lever tight against the plates, then snap the locking mechanism down over the bar.
- The Axial Tug Test: Grab the collar and attempt to pull it laterally (outward) away from the plates with about 20 lbs of force. If it slides, release and re-tighten. It should feel completely welded to the sleeve.
Step 5: Real-World Failure Modes & Maintenance
To maintain your gear and ensure long-term safety, you must understand how collars fail in the real world. Here are the edge cases most beginners overlook:
'A collar is only as good as the friction between its internal lining and the barbell sleeve. Chalk is the enemy of friction.' — Equipment Maintenance Standard, FitGearPulse Labs
- Cold Weather Brittleness: If you train in an unheated garage gym where temperatures drop below 40°F (4°C), standard nylon clamps can become brittle. The locking teeth may snap under the shock-load of a dropped barbell. If you train in the cold, invest in aluminum lever collars or store your nylon clamps indoors between sessions.
- Chalk Buildup in Hinges: Lever collars have small hinge pins. When liquid chalk or fine magnesium carbonate dust gets into these hinges, it turns into a cement-like paste. This prevents the lever from achieving full clamping tension. Use a stiff nylon brush and a drop of 3-in-1 oil to clean the hinges every 3 months.
- Bumper Plate Degradation: Sometimes the collar isn't the problem; the plate is. Cheap rubber bumper plates with oversized 50.5mm center holes will slide laterally even when a collar is tightly locked. Always check the center hole tolerance of your plates.
Final Reps: Securing Your Lift
Transitioning from dumbbells to the barbell is a major milestone in your fitness journey. Yes, learning the terminology—like remembering how to spell dumbbell or knowing the difference between a bushing and a bearing—takes time. But mastering the hardware is what keeps you safe under heavy loads. By investing $30 to $50 in a high-quality pair of nylon clamps or aluminum lever collars, you are buying peace of mind. Treat your collars with the same respect you treat your barbell, perform the tug test before every heavy set, and lift with absolute confidence.
More gear to consider
All reviews
Bumper vs Iron Plates & Dumbbell Shoulder Flies Cost

Rubber Hex vs Urethane Dumbbells: Expert Review for the Alternating Dumbbell Upright Row
Olympic vs Standard Plates: Home Gym & HIIT Workout with Dumbbells
Olympic Barbell Weight & Knurling: Beyond Incline Bench Press Dumbbells
Neoprene Dumbbell Guide: Lower Chest Workout With Dumbbells at Home