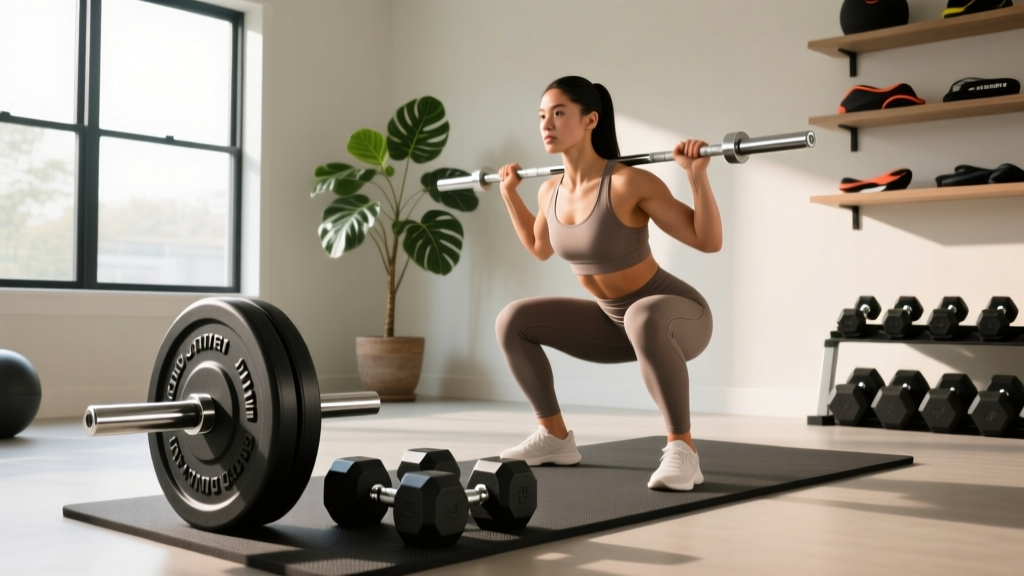
Gym Setup: Barbell Knurling & Dumbbell Goblet Squat Form
Master your free weight zone setup. We cover Olympic barbell knurling selection, rack installation, and perfect dumbbell goblet squat form.

The 2026 Free Weight Zone: Complete Setup and Installation Walkthrough
Building a functional, high-performance home gym in 2026 requires more than just dropping a power rack in the corner of your garage. It demands a meticulous approach to spatial flow, equipment synergy, and biomechanical testing. Whether you are outfitting a dedicated 200-square-foot basement gym or upgrading a commercial facility's free weight zone, the integration of heavy barbell anchors and functional dumbbell stations must be seamless.
This comprehensive setup walkthrough will guide you through the critical decisions of an Olympic barbell buying guide (weight and knurling), the physical installation of your rack and flooring, and finally, a biomechanical stress-test of your new space using perfect dumbbell goblet squat form.
Phase 1: The Core Anchor — Olympic Barbell Weight and Knurling
Your barbell is the primary point of contact between your central nervous system and the iron. Selecting the right bar requires navigating a maze of tensile strengths, sleeve constructions, and most importantly, knurl profiles.
Weight and Shaft Dimensions
The standard men's Olympic barbell weighs exactly 20kg (44 lbs) with a 28mm to 28.5mm shaft diameter and a total length of 2200mm. Women's Olympic bars weigh 15kg (33 lbs) with a thinner 25mm shaft, which is crucial for lifters with smaller hand spans to achieve a secure hook grip. When budgeting, expect to pay between $250 and $350 for a high-quality bushing bar (ideal for powerlifting and general strength), while needle-bearing weightlifting bars from premium manufacturers like Eleiko or Uesaka will push past the $1,000 mark.
Decoding the Knurl: Volcano, Mountain, and Hill
The knurling pattern is machined into the steel to provide traction. However, not all knurls are created equal. According to equipment engineers and the extensive catalog at Rogue Fitness Olympic Barbell Catalog, knurl profiles generally fall into three categories:
- Mountain (Aggressive): Deep, sharp, and pointed. Ideal for deadlifts where maximal grip security is required, but it will tear up your hands during high-volume Olympic lifts or front squats.
- Volcano (Balanced): The gold standard for multi-purpose bars. The machine cuts a sharp point but then shaves off the very tip, creating a 'crater' that provides immense surface-area grip without lacerating the skin.
- Hill (Passive): Shallow and rounded. Often found on cheap commercial gym bars. Avoid these for serious home gyms as they become slippery under heavy loads and chalk saturation.
If your setup includes heavy back squats, ensure your bar features a center knurl. IPF-spec powerlifting bars mandate a center knurl to prevent the bar from sliding down your traps during heavy, low-bar squats. Conversely, dedicated weightlifting bars often omit it to prevent abrasion during the clean and jerk catch phase.
Barbell Knurling & Finish Matrix
| Knurl Profile | Best Finish Pairing | Primary Use Case | Estimated Price Range (2026) |
|---|---|---|---|
| Volcano (Medium) | Cerakote or Stainless Steel | Multi-Purpose / CrossFit | $300 - $450 |
| Mountain (Deep) | Bare Steel or Black Zinc | Deadlift / Powerlifting | $280 - $350 |
| Hill (Shallow) | Hard Chrome | High-Rep Pressing / Commercial | $150 - $220 |
Phase 2: Rack Installation and Flooring Integration
Before bringing the iron into the room, the foundation must be set. For a permanent installation, a bolt-down power rack anchored into 4-inch reinforced concrete is the only safe option for heavy kipping or dynamic rack pulls. If bolting isn't possible, opt for a flat-foot rack with extended rear gussets and load the rear uprights with heavy weight storage pegs.
For flooring, 3/4-inch thick vulcanized rubber horse stall mats (typically 4x6 feet) remain the industry standard. They absorb the kinetic energy of dropped bumpers and provide a non-compressive surface essential for heavy squats and deadlifts. Ensure you leave a minimum of 36 inches of clearance on all sides of the rack for safe plate loading and spotter arm navigation.
Phase 3: Dumbbell Station Spatial Flow
Your dumbbell rack should be positioned perpendicular to the power rack, roughly 4 to 6 feet away. This creates a 'triangle of movement' that minimizes walking distance while keeping the main barbell pathway completely clear. Opt for a 3-tier horizontal rack over an A-frame; A-frames consume valuable floor space and make retrieving heavy 80+ lb dumbbells ergonomically hazardous.
Phase 4: Testing the Floor with Dumbbell Goblet Squat Form
Once the rack is bolted, the mats are laid, and the dumbbells are racked, it is time to test the spatial flow, flooring grip, and your own biomechanics. The ultimate diagnostic tool for a new free-weight zone is the goblet squat. It requires minimal footprint, tests the mat's traction under lateral foot pressure, and reinforces foundational bracing.
Mastering dumbbell goblet squat form is non-negotiable before progressing to heavy barbell back squats in your new rig. According to the biomechanical standards outlined by ExRx.net's Biomechanics Directory, the goblet squat acts as a self-correcting mechanism for torso uprightness and depth.
Step-by-Step Execution Walkthrough
- The Pickup and Clean: Do not simply bend over and rip a heavy dumbbell off the floor. Hinge at the hips, grasp the top handle of the dumbbell with both hands, and perform a partial clean to bring it to chest height. This protects your lower back during the setup phase.
- The Grip and Tension: Hold the dumbbell vertically by the top plate or interlock your hands around the handle. Crucially, pull your elbows down and slightly inward, engaging your lats as if you are trying to bend the dumbbell in half. This creates the intra-abdominal pressure necessary for spinal stability.
- Stance and Tracking: Place your feet slightly wider than shoulder-width, with toes pointed out 15 to 30 degrees. As you descend, actively push your knees outward. Your elbows should track directly inside your knees at the bottom of the movement, acting as physical wedges to prevent hip impingement.
- The Descent and Hole: Initiate the movement by breaking at the knees and hips simultaneously. Keep your torso entirely vertical. Descend until your hip crease drops below the top of your knee (full depth). Pause for one second in the 'hole' to eliminate the stretch reflex and prove absolute control.
- The Ascent: Drive through the mid-foot, keeping the dumbbell glued to your sternum. Do not let your hips shoot up before your shoulders; the torso angle at the start of the ascent must match the torso angle at the bottom of the descent.
If your heels lift off the rubber matting during the descent of your dumbbell goblet squat form, you likely have poor ankle dorsiflexion. Immediate Fix: Place two 10lb iron weight plates on the mat and position your heels on them. This artificial elevation allows you to hit full depth while maintaining a vertical torso, buying you time to work on ankle mobility separately.
Phase 5: Post-Setup Maintenance Protocols
A pristine setup degrades quickly without maintenance. The knurling on your new Olympic barbell will accumulate dead skin, chalk, and environmental moisture, leading to oxidation (rust), especially if you chose a bare steel or black zinc finish.
Implement a bi-weekly maintenance routine: use a stiff nylon or brass brush to scrub the knurl grooves, followed by wiping the shaft with a microfiber cloth lightly dampened with 3-in-One oil or a dedicated barbell corrosion inhibitor. Never use WD-40, as it leaves a residue that will compromise your grip and degrade the rubber of your bumper plates.
By carefully selecting your barbell's knurl profile, optimizing your spatial layout, and validating the environment with strict dumbbell goblet squat form, your 2026 free weight zone will be engineered for decades of high-performance training.
More gear to consider
All reviews
Power Rack vs Squat Rack vs Stand: Dumbbell, Kettlebell, Barbell

Budget Storage Racks for Single Dumbbell Workouts: 2026 Value Guide

Power Rack vs Squat Rack vs Squat Stand for Dumbbell Pronation
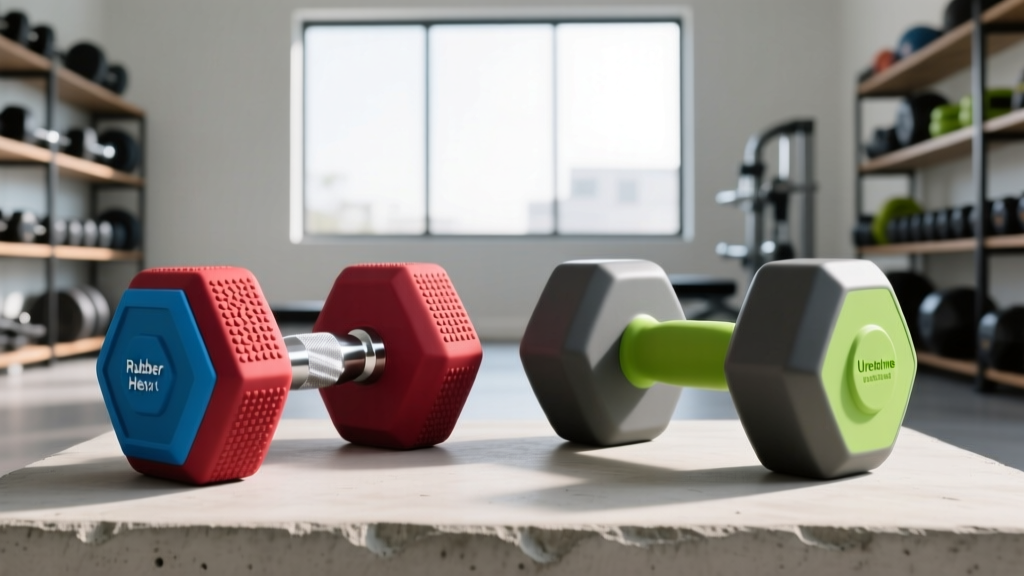
Rubber Hex vs Urethane: 2026 Dumbbell Press Out Trends

Loadable Dumbbells & The Dumbbell Floor Press GIF Trend in 2026
