
EZ Curl Bar vs Straight Bar: Biomechanics & Dumbbell Photo Form Tips
Compare EZ curl bar vs straight bar biomechanics, top 2026 gear picks, and the dumbbell photo wrist audit technique for pain-free arm growth.

The debate between the EZ curl bar and the straight bar is one of the oldest in strength training. Walk into any commercial or home gym, and you will see lifters alternating between the two, often without understanding the distinct biomechanical implications of each. As we navigate the 2026 fitness equipment landscape, the market is flooded with ultra-cheap, poorly engineered bars that can wreak havoc on your connective tissue. Choosing the right implement is not just about muscle isolation; it is about joint longevity, load management, and precise form tracking.
In this comprehensive hands-on review, we break down the exact biomechanics of both bars, review the top models currently on the market, and introduce a proprietary visual tracking method—the dumbbell photo technique—to help you audit your wrist health and prevent chronic tendonitis.
The Biomechanical Divide: Supination vs. Semi-Supination
To understand why the EZ curl bar exists, you must first understand the human carrying angle (the cubital valgus angle). When you stand relaxed with your arms at your sides, your forearms do not hang perfectly straight down; they angle slightly outward away from your torso. This is a natural anatomical variance.
When you grip a standard Olympic straight bar, you are forcing your wrists, elbows, and shoulders into a fixed, fully supinated position that ignores this natural carrying angle. According to biomechanical analyses documented by ExRx on Biceps Curl mechanics, this forced supination under heavy loads places immense valgus stress on the medial elbow and compresses the carpal joints in the wrist. Over time, this is a primary driver of medial epicondylitis (golfer's elbow) and wrist extensor strain.
The EZ curl bar, with its cambered, zig-zag shaft, offers multiple grip angles. The inner, steeper angles allow for a semi-supinated (neutral-leaning) grip. This aligns the barbell with your natural carrying angle, drastically reducing torque on the radioulnar joint while still maintaining high electromyography (EMG) activation in the biceps brachii and brachialis.
Hands-On Gear Review: Top EZ Curl Bars of 2026
Not all EZ bars are created equal. The primary failure mode of budget EZ bars is a shaft diameter that is too thick (often 30mm to 32mm) combined with cheap brass bushings that fail to rotate, transferring rotational torque directly into your wrists during skull crushers.
1. Rogue Fitness Curl Bar (The Gold Standard)
- Price: $225.00
- Shaft Diameter: 28.5mm
- Weight: 35 lbs
- Finish: Hard Chrome or Black Cerakote
The Rogue Curl Bar remains our top pick for serious home gym owners. The 28.5mm shaft diameter is identical to a high-quality Olympic barbell, allowing for a secure, fatigue-free grip. The knurling is Rogue's signature 'volcano' pattern—sharp enough to bite into chalked hands during heavy close-grip bench presses, but passive enough not to tear your skin during high-rep curl sets. The sleeve rotation utilizes high-quality bronze bushings, ensuring smooth transitions during tricep extensions. You can verify the exact machining tolerances on the Rogue Fitness Curl Bar specifications page.
2. Titan Fitness Olympic EZ Curl Bar (The Budget Contender)
- Price: $119.99
- Shaft Diameter: 30mm
- Weight: 22 lbs
- Finish: Zinc
If you are on a strict budget, Titan Fitness offers a highly capable alternative. At 22 lbs, it is significantly lighter than the Rogue, which makes it ideal for beginners or those focusing on high-rep metabolic conditioning. However, the 30mm shaft is noticeably thicker, which may cause premature forearm fatigue for lifters with smaller hands. The knurling is also more passive, requiring more grip effort when sweating heavily.
The Straight Bar Reality: When to Use the Standard Olympic Bar
Despite the joint-friendly nature of the EZ bar, the straight bar remains an indispensable tool for maximal mechanical tension. Because the straight bar forces full supination, it places the biceps brachii (specifically the short head) in its most mechanically advantageous position to move maximum weight.
Furthermore, the straight bar is non-negotiable for specific powerlifting and strongman accessory movements, such as strict overhead presses and reverse-grip bent-over rows. If you are utilizing a straight bar for curls, we highly recommend using a high-quality multipurpose bar with a 28.5mm shaft and composite bushings, like the Rogue Ohio Bar, to ensure the sleeves spin freely and absorb the rotational inertia of the weight plates.
Visual Form Audits: The "Dumbbell Photo" Wrist Technique
Even with the perfect bar, poor wrist alignment will lead to injury. As load increases, lifters have a subconscious tendency to let their wrists 'break' or extend backward, shifting the load from the muscle belly to the fragile carpal ligaments. To combat this, we utilize the dumbbell photo audit technique in our coaching practice.
How to Execute the Dumbbell Photo Audit
- Establish a Baseline: Grab a pair of hex dumbbells and perform a standing hammer curl. This neutral grip represents your wrist's natural, zero-torque alignment.
- Capture the Dumbbell Photo: Have a training partner take a close-up, high-resolution dumbbell photo focusing specifically on the lateral aspect of your wrist and the base of your thumb at the peak of the contraction.
- Transition to the Barbell: Switch to your EZ or straight bar. Perform a set of curls at 70% of your 1RM.
- Compare and Correct: Review your barbell footage or photos against your baseline dumbbell photo. If your wrist is extended (bent backward) more than 10-15 degrees compared to the neutral alignment in your dumbbell photo, you are bleeding force and risking tendinopathy. Cue yourself to 'punch the ceiling' with your knuckles to restore neutrality.
This visual feedback loop is critical. According to the Cleveland Clinic's guide on Wrist Tendinitis, repetitive micro-trauma from extended wrist positions under load is a leading cause of chronic forearm pain. The dumbbell photo method provides an objective visual anchor to correct this before pain sets in.
Head-to-Head Comparison Matrix
| Feature | Olympic Straight Bar | Olympic EZ Curl Bar | Adjustable Dumbbells |
|---|---|---|---|
| Primary Muscle Target | Biceps Brachii (Short Head focus) | Brachialis & Brachioradialis | Unilateral Symmetry & Stabilizers |
| Wrist/Elbow Strain | High (Forced Supination) | Low (Accommodates Carrying Angle) | Low (Natural Pronation/Supination) |
| Max Load Capacity | Very High (500+ lbs) | Moderate (150-300 lbs max) | Low to Moderate (50-120 lbs) |
| Best Exercise Application | Strict Curls, Overhead Press | Skull Crushers, Preacher Curls | Hammer Curls, Unilateral Work |
| Avg. Equipment Cost (2026) | $250 - $350 | $120 - $250 | $250 - $450 |
Programming Framework: Periodizing Your Arm Training
Rather than viewing the EZ bar and straight bar as mutually exclusive, elite lifters periodize their use based on the specific adaptation they are targeting in a given mesocycle.
Phase 1: Mechanical Tension (Weeks 1-4)
Focus on the straight bar for heavy, low-rep work (4-6 reps). The goal here is maximal motor unit recruitment. Because the load is heavy, strict form is paramount. Use wrist wraps if you feel excessive carpal pressure, and rely on your baseline dumbbell photo to ensure your wrists remain stacked over your elbows.
Phase 2: Metabolic Stress & Hypertrophy (Weeks 5-8)
Transition to the EZ curl bar for moderate to high-rep sets (10-15 reps). The semi-supinated grip allows you to safely push closer to muscular failure without your wrists giving out before your biceps do. This phase is ideal for drop sets and mechanical drop sets (e.g., moving from the narrow EZ grip to the wider, more supinated grip as fatigue sets in).
Phase 3: Unilateral Correction (Weeks 9-12)
Put the barbells away and utilize dumbbells. This phase corrects any bilateral imbalances developed during the heavy barbell phases. This is also the time to retake your dumbbell photo to assess any changes in your wrist mobility or structural alignment after a heavy block of training.
Frequently Asked Questions
Can I use an EZ curl bar for squats?
While technically possible for front squats or Zercher squats with very light weight, it is highly discouraged. The cambered angles of the EZ bar do not sit securely on the deltoids or clavicles, creating dangerous pressure points on the acromioclavicular (AC) joint and sternum. Always use a standard straight bar for squat variations.
Why do my triceps hurt more with an EZ bar during skull crushers?
If you experience tricep tendon pain at the elbow insertion during EZ bar skull crushers, you are likely using the innermost, most angled grips. While these grips are great for biceps, they force the elbows to flare outward during tricep extensions, placing sheer stress on the triceps tendon. Switch to the wider, straighter grips on the EZ bar for skull crushers to keep the elbows tucked and the load isolated to the long head of the triceps.
How often should I update my form reference photos?
We recommend updating your reference dumbbell photo every 4 to 6 weeks, or whenever you increase your working weight by more than 10%. As your forearm musculature grows and your connective tissue adapts, your natural resting wrist alignment may shift slightly, requiring minor adjustments to your grip width on the barbell.
More gear to consider
All reviews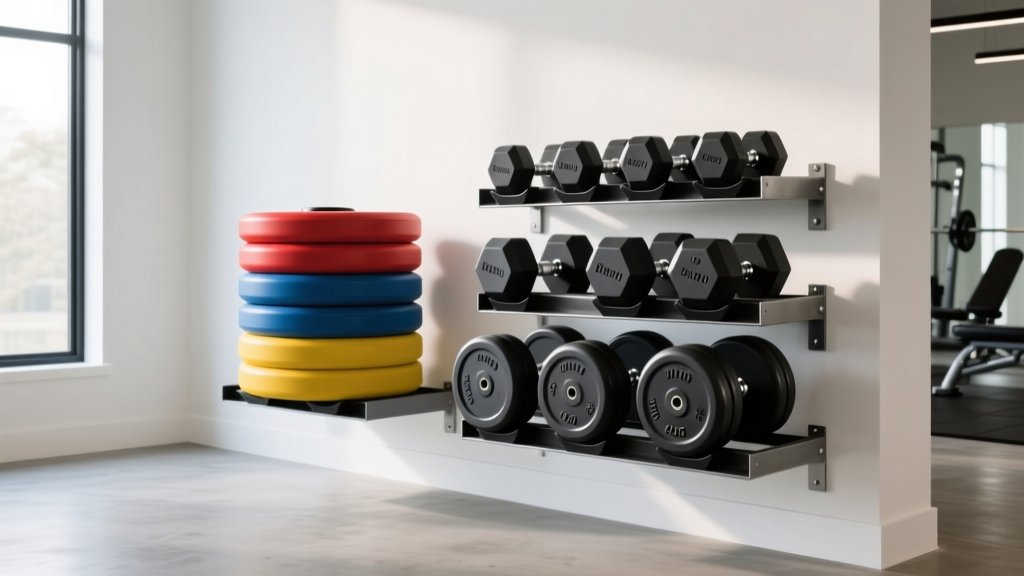
How to Find Dumbbells at Both Gyms: Bumper vs Iron Plate Layouts

Budget Storage for a Back Workout at Home With Dumbbells
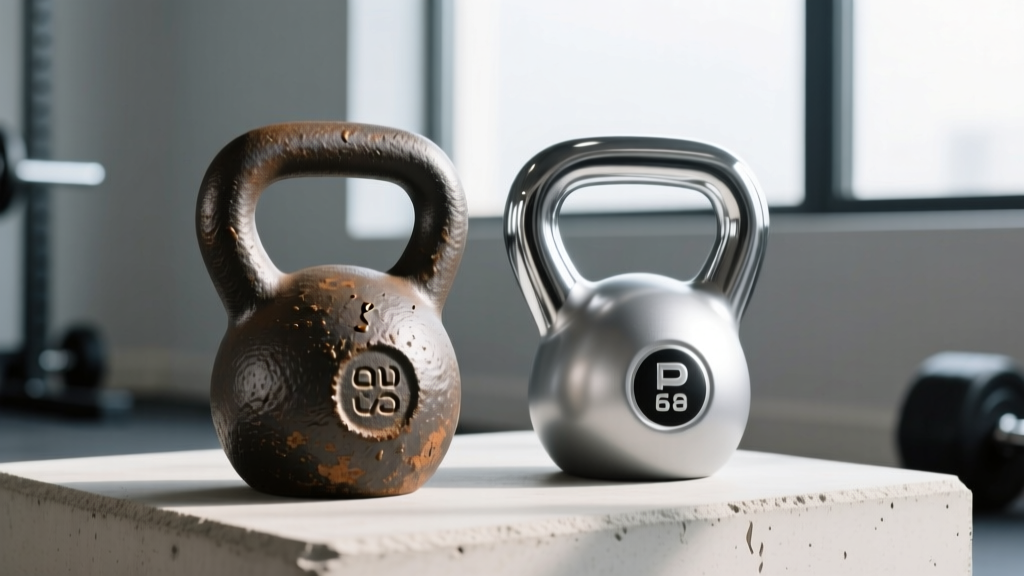
Cast Iron vs Competition Kettlebells for Plank Dumbbell Drags

Rubber vs Urethane: Care for the Rolling Dumbbell Triceps Extension

Power Rack vs Squat Rack vs Stand: Guide & Dumbbells for Chest Muscles
