Free Weight Setup: What Weight Dumbbells Should I Use (Male) & Barbell Clamp Guide
Master your 2026 home gym setup. Learn what weight dumbbells male lifters should use and follow our complete barbell collar installation walkthrough.

Phase 1: Free Weight Zone Setup & Dumbbell Selection
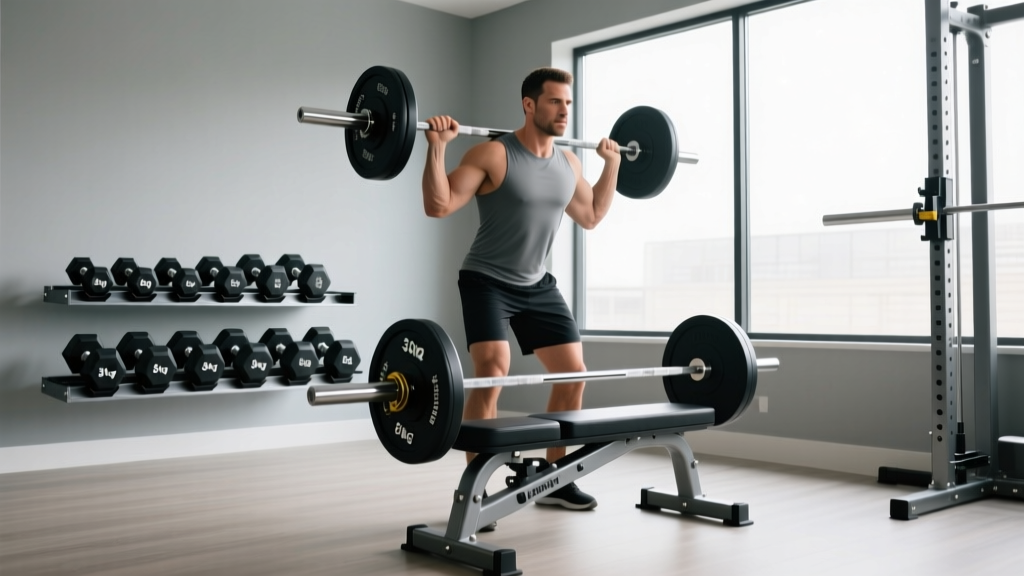
When outfitting a home gym in 2026, the free weight zone is the epicenter of progressive overload. Before loading the barbell, most lifters face a foundational dilemma regarding their secondary implements. When addressing the common question of what weight dumbbells should I use (male lifter profile), the answer depends entirely on your biomechanical leverage, training age, and the specific movement patterns you are targeting. Unlike barbells, dumbbells require unilateral stabilization, meaning your working weights will be roughly 20-30% lower per limb than your barbell equivalents.
Male Dumbbell Weight Baselines (2026 Standards)
- Isolation Movements (Lateral Raises, Bicep Curls, Tricep Extensions): Beginners should start with 10-15 lb pairs to master the mind-muscle connection without recruiting momentum. Intermediate male lifters typically operate in the 20-35 lb range, while advanced lifters may push 40-50 lbs for strict repetitions.
- Compound Presses (DB Bench, Overhead Press): Novices require 25-40 lb dumbbells per hand to build baseline rotator cuff stability. Intermediate male lifters generally need 50-75 lb dumbbells to achieve hypertrophy in the 8-12 rep range. Advanced lifters frequently require 90-120 lb+ dumbbells.
- Lower Body Unilateral (Bulgarian Split Squats, RDLs): Because the legs and glutes are highly powerful, male beginners should start with 25-35 lb dumbbells. Intermediates will quickly scale to 50-70 lb pairs, often requiring heavy-duty hex dumbbells or adjustable sets that go up to 90 lbs.
For modern home setups, adjustable models remain the most space-efficient and cost-effective investments. The Nuobell 80 LB (retailing around $429 in 2026) offers rapid 5 lb increments and a compact footprint, while the Bowflex SelectTech 1090 ($599) caters to stronger intermediates who need heavier compound loads without buying a full commercial rack.
Phase 2: Barbell Collar and Clamp Types Comparison
Once your dumbbell rack is staged and your bench is positioned, the barbell station requires strict safety protocols. A standard 20kg Olympic barbell loaded with 400 lbs of bumper plates generates immense rotational torque and lateral shift during dynamic lifts like the clean and jerk, or even heavy deadlifts. Without proper collars, plates shift outward. This alters the moment arm, creating asymmetric loading that can lead to catastrophic bar tipping and severe injury.
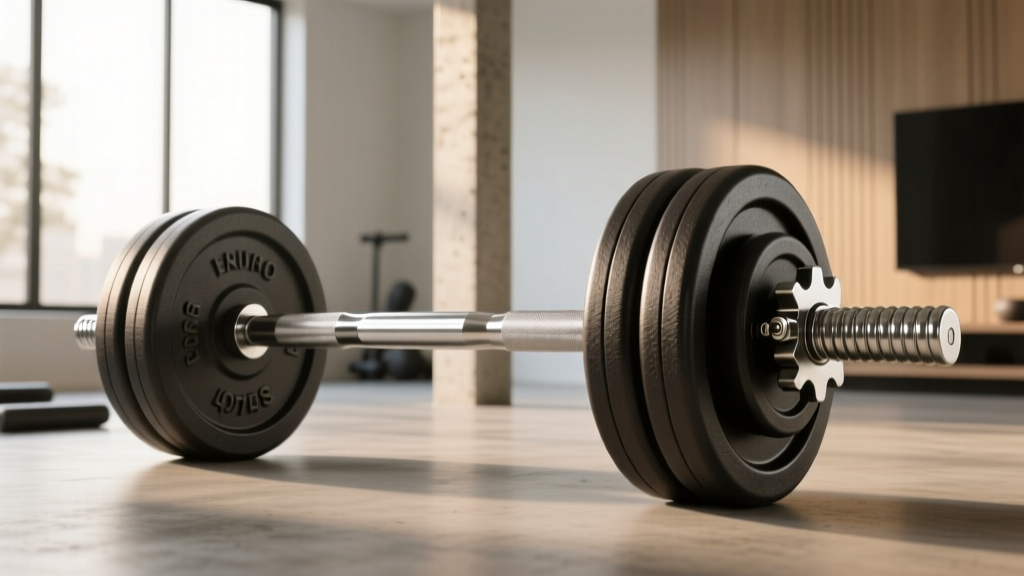
According to the International Weightlifting Federation (IWF) Technical Rules, securing the sleeves is not optional; competition mandates collars that weigh exactly 2.5 kg each to ensure standardized loading and absolute plate fixation. Below is a technical comparison of the primary collar types available for home and commercial setups.
The Hardware: Collar Matrix
| Collar Type | Material & Mechanism | Lateral Grip Force | Weight (per pair) | 2026 Price Range | Best Application |
|---|---|---|---|---|---|
| Standard Spring Clip | Spring Steel; Squeeze tabs | ~30-50 lbs | 0.5 lbs | $10 - $18 | Light accessory work, bench press, strict presses |
| Lever-Lock Clamp (e.g., Lock-Jaw Pro) | Glass-reinforced nylon (Zytel); Lever cam | ~150-200 lbs | 1.0 lbs | $30 - $45 | Heavy deadlifts, squats, hip thrusts, general powerlifting |
| Aluminum Clamp (e.g., Rogue HG 2.0) | Extruded Aluminum; Lever cam with TPU liner | ~250+ lbs | 1.0 lbs | $40 - $50 | High-volume commercial use, heavy Olympic drops |
| Spinlock / Screw Collar | Chrome or Zinc Steel; Threaded sleeve | Variable (User dependent) | 2.0 - 5.0 lbs | $25 - $60 | Traditional home gym threaded barbells (non-Olympic) |
| Calibrated Competition Collar | Machined Steel with Rubber Grip; Locking lever | Maximum (IWF Certified) | 5.0 kg (11 lbs) | $100 - $150 | Sanctioned weightlifting meets, elite home platforms |
Phase 3: Step-by-Step Clamp Installation Walkthrough
Proper installation of a lever-lock clamp (such as the Lock-Jaw Pro V2 or Rogue HG 2.0 Collars) is frequently botched by beginners. Incorrect placement leads to sleeve scoring, compromised grip, and plates sliding off during the eccentric phase of a lift. Follow this exact installation sequence to ensure maximum safety.
- Flush the Plates: Ensure all bumper or steel plates are pushed completely flush against the inner sleeve shoulder. Tap the barbell on the ground vertically to settle the plates if necessary.
- Clear the Debris: Wipe the outer 2 inches of the barbell sleeve with a dry microfiber cloth. Chalk, sweat, and degraded rubber residue drastically reduce the coefficient of friction, causing even high-end clamps to slip during heavy drops.
- Positioning the Gap (The Critical Measurement): Slide the clamp onto the sleeve. Critical Measurement: Leave exactly a 1/8-inch to 1/4-inch gap between the inner edge of the collar and the outer face of the weight plate. If the collar rests against the machined step of the barbell sleeve rather than the plate itself, it will clamp the bar, not the plates, allowing the weights to rattle and shift laterally.
- Engage the Lever: Pull the primary locking lever outward, then snap it flush against the collar body. You should hear a distinct mechanical click and feel the TPU (thermoplastic polyurethane) liner bite into the steel sleeve.
- Secondary Safety Lock: If your model features a secondary safety tab (common on competition-grade and premium clamps), slide it into the locked groove. This prevents the lever from vibrating open due to the high-frequency oscillations (bar whip) generated during heavy deadlifts or cleans.
Standard Olympic sleeves are nominally 50mm in diameter. However, manufacturing tolerances mean cheaper import bars might measure 49.2mm to 49.5mm. Rigid aluminum collars may fail to grip these undersized sleeves securely. If you are using a budget barbell, opt for glass-reinforced nylon clamps with thick TPU liners, as the polymer will compress and deform to grip undersized sleeves effectively.
Phase 4: Real-World Failure Modes & Edge Cases
Understanding how equipment fails in the real world is what separates a safe home gym from a hazardous one. Here are the most common edge cases regarding barbell collars and how to mitigate them.
The Drop-Test Failure Mode
Never use standard wire spring collars for Olympic weightlifting (snatches, cleans, and jerks). The vertical deceleration forces of dropping a barbell from overhead easily exceed the 30-40 lbs of lateral grip force provided by spring clips. Upon impact, the plates will inertia-shift outward, bypassing the spring clip and potentially ejecting the collar entirely.
Bar Whip and Lever Vibration
A standard 29mm diameter powerlifting bar is incredibly stiff. However, a 28mm Olympic weightlifting bar is designed to 'whip' (oscillate) to help lifters bounce out of the bottom of a clean. This whip creates high-frequency vibrations that travel down the sleeve. Over a set of 5 heavy cleans, this vibration can slowly walk a poorly secured lever-lock clamp outward by up to half an inch. Always use clamps with secondary locking tabs or friction-fit aluminum rings for dynamic Olympic movements.
Urethane and Rubber Sleeve Wear
If you frequently use heavy-duty clamp collars on barbells with black oxide or bare steel sleeves, the TPU liners will eventually leave scuff marks or wear down the zinc coating over years of use. To preserve the resale value and structural integrity of your barbell sleeves, rotate the exact placement of your collars by roughly 15 degrees each session. This distributes the friction wear evenly around the circumference of the sleeve, preventing the formation of deep grooves that can eventually compromise the collar's grip.
Summary: Finalizing Your Free Weight Zone
Building a comprehensive free weight setup requires answering the fundamental questions of load selection and equipment safety. By selecting the correct dumbbell weights for your specific male lifter profile and movement patterns, and pairing your Olympic barbell with the correct lever-lock or calibrated collars installed to exact measurements, you create a training environment that supports both aggressive progressive overload and long-term joint and structural safety. Inspect your collar liners every 6 months for compression set and tearing, and replace them when the grip force begins to degrade.
More gear to consider
All reviews
Is Cable Lateral Raise Better Than Dumbbell? Loadable Dumbbell Guide

EZ Bar vs Straight Bar Care: Longevity & The Dumbbell Graph
Strongman Dumbbell Setup: Barbell Collar and Clamp Types Compared

Working Out With Dumbbells at Home: Standard vs Olympic Plates
Dumbbell Bicep Curl GIF vs Barbell: Troubleshooting Knurling Errors
