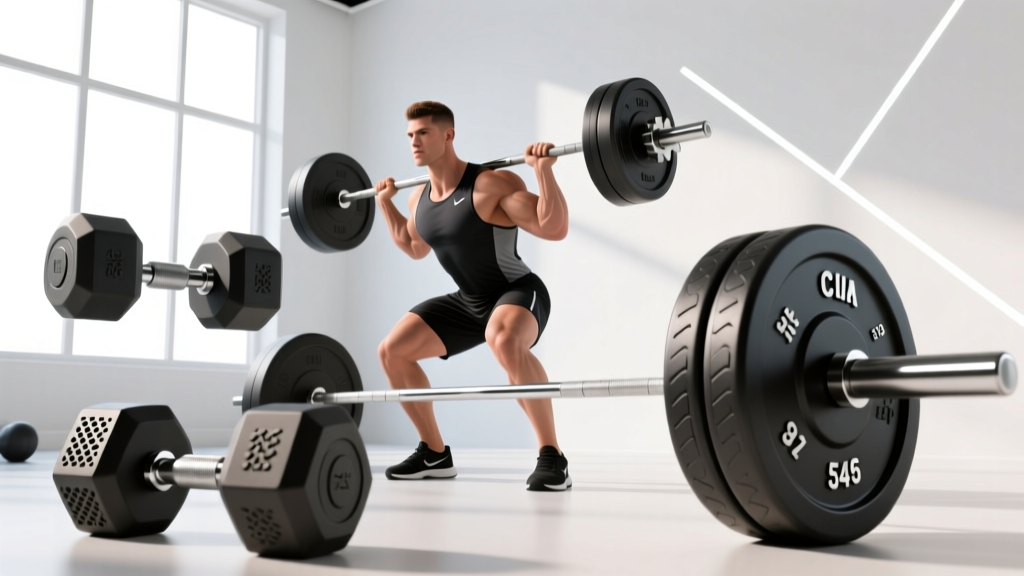
Dumbbell Row Form Guide: Standard vs Olympic Plates
Learn the difference between standard and Olympic weight plates for adjustable dumbbells, then master your dumbbell row form with our step-by-step guide.

Building a home gym in 2026 requires making smart, space-saving equipment choices. For many beginners, adjustable loadable dumbbell handles are the ultimate solution for progressive overload without buying a full rack of fixed-weight dumbbells. However, this immediately introduces a critical fork in the road: do you invest in standard weight plates or Olympic weight plates?
This decision does more than dictate your budget and storage needs; it fundamentally alters the biomechanics and safety of foundational exercises. In this guide, we will break down the exact differences between standard and Olympic weight plate types, and then transition into a masterclass on perfect dumbbell row form using your chosen equipment.
The Home Gym Dilemma: Standard vs. Olympic Weight Plates
Before you can execute a flawless row, you need to understand the iron (or urethane) you are loading onto your handles. The primary difference between these two plate categories lies in the center hole diameter and the corresponding barbell/dumbbell sleeve size.
Quick Spec Card: Hole Sizes & Sleeves
- Standard Plates: Feature a 1-inch (25.4mm) center hole. They pair with standard spinlock or spring-collar dumbbell handles.
- Olympic Plates: Feature a 2-inch (50.8mm) center hole. They require Olympic loadable dumbbell handles, which secure via heavy-duty clamps or spring collars.
As of 2026, the home fitness market has seen a massive shift toward urethane-coated Olympic plates due to their durability and noise reduction, but standard cast-iron plates remain a budget-friendly staple for casual lifters.
Comparison Matrix: Standard vs. Olympic Plates
Use the table below to determine which plate type aligns with your strength goals, budget, and space constraints.
| Feature | Standard Plates (1-Inch) | Olympic Plates (2-Inch) |
|---|---|---|
| Center Hole | 1 inch (25.4mm) | 2 inches (50.8mm) |
| Average Cost (2026) | $1.20 - $1.80 / lb | $2.50 - $4.50+ / lb |
| Max Dumbbell Load | ~40-60 lbs (limited by sleeve length) | 100+ lbs (extended sleeves) |
| Handle Grip Thickness | 25mm - 28mm (Thinner) | 35mm - 50mm (Thicker) |
| Collar Security | Spinlock nuts (can vibrate loose) | Spring clamps / HG collars (Highly secure) |
How Plate Choice Alters Your Grip and Row Mechanics
Why does plate type matter for a back exercise? The answer lies in the dumbbell handle. If you choose Olympic plates, you must use an Olympic loadable dumbbell handle (such as the Rogue Loadable Handle or Titan Fitness equivalents). These handles feature a significantly thicker grip shaft—often 35mm or more—compared to the 25mm shaft of a standard spinlock dumbbell.
According to BarBend's comprehensive dumbbell row guide, grip thickness directly impacts forearm fatigue and lat engagement. A thicker Olympic handle will tax your grip strength much earlier in a high-rep rowing set, potentially causing your forearms to fail before your latissimus dorsi are fully stimulated. Conversely, standard handles are thinner and easier to grip, but their spinlock collars can dig into your inner wrist during the setup phase if not positioned correctly.
Step-by-Step: Mastering Dumbbell Row Form
Whether you are gripping a thin standard handle or a thick Olympic loadable dumbbell, the biomechanics of the row remain constant. Follow this step-by-step blueprint to build a wider, thicker back while protecting your lumbar spine.
Step 1: The Stance and Hinge
Place your non-working hand on a flat bench. Step your same-side leg back and plant your opposite foot firmly in front, creating a stable tripod base. Hinge at the hips until your torso is roughly parallel to the floor (or at a 45-degree angle for beginners). Maintain a neutral spine—do not round your lower back.
Step 2: The Scapular Glide (The Secret to Lat Engagement)
Before you bend your elbow, let the working shoulder protract (stretch downward toward the floor). This creates a deep stretch in the lat muscle. Initiate the pull by first retracting the scapula (squeezing the shoulder blade back) without bending the arm yet.
Step 3: The Lat-Driven Pull
Drive your elbow up and back toward your hip pocket, not your armpit. Pulling toward the armpit shifts the load to the rear deltoids and biceps. Pulling toward the hip isolates the lats. Keep your wrist neutral; do not let the heavy iron plates force your wrist into extension.
Step 4: The Eccentric Return
Lower the dumbbell under strict control for a full 2 to 3 seconds. Resist the urge to let gravity yank the weight down. This eccentric phase is where significant muscle hypertrophy occurs.
Expert Cue: Imagine your hand is merely a hook holding the weight. Focus entirely on driving the elbow toward the ceiling. The ACE Fitness exercise library emphasizes this mind-muscle connection to prevent bicep takeover during unilateral pulling movements.
Troubleshooting Form Breakdowns & Equipment Failures
⚠️ Warning: Common Failure Modes
- The Torso Twist: Beginners often rotate their torso upward to hoist the weight. The Fix: Drop the weight by 20%. Your chest should remain parallel to the floor throughout the entire range of motion.
- Standard Collar Slippage: During the eccentric (lowering) phase of the row, the vibration can cause standard spinlock nuts to loosen. If a plate slides off mid-rep, it can cause severe wrist or foot injuries. The Fix: Always use a tightening wrench for standard collars, or upgrade to Olympic handles with secure spring clamps.
- Plate Clanking and Floor Damage: If you are doing renegade rows (plank rows) with standard cast-iron plates, the narrow diameter of smaller plates can damage floors and create excessive noise. The Fix: Upgrade to urethane Olympic bumper plates, which are standardized to a 17.7-inch diameter regardless of weight, providing a stable, quiet base. You can view current Rogue Fitness weight plate specifications to compare urethane vs. raw iron options.
Frequently Asked Questions
Can I mix standard and Olympic plates on the same dumbbell?
No. The center holes are entirely different (1-inch vs. 2-inch). You cannot safely fit an Olympic plate onto a standard handle, and a standard plate will slide dangerously loose on an Olympic sleeve without specialized adapter collars, which are not recommended for dynamic movements like rows.
Which plate type is better for a beginner focusing on back hypertrophy?
If your budget allows, Olympic plates paired with a quality loadable handle are the superior long-term investment. They allow for micro-loading, handle much heavier weights as your back grows stronger, and feature secure collars that won't vibrate loose during heavy eccentric rowing.
How heavy should my dumbbell row be?
A good benchmark for intermediate lifters is rowing 60% to 75% of your body weight per arm for 8-10 reps with strict form. If you are using standard plates, you may max out your handle's sleeve capacity before reaching this strength level, necessitating an upgrade to Olympic gear.
More gear to consider
All reviews
Olympic vs Standard Plates & the Pullover Exercise with Dumbbells
Standard vs Olympic Plates: Upgrading Your 40lb Dumbbell Set

Bumper vs Iron Plates: 2026 Data & Rotating Posterior Dumbbell Press

Bumper vs Iron Plates: Budgeting for Racks & Dumbbell Shoulder Press
Olympic vs Standard Plates: Beyond the Dumbbell Curl GIF