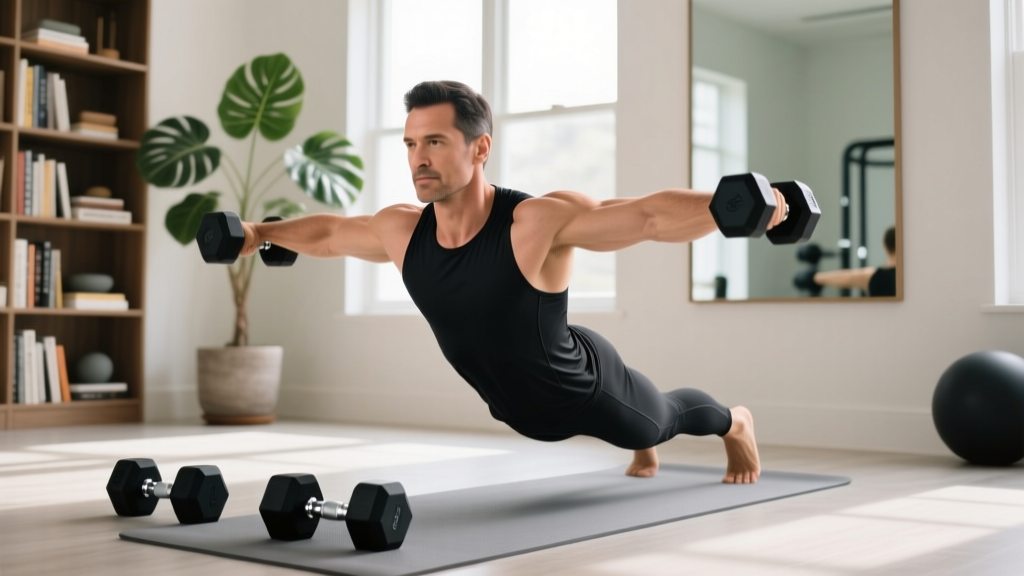
Weight Lifting at Home With Dumbbells & Plates: Olympic vs Standard
Upgrade your home gym from fixed dumbbells to plate-loaded setups. A complete walkthrough on Olympic vs standard plates, racks, and installation.

The Progression: Beyond Fixed Dumbbells
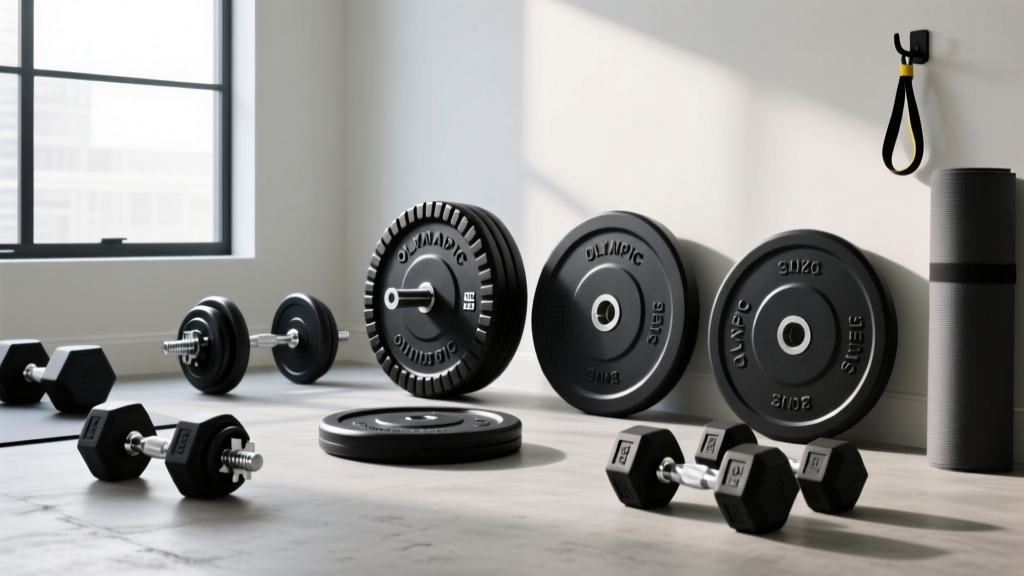
When you begin weight lifting at home with dumbbells, most lifters start with adjustable sets or fixed hex pairs. However, once your strength surpasses the 50-pound mark per hand, the cost-to-weight ratio of fixed dumbbells becomes financially punishing. A pair of 100-pound urethane dumbbells can easily exceed $400 in 2026. The logical, space-efficient upgrade is transitioning to plate-loaded dumbbell handles or a full barbell setup. This transition forces a critical hardware decision that will dictate the footprint, safety, and longevity of your home gym: do you build your system on 1-inch Standard plates or 2-inch Olympic plates?
This complete setup and installation walkthrough will guide you through the biomechanical differences, the hidden failure modes of cheaper hardware, and the exact step-by-step process for installing a heavy-duty plate storage system in your home gym.
The Core Dilemma: 1-Inch Standard vs. 2-Inch Olympic
The terms 'Standard' and 'Olympic' are legacy nomenclatures that refer strictly to the diameter of the center hole and the corresponding barbell sleeve. Understanding the engineering differences is vital before purchasing your first rack.
Comparison Matrix: Standard vs. Olympic
| Feature | Standard (1-Inch) | Olympic (2-Inch) |
|---|---|---|
| Center Hole Diameter | 1 inch (25.4 mm) | 2 inches (50.8 mm) |
| Bar Sleeve Rotation | Fixed (Solid Steel) | Revolving (Bushings/Bearings) |
| Max Safe Load (Typical Bar) | 200 - 300 lbs | 700 - 1,500+ lbs |
| Average 2026 Cost | $1.40 - $1.80 / lb | $2.20 - $4.50 / lb |
| Plate Caliber | Uncalibrated (Variance up to 5%) | Calibrated / Machined (Variance < 1%) |
Why Standard Plates Fail Under Heavy Loads
Standard 1-inch bars, such as the ubiquitous CAP Barbell 6-foot solid steel models, lack revolving sleeves. When you perform dynamic movements like cleans, or even heavy bench presses, the rotational torque of the weight transfers directly into the bar shaft and your wrists. According to BarBend's comprehensive guide on plate specifications, this lack of rotational independence not only increases wrist strain but creates a severe shear-stress point at the weld collar. Under loads exceeding 250 pounds, standard 1-inch bars are prone to permanent whippage (bending) or catastrophic snapping at the collar weld.
The Olympic Advantage for Home Gyms
Olympic plates feature a 2-inch center hole lined with a steel hub, designed to mate with Olympic barbells that utilize bronze bushings or needle bearings in the sleeves. This allows the plates to spin independently of the bar shaft. For home gym owners investing in Rogue Fitness Machined Olympic Plates or similar calibrated iron, the 2-inch system guarantees global compatibility, precise weight calibration, and a lifespan that will outlive the lifter.
Step-by-Step Storage and Rack Installation Walkthrough
Once you commit to the Olympic 2-inch ecosystem, you must safely store hundreds of pounds of iron. Improper weight storage installation is a leading cause of home gym property damage and injury. Here is the exact workflow for installing a heavy-duty weight tree or wall-mounted rack.
Step 1: Subfloor and Matting Preparation
Do not place a loaded weight tree directly on drywall, laminate, or standard concrete without preparation. A fully loaded 6-peg Olympic tree can exceed 800 pounds, creating immense point-load pressure.
- Source the Matting: Purchase 4x6 foot, 3/4-inch thick vulcanized horse stall mats. Avoid cheap PVC 'puzzle mats' which will compress and bottom out under a weight tree.
- Level the Base: Use a 48-inch spirit level. If your garage concrete has a slope greater than 1/4 inch over 4 feet, use rubber shims beneath the stall mat to create a perfectly flat plane.
- Positioning: Place the matting at least 18 inches away from drywall to prevent plate-edge gouging during loading and unloading.
Step 2: Assembling the Weight Storage Tree
For this walkthrough, we will use a standard freestanding A-Frame Olympic Weight Tree (e.g., Titan Fitness 6-Peg model).
- Hardware Sorting: Lay out all M10 and M12 bolts, lock washers, and nylon-insert locknuts. Never substitute standard hex nuts for nylon-insert locknuts on gym equipment subject to vibrational loading (dropping plates nearby).
- Base Assembly: Attach the A-frame base to the vertical spine on the floor. Insert the M12 structural bolts with lock washers.
- Torquing Sequence: Using a torque wrench, tighten the base bolts to 45 ft-lbs. Do not use an impact driver, as overtightening can strip the threads on imported steel tubing.
- Peg Installation: Screw in the 12-inch solid steel storage pegs. Apply a thin layer of lithium grease to the threads before screwing them into the spine to prevent galvanic corrosion and seizing over time.
Step 3: The Loading Protocol
Weight distribution on a freestanding tree is critical to prevent tipping. Always follow the inverted pyramid rule:
- Bottom Pegs (Ground Level): Store 45 lb and 35 lb bumper or iron plates.
- Middle Pegs: Store 25 lb and 15 lb plates.
- Top Pegs: Store 10 lb, 5 lb, and fractional change plates (e.g., 2.5 lb pairs).
- Dumbbell Handle Storage: If using plate-loaded Olympic dumbbell handles, store them on the lowest available pegs or in a dedicated vertical dumbbell cradle to keep the center of gravity low.
Avoid vinyl-encased cement-filled standard plates for serious home gyms. Cement has a much lower density than cast iron, meaning a 45lb cement plate is physically massive (often 14-15 inches in diameter). This oversized diameter alters the biomechanics of deadlifts and barbell rows by artificially raising the starting height of the barbell by up to 2 inches, reducing your range of motion and increasing lower-back shear forces.
Wall-Mounted Alternatives for Small Footprints
If your home gym is in a shared space or a narrow garage bay, a freestanding tree may consume too much floor area. Wall-mounted plate storage brackets are the optimal 2026 solution for space-constrained lifters.
Installation Requirements for Wall Racks
Wall racks transfer the load directly into your wall studs. Drywall anchors will fail catastrophically under dynamic loading.
- Stud Finding: Use a magnetic stud finder to locate the center of 2x4 or 2x6 wooden wall studs (typically spaced 16 inches on-center in North American construction).
- Hardware: Use 3/8-inch x 3-inch structural lag screws. Pre-drill a 1/4-inch pilot hole to prevent splitting the wall stud.
- Capacity Check: A single lag screw driven 2.5 inches into a standard Douglas Fir stud has a shear strength of roughly 300-400 lbs. A 4-peg wall bracket utilizing 4 lag screws can safely hold over 800 lbs of static Olympic iron.
Final Walkthrough Checklist
Before loading your new Olympic plates and beginning your heavy lifting sessions, run through this final safety and maintenance checklist:
- [ ] All weight tree bolts torqued to manufacturer specifications (re-torque after 30 days of use as steel settles).
- [ ] Nylon-insert locknuts are facing outward to prevent bolt protrusion from scratching plates.
- [ ] Barbell sleeves are cleaned with a nylon brush and lightly oiled (3-in-One oil) to ensure smooth bearing rotation.
- [ ] Fractional plates are stored in a dedicated bin or top peg to prevent loss.
- [ ] Flooring mats are flush against the wall with no trip hazards.
Transitioning from fixed equipment to a plate-loaded system is a milestone in any home gym owner's journey. By prioritizing the 2-inch Olympic standard and executing a mathematically sound storage installation, you ensure that your equipment remains safe, calibrated, and ready for decades of progressive overload.
More gear to consider
All reviews
2026 Rack Trends: Storage and One-Arm Dumbbell Row Muscles Worked
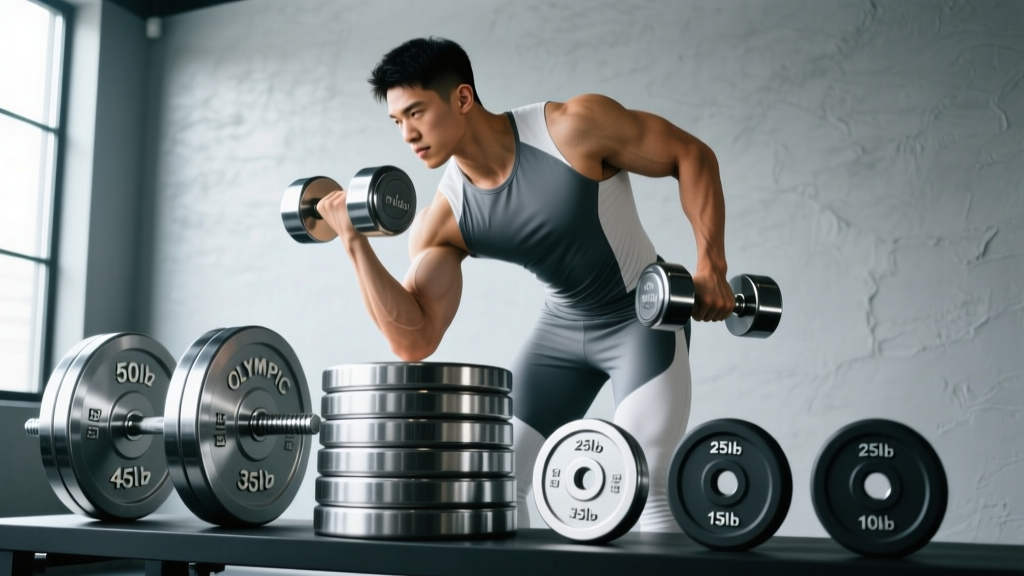
Olympic vs Standard Plates: Arm Workouts for Men with Dumbbells
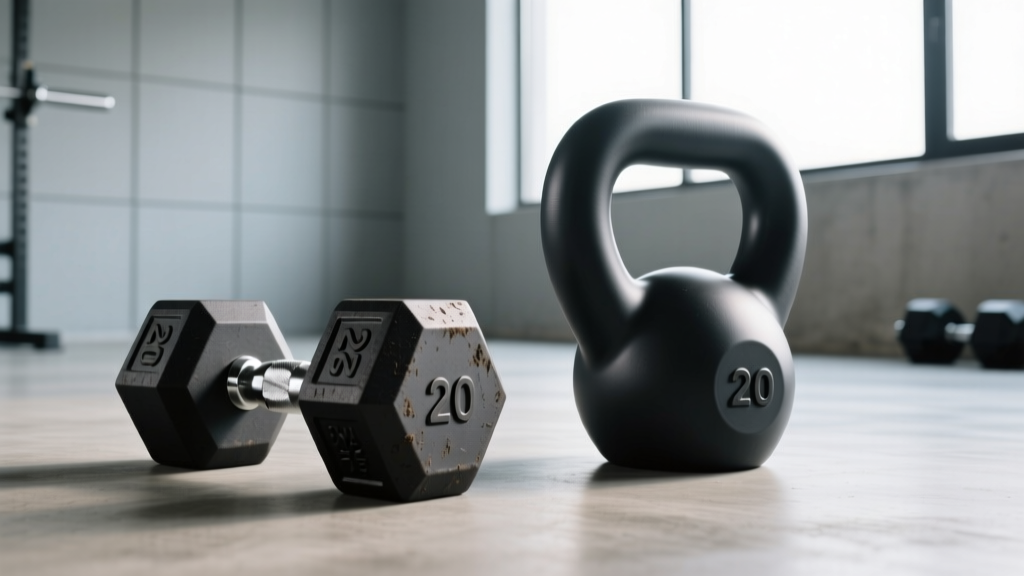
Best Dumbbells for 1-Arm Dumbbell Rows: Rubber Hex vs Urethane Test
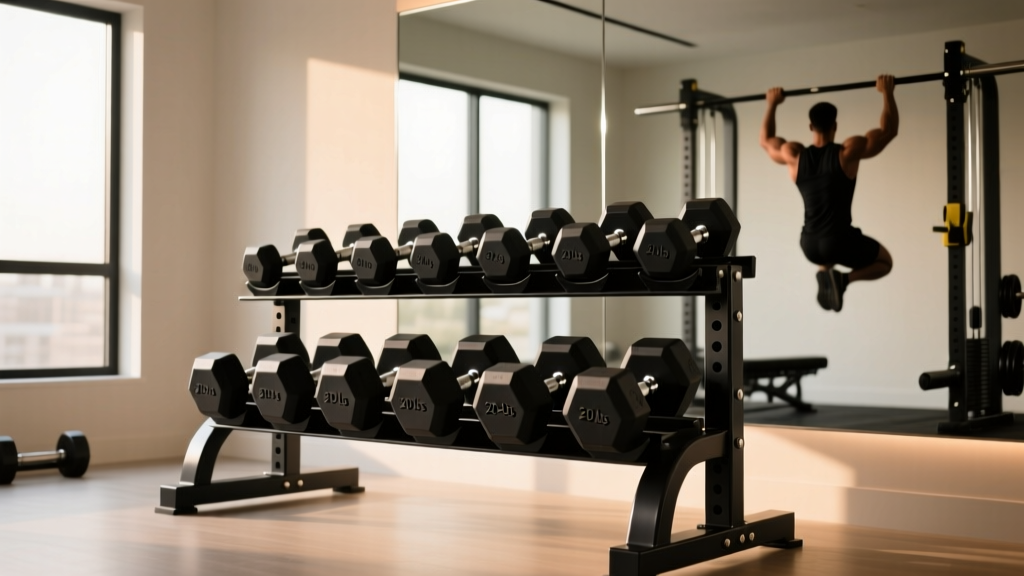
Best Dumbbell Racks to Support Dumbbell Only Back Exercises
Olympic vs Standard Plates Setup for Your Dumbbell Weekly Routine