Beyond Seated Dumbbell Workouts: Barbell Weight & Knurl Guide
Transition from seated dumbbell workouts to heavy lifting. Our step-by-step Olympic barbell buying guide covers weight specs, knurling, and top picks.

Most lifters begin their strength journey relying heavily on seated dumbbell workouts. They are accessible, require minimal spatial footprint, and isolate muscles effectively without the steep learning curve of a barbell. However, as you progress, you will inevitably hit a ceiling. Adjustable dumbbells typically cap out between 50 and 90 pounds per hand, and stabilizing heavy independent weights drains energy that could be used for pure systemic overload.
To break through plateaus in your chest, back, and leg development, transitioning to an Olympic barbell is mandatory. But walking into a home gym equipment store or browsing online in 2026 can be overwhelming. What do the different weights mean? Why does the metal grip feel different on every bar? This beginner-friendly, step-by-step Olympic barbell buying guide breaks down weight classifications and knurling patterns so you can make an informed, lifetime investment.
Step 1: Demystifying Olympic Barbell Weights and Dimensions
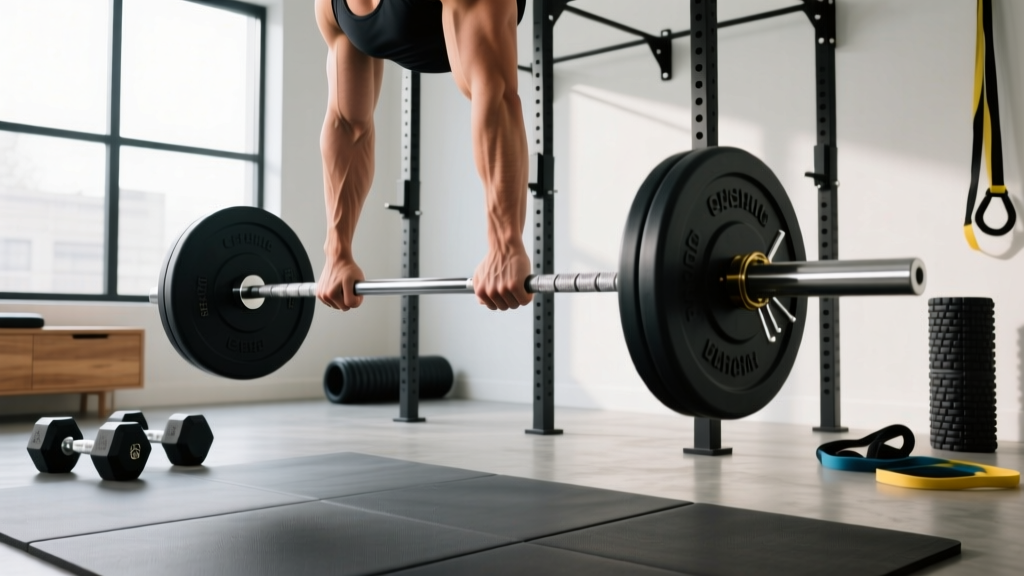
Unlike the fixed-weight dumbbells you use for seated dumbbell workouts, Olympic barbells are categorized by strict international standards. The weight and shaft diameter of the barbell dictate how it flexes (whip) and how securely you can grip it.
The Standard Weight Matrix
| Barbell Type | Weight | Shaft Diameter | Best For |
|---|---|---|---|
| Men's Olympic | 20 kg (44 lbs) | 28mm - 29mm | General strength, powerlifting, weightlifting |
| Women's Olympic | 15 kg (33 lbs) | 25mm | Smaller hands, Olympic weightlifting, beginners |
| Technique Bar | 10 kg (22 lbs) | 25mm - 28mm | Form practice, youth lifters, rehab |
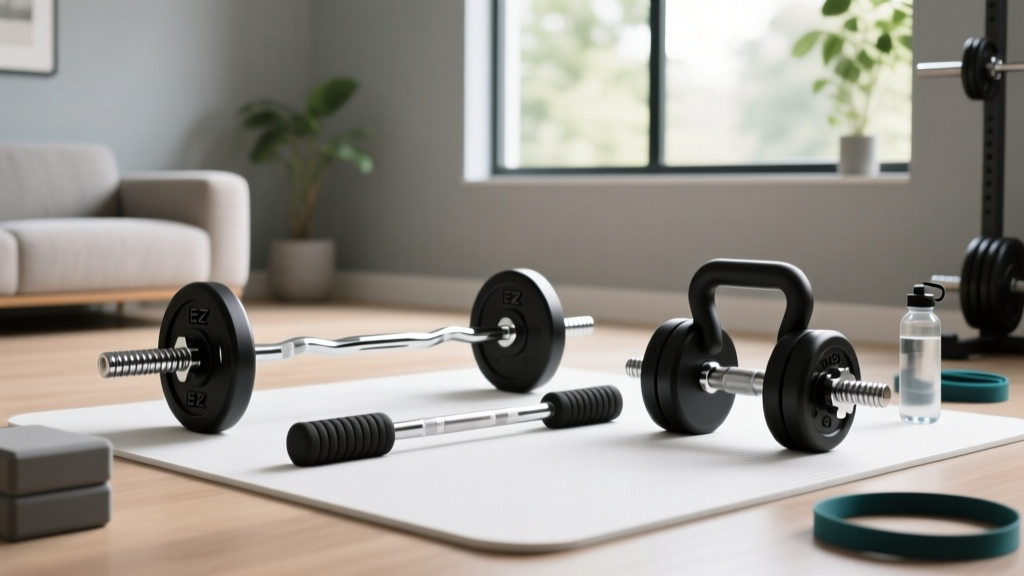
| Curl Bar (EZ) | 15-20 lbs (varies) | 25mm - 28mm | Bicep isolation, tricep extensions |
For 90% of home gym owners transitioning from dumbbells, a 20kg Men's Olympic Bar with a 28.5mm shaft is the gold standard. A 28.5mm shaft provides the perfect compromise: thin enough to grip securely during heavy deadlifts, but thick enough to withstand heavy squats without bending permanently. Always check the tensile strength rating; never buy a bar below 165,000 PSI, as it will permanently bend under heavy loads.
Step 2: Decoding the Knurling Matrix
Knurling is the cross-hatched pattern machined into the steel shaft of the barbell. It is the single most important factor in how a bar feels in your hands. According to BarBend's comprehensive knurling analysis, there are three primary geometric patterns you need to know:
1. Hill Knurling (Passive)
The peaks of the knurl are rounded off. This feels smooth and is very forgiving on the hands. While great for high-rep CrossFit workouts where tearing calluses is a risk, it is not recommended for heavy strength training. If you are moving from seated dumbbell workouts to heavy barbell rows, a hill knurl will cause the bar to slip.
2. Mountain Knurling (Aggressive)
Machined to sharp, flat-topped peaks that are deeply cut. This pattern bites into your skin aggressively. It is heavily favored by powerlifters who need maximum friction for low-rep, heavy deadlifts. However, it can tear hands during high-volume Olympic lifts or dynamic movements.
3. Volcano Knurling (The Gold Standard)
Imagine a mountain with the tip sliced off, leaving a sharp, crater-like rim. Volcano knurling provides hundreds of tiny sharp edges for immense grip security, but the flat tops prevent the knurl from digging too deeply into your palms. For a beginner buying their first and only barbell, a moderate volcano knurl is the undisputed best choice.
💡 Expert Insight: Don't just look at the shape of the knurl; look at the depth. A 'moderate' volcano knurl is machined to about 0.030 inches deep. Anything deeper than 0.040 inches will shred your hands during high-volume back workouts.Step 3: The Center Knurl Debate
Look at the exact center of the barbell shaft. Is there knurling there? This small detail drastically changes the bar's intended use.
- With Center Knurl: Designed to grip the back of your t-shirt during heavy squats to prevent the bar from sliding. Mandatory for competitive powerlifting (IPF standards).
- Without Center Knurl: Preferred by Olympic weightlifters and CrossFit athletes who frequently clean the bar to their chest. A center knurl will scrape your neck and collarbone during front squats and cleans.
If your routine consists mostly of squats, bench presses, and rows, get a bar with a center knurl. If you plan on incorporating dynamic, full-body movements, skip it. For official specifications on competition requirements, you can review the USA Weightlifting official equipment rulebook.
Step 4: 2026 Market Recommendations for Transitioning Lifters
Based on current 2026 pricing and manufacturing quality, here are three step-by-step recommendations depending on your budget:
Budget Pick: Rep Fitness Colorado Bar ($149)
At 20kg with a 190k PSI tensile strength and a moderate volcano knurl, this is the best entry-level bar on the market. It lacks a center knurl, making it highly versatile for both pressing and dynamic movements. The composite bushings provide a smooth spin for Olympic lifts.
Mid-Range Workhorse: Rogue Fitness Ohio Bar ($225 - $295)
As detailed in the Rogue Fitness Ohio Bar specifications, this bar features a 190k PSI shaft, dual knurl marks (for both powerlifting and weightlifting grip widths), and a perfect moderate volcano knurl. The Cerakote finish options ($295) offer military-grade corrosion resistance if your garage gym is prone to humidity.
Premium Lifetime Buy: Eleiko Sport Training Bar ($950+)
Swedish steel, hardened chrome, and a proprietary 'sharkskin' knurl that feels like it's glued to your hands without tearing them. This is an heirloom piece of equipment that will outlive you.
Step 5: Mapping Seated Dumbbell Workouts to the Barbell
Once your barbell arrives, how do you translate your existing seated dumbbell workouts into barbell movements? The barbell allows for greater absolute load but requires more core stabilization and bilateral symmetry.
- Seated DB Shoulder Press ➡️ Standing Strict Press (OHP): The barbell forces you to engage your glutes and core to stabilize the load. Start with 60% of your combined dumbbell weight to account for the stabilization learning curve.
- Seated DB Row ➡️ Pendlay Row or Barbell Bent-Over Row: Moving from a supported seated position to a hinged hip position will tax your lower back. Focus on hamstring flexibility and keep the barbell path tight to your torso.
- Seated DB Chest Press ➡️ Flat Barbell Bench Press: The barbell locks your hands into a fixed path, allowing you to push 15-20% more weight than your combined dumbbells. Ensure your grip aligns with the outer knurl rings for optimal shoulder safety.
Upgrading from dumbbells to a high-quality Olympic barbell is the most significant leap you can make in your home gym. By prioritizing a 28.5mm shaft, a moderate volcano knurl, and a minimum of 165k PSI tensile strength, you will secure a tool that safely supports your strength journey for decades.
More gear to consider
All reviews
Cast Iron vs Competition Kettlebells & Dumbbell Calves Workout Zones

Dumbbell Pullover Standing Setup & Adjustable Reviews
Kettlebell Care: Cast Iron vs Competition & Lat Pull Down Dumbbell Alternative

Dumbbell Squat Clean Mistakes & 2026 Adjustable Dumbbell Guide

Best Adjustable Dumbbells for the Dumbbell Helms Row (2026 Guide)