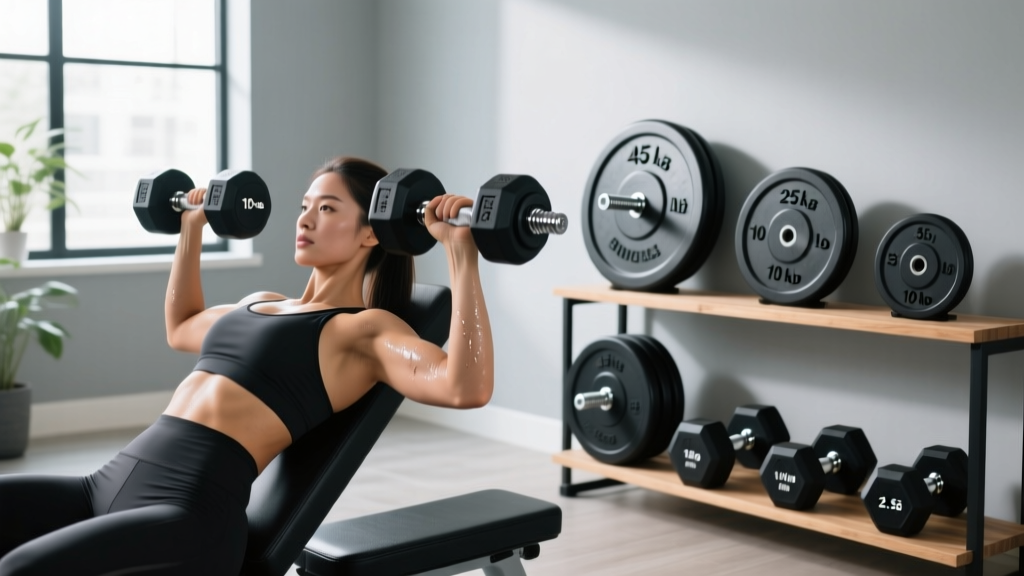
Beyond the Dumbbell: Olympic Barbell Knurling & Setup
Upgrading from dumbbells? This complete walkthrough covers Olympic barbell weight tolerances, knurling types, and step-by-step rack installation.

While mastering heavy unilateral movements with a 120-pound hex dumbbell builds incredible stabilizer strength and core control, there comes a time in every home gym owner's journey when the ceiling of dumbbell training is reached. Transitioning to an Olympic barbell setup unlocks progressive overload potential that simply cannot be matched by free weights alone. However, buying an Olympic barbell is only the first step; understanding its weight tolerances, decoding its knurling geometry, and executing a proper physical setup in your power rack are critical to ensuring safety and longevity.
This comprehensive walkthrough bridges the gap between selecting the right barbell and physically installing it in your gym space. We will cover the exact specifications you need to look for, how to inspect the bar upon arrival, and the precise measurements required for a flawless rack installation.
Phase 1: Decoding Weight Tolerances and Knurling Specs
Before you unbox your new equipment, you must understand what you are paying for. The transition from dumbbell to barbell training requires a bar that matches your specific biomechanical needs and grip tolerance.
Weight Calibration Standards
Not all 20kg (44lb) bars are created equal. Budget commercial bars often carry a weight tolerance of +/- 50 grams or more. While this seems negligible, in competitive lifting or precise programming, it matters. Premium bars certified by the International Weightlifting Federation (IWF) or International Powerlifting Federation (IPF) boast a strict tolerance of +/- 10 grams. For example, the Eleiko Olympic WL Training Bar (retailing around $950) guarantees this elite calibration, whereas a standard Rogue Ohio Bar (~$295) offers an excellent +/- 15 gram tolerance that satisfies 99% of home gym athletes.
The Knurling Matrix: Hill, Mountain, and Volcano
When you grip a heavy dumbbell, the handle diameter and texture dictate your hold. On a barbell, the knurling pattern is machined into the steel shaft and fundamentally changes how the bar interacts with your skin. According to BarBend's comprehensive knurling guide, there are three primary geometries:
| Knurl Type | Geometry Profile | Depth / Aggressiveness | Best Application | Example Model |
|---|---|---|---|---|
| Hill | Shallow, rounded peaks | Low (0.2mm - 0.5mm) | High-rep conditioning, bare hands | Rep Fitness Excalibur |
| Mountain | Sharp, pointed peaks | Medium-High (0.8mm+) | Powerlifting, heavy low-rep sets | Titan Fitness Cerakote |
| Volcano | Deep valleys, flat crater tops | High (1.0mm+) | Olympic lifting, max grip security | Eleiko / Rogue WL Bars |
If you are transitioning from dumbbell bench presses to barbell back squats, a center knurl is highly recommended. It provides a tactile 'bite' against your shirt or back to prevent the bar from sliding during heavy squats. However, if you primarily do Olympic cleans and front squats, avoid aggressive center knurls, as they will tear the skin on your collarbones during the catch phase.
Phase 2: The Unboxing and Inspection Walkthrough
Once your barbell arrives, do not simply throw it on the rack. Factory-fresh bars are coated in heavy machine oil or cosmoline to prevent rust during shipping. Follow this exact setup sequence:
- The Degrease: Lay the bar on a clean towel. Use a microfiber cloth and a mild degreaser (or WD-40 Specialist Cleaner) to wipe down the entire shaft and sleeves. Avoid harsh solvents that can strip the zinc or cerakote finish.
- The Chalk Test: Rub a block of magnesium carbonate chalk into the knurling. Use a stiff nylon brush to scrub the chalk out. This not only cleans the microscopic metal shavings left over from the factory machining process but also reveals any inconsistencies in the knurl depth.
- The Spin Test: Hold the bar horizontally by the shaft and spin the sleeves. A bar with bronze bushings (like the Ohio Bar) should have a smooth, controlled, and slightly dampened spin. A bar with needle bearings (like high-end weightlifting bars) should spin aggressively and silently for several seconds.
Phase 3: Rack Installation and Spatial Setup
Installing the barbell into your power rack or squat stand requires precise spatial awareness. A standard men's Olympic barbell is 2,200mm (86.6 inches) long, with a 51.5-inch distance between the inner faces of the sleeves.
Calculating J-Cup Spacing and Sleeve Clearance
The most common setup error occurs when J-cups are placed too wide, causing the bar's steel collar to grind against the rack uprights.
- Standard Rack Width: Most home gym racks (like the Rogue R-3 or Rep PR-4000) have an interior width of 43 to 49 inches.
- The 1.25-Inch Rule: If your rack uprights are set 49 inches apart, and the distance between the bar's collars is 51.5 inches, you have exactly 2.5 inches of total clearance. This leaves 1.25 inches of sleeve overhang on each side before the collar hits the J-cup.
- UHMW Plastic Alignment: Ensure your J-cups are equipped with UHMW (Ultra-High Molecular Weight) plastic liners. The plastic should bear the weight of the bar's smooth sleeve, not the knurled shaft, to prevent metal-on-metal shearing.
If you are using narrow squat stands (interior width less than 43 inches), you must be meticulous about centering the bar. A slightly off-center load during a heavy dumbbell-to-barbell transition complex could cause one sleeve to slip off the stand entirely. Always use sandwich-style J-cups for narrow stands.
Phase 4: Initial Maintenance and Break-In
Unlike rubber-coated or urethane dumbbells which require almost zero upkeep, an exposed steel Olympic barbell demands a strict maintenance protocol to prevent oxidation, especially in humid garage environments. According to the maintenance protocols outlined by Garage Gym Reviews, you should establish a monthly baseline:
- Shaft Care: Once a month, apply a few drops of 3-in-1 oil to a nylon brush and scrub it directly into the knurling. This displaces moisture and dead skin cells. Wipe away excess oil with a dry rag to prevent a slippery grip during your next heavy deadlift session.
- Sleeve Lubrication: Apply a light spray of PTFE (Teflon) lubricant or white lithium grease to the inside edge of the sleeve where it meets the shaft. Wipe the exterior of the sleeve completely dry; you want the lubrication inside the bushing/bearing assembly, not on the surface where your bumper plates will load.
- Storage Protocol: Never leave the barbell loaded with weight plates on the floor or in the rack for extended periods. While high-tensile steel (190k+ PSI) can handle the static load, leaving plates on the sleeves can compress the internal snap rings and bushings over time, degrading the sleeve spin.
Frequently Asked Questions
Can I use the same barbell for powerlifting and Olympic lifting?
Yes, but with compromises. A 'multi-purpose' bar typically features a 28.5mm shaft diameter, dual knurl marks (IPF and IWF), and a medium volcano or mountain knurl. It will suffice for most home gym users, though elite lifters will eventually need dedicated bars for each discipline due to the differing whip (flex) and spin requirements.
How does barbell whip compare to dumbbell stability?
When you press a heavy dumbbell, the implement is rigid; the instability comes from your own joint mechanics. A barbell, however, stores kinetic energy. A bar with high 'whip' (often 28mm diameter or lower tensile strength) will bounce off the chest during a bench press or oscillate during a heavy deadlift lockout. Learning to control this oscillation is a skill entirely unique to barbell training.
By understanding the intricate details of weight calibration, knurling geometry, and precise rack installation, you ensure that your upgrade from dumbbells to an Olympic barbell setup is safe, effective, and built to last a lifetime of heavy lifting.
More gear to consider
All reviews
EZ Curl Bar vs Straight Bar: Budgeting for Bigger Dumbbell Arms

Best Adjustable Dumbbells for the Dumbbell Bench Squat (2026)

Olympic vs Standard Plates & What Muscle Does Dumbbell Row Work?

Overhead Dumbbell Squat Errors & Barbell Collar Types

Top Neoprene Gear for Dumbbell Exercises for Belly Fat for Female