
Barbell Guide: Weight, Knurling & Dumbbell Suitcase Squats Setup
Master your home gym setup with our Olympic barbell buying guide on weight and knurling, plus space configuration for dumbbell suitcase squats.

The Foundation: Unboxing and Weight Tolerance Verification
When building an elite-tier home gym in 2026, your Olympic barbell is the undisputed centerpiece of your free weights arsenal. However, not all 20kg bars are created equal. Before you even load your first bumper plate, you must verify the weight tolerance, shaft diameter, and tensile strength of your equipment. Setting up a professional-grade lifting station begins with understanding these precise manufacturing specifications.
IWF vs. IPF vs. Commercial Tolerances
International governing bodies mandate strict weight tolerances for competition-grade equipment. Both the International Weightlifting Federation (IWF) and the International Powerlifting Federation (IPF) require a 20kg barbell to weigh within +/- 10 grams of the stated weight. Conversely, commercial-grade bars often deviate by +/- 50 grams or more, which can throw off your progressive overload tracking over a multi-year training block.
When investing in a premium bar like the Rogue 28mm Ohio Bar (typically retailing around $295), you are paying for exact calibration, a 190,000 PSI tensile strength shaft, and dual knurl markings. During your unboxing walkthrough, use a calibrated digital floor scale to weigh the bare barbell. If it reads 19.95kg or 20.05kg, you have a commercial bar; if it reads exactly 20.00kg, you have a competition-spec shaft ready for precise programming.
Decoding the Knurling Matrix: Selecting Your Grip Profile
Knurling is the machined pattern on the barbell shaft that dictates grip security. As detailed in Barbend's comprehensive guide to barbell knurling, the depth and shape of these microscopic peaks and valleys completely change the lifting experience. Selecting the right knurl is arguably the most critical decision in your barbell buying guide journey, as it directly impacts your central nervous system's ability to recruit maximum motor units without grip failure.
| Knurl Type | Depth & Geometry | Best Use Case | Example Model (2026) |
|---|---|---|---|
| Volcano | 1.2mm depth, sharp peaks with a cratered center | Dual-purpose (Oly & Power), high friction without tearing calluses | Rogue Ohio Bar ($295) |
| Mountain | 1.5mm depth, sharp, aggressive peaks | Heavy powerlifting, low-rep deadlifts, chalk-heavy environments | Texas Power Bar ($385) |
| Hill | 1.0mm depth, rounded, shallow peaks | High-rep hypertrophy, beginner lifters, bare hands | Commercial Gym Standard Bars |
Step-by-Step Barbell and Rack Installation Walkthrough
Once you have selected the correct barbell weight and knurling profile, the physical setup of your power rack and barbell storage must be executed flawlessly to ensure safety and equipment longevity.
- Inspect the Shaft Runout: Before racking, roll the bare barbell across a perfectly level surface (like your garage concrete). Watch the center of the shaft. Any visible wobble indicates a bent bar from shipping damage—reject it immediately.
- Mount the J-Cups: Install your J-cups at the lowest pin setting. Ensure the UHMW (Ultra-High Molecular Weight) plastic liners are facing inward. Never use bare steel J-cups, as they will destroy your barbell's knurling and zinc coating upon re-racking.
- Set Safety Straps: For squats, set your safety straps or spotter arms exactly one inch below your lowest squat depth. This allows you to dump the bar safely without the collars bouncing off the pins.
- Initial Knurl Degreasing: New barbells ship with a thick layer of anti-rust oil. Scrub the shaft with a stiff nylon brush and a 50/50 mix of white vinegar and water to remove the factory grease before your first lift.
- Collar Clearance Check: Load a 45lb plate on each side and slide the collars on. Ensure you have at least 1.5 inches of sleeve space remaining to allow the sleeves to rotate freely during Olympic lifts.
Spatial Configuration for Dumbbell Suitcase Squats
While your Olympic barbell handles heavy bilateral loading, a complete 2026 home gym must also accommodate unilateral functional movements. This is where configuring your floor space for dumbbell suitcase squats becomes critical. Relying solely on barbell work often masks left-to-right strength asymmetries and limits core stabilization development.
Biomechanics and Spatial Requirements
As noted in Barbend's exercise breakdown on the suitcase squat, this movement heavily targets the quadriceps while demanding intense anti-lateral flexion from your obliques and quadratus lumborum. Because you are holding a heavy dumbbell or kettlebell in only one hand, your body must fight the rotational force to stay upright.
Setup & Drop Zone Specifications
- Footprint: Clear a dedicated 4x6 foot zone directly adjacent to your power rack.
- Flooring: Install 3/4-inch thick vulcanized rubber horse stall mats. Thinner mats (like 3/8-inch puzzle tiles) will compress unevenly under heavy unilateral loads, compromising your ankle stability.
- Vertical Clearance: Ensure you have at least 12 inches of vertical clearance between the floor and the bottom of your rack's crossmembers so you can drop heavy dumbbells safely without damaging the rack's uprights.
- Implement Selection: For advanced lifters, use a 100lb+ hex dumbbell. The hex shape prevents rolling when you set it down between sets, maintaining a safe perimeter.
Integrating dumbbell suitcase squats into your programming requires a spatial layout that allows for seamless transitions. Position your dumbbell rack exactly three feet from your primary lifting platform. This specific distance allows you to carry a heavy 120lb dumbbell to your drop zone without exhausting your grip before the working set even begins.
Ongoing Maintenance Protocol
The longevity of your barbell's knurling and the safety of your suitcase squat drop zone depend on rigorous maintenance. Chalk and dead skin will rapidly pack into the valleys of a volcano or mountain knurl, creating a breeding ground for rust and reducing grip friction.
Every Friday, take a brass wire brush and vigorously scrub the knurling to dislodge impacted chalk. Follow this by applying three to four drops of 3-in-One oil to the shaft, working it in with a microfiber cloth. Never use WD-40, as it contains solvents that will strip the protective zinc or cerakote finish off your barbell. For your dumbbell suitcase squat drop zone, sweep the rubber mats weekly and mop them with a pH-neutral cleaner to prevent the rubber from degrading and becoming slick underfoot.
'A meticulously calibrated barbell and a properly zoned floor space are the hallmarks of a serious home gym. Whether you are grinding out a 500lb deadlift or stabilizing a heavy dumbbell suitcase squat, your equipment setup dictates your performance ceiling.'
More gear to consider
All reviews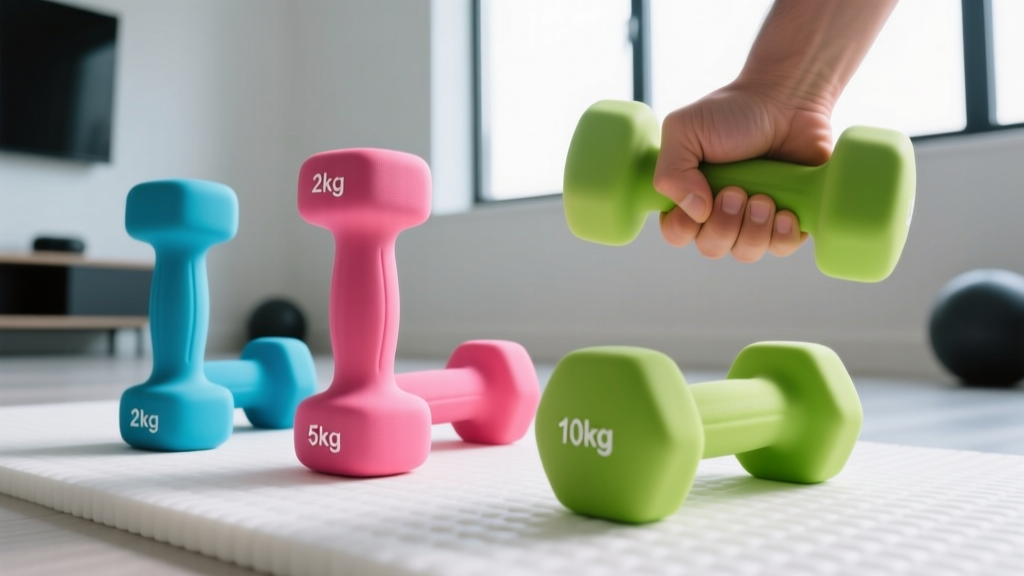
Neoprene Dumbbells for Weight Loss: A Beginner's Guide
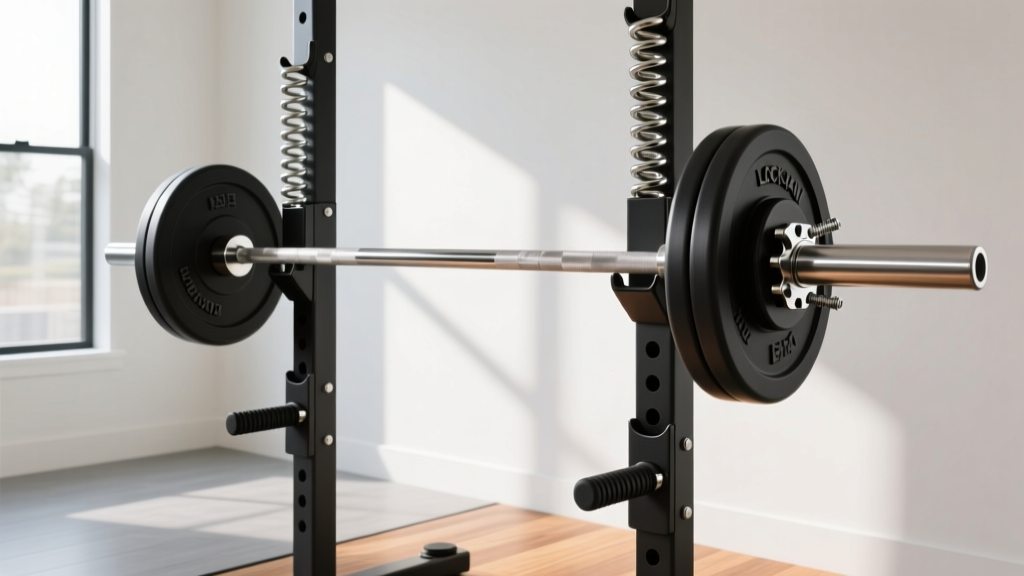
Beyond Your Bowflex Dumbbells Workout: Barbell Collar Types Compared
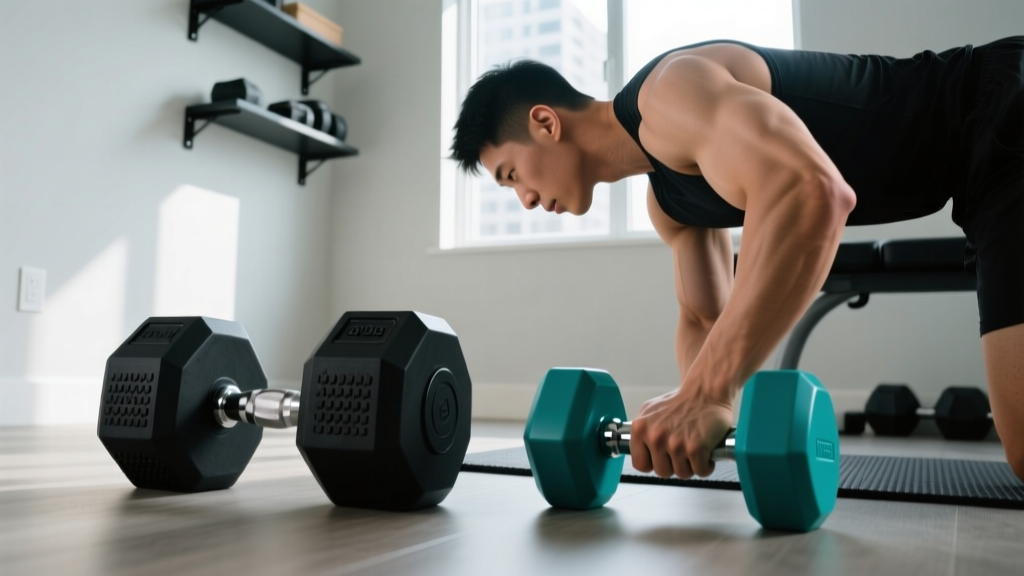
Single Arm Dumbbell Row Form: Rubber Hex vs Urethane in Small Gyms

EZ vs Straight Bar: Triceps Workout at Home with Dumbbells

Cast Iron vs Competition Kettlebells & 100lb Dumbbell Set Value
