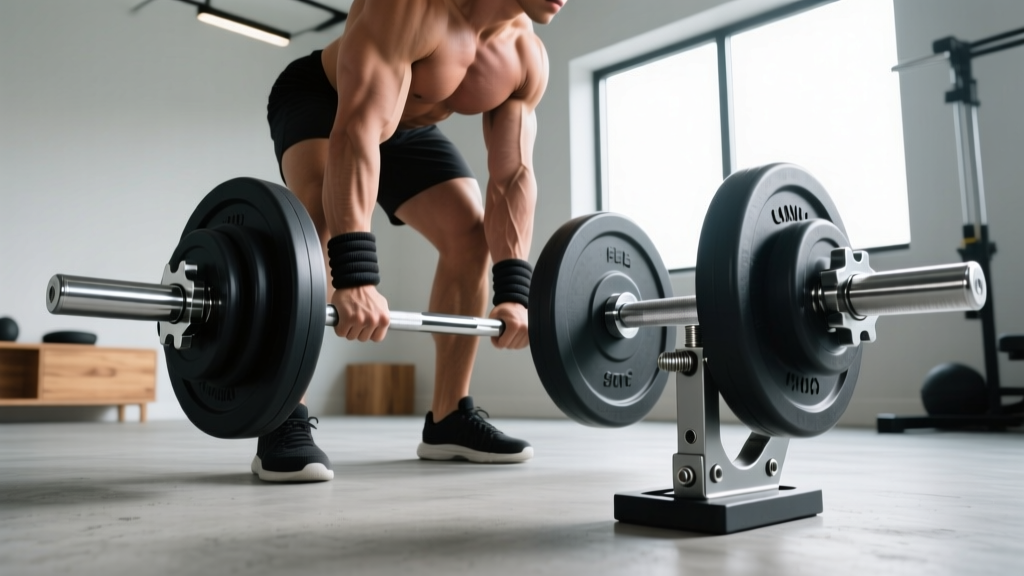
Barbell Collar Types Compared: Secure Dumbbell V Raise Guide
Master free weight safety with our barbell collar types comparison and learn perfect form for the dumbbell v raise in this beginner step-by-step guide.

The Foundation of Free Weight Safety: Securing Your Load
Stepping into the free weights section of a gym or building a home gym in 2026 can feel overwhelming. Between selecting the right plates, racks, and dumbbells, beginners often overlook the most critical safety component: the collar. Whether you are loading up an Olympic barbell for heavy squats or securing adjustable dumbbells for isolation movements like the dumbbell v raise, failing to properly secure your weights can lead to catastrophic imbalances, ruined lifts, and severe injuries.
This beginner-friendly, step-by-step guide will walk you through the exact differences between barbell collar and clamp types, followed by a comprehensive biomechanical breakdown of the dumbbell v raise to ensure your shoulder training is as safe and effective as possible.
Step 1: Understanding Barbell Collar and Clamp Types
When a barbell is dropped or racked unevenly, the plates generate rotational inertia. If the sleeve is not secured, the plates slide outward, shifting the center of gravity and potentially causing the bar to flip out of your hands. To prevent this, you must choose the right collar for your training style.
1. Spring Clips (The Budget Option)
Spring clips are the most common collars found in commercial gyms. They consist of a steel coil with two handles. You squeeze the handles to compress the spring, slide it onto the 50mm Olympic sleeve, and release.
- Pros: Extremely cheap ($8–$12 per pair), lightweight, and fast to apply for light warm-up sets.
- Cons: Prone to metal fatigue over time. They offer very low lateral clamping force and will slip if the barbell sleeve is dusty or chalky. Never use spring clips for heavy squats, deadlifts, or dynamic Olympic lifts.
2. Clamp / Lockjaw Collars (The Gym-Goer's Standard)
Clamp collars, popularized by brands like Lockjaw, use a heavy-duty nylon or polymer body with an internal rubber lining and a lever-action latch. When you snap the latch shut, it compresses the rubber against the steel sleeve.
- Pros: Excellent grip on the sleeve, highly durable, and available in various colors. Priced around $28–$35, they offer the best bang for your buck for general powerlifting and bodybuilding.
- Cons: The plastic housing can crack if dropped repeatedly from overhead heights onto concrete flooring.
3. Aluminum Competition Collars (The Elite Standard)
Machined from solid aluminum with a steel inner ring and a tightening lever, these are the gold standard for serious lifters. The Rogue AB-2 Aluminum Collars are a prime example, weighing exactly 2.5kg each to factor into competition load calculations.
- Pros: Maximum clamping force, indestructible under normal gym conditions, and precise weight calibration.
- Cons: Expensive ($40–$45+ per pair) and heavier to handle.
Collar Comparison Matrix
| Collar Type | Example Model | Avg Price (2026) | Security Rating | Best Use Case |
|---|---|---|---|---|
| Spring Clip | Generic Chrome | $8 - $12 | Low | Light bench press, warm-ups |
| Clamp / Lockjaw | Lockjaw Pro | $28 - $35 | High | Powerlifting, general gym use |
| Aluminum Comp. | Rogue AB-2 | $40 - $45 | Maximum | Olympic lifting, heavy squats |
| Spinlock (DB) | Yes4All Star Nut | $15 - $20 | Medium | Plate-loaded dumbbells |
Step 2: Transitioning to Dumbbells — The Internal Collar
Before we execute our target exercise, we must address dumbbell security. If you use selectorized dumbbells (like the Bowflex 552 or PowerBlock Elite), the 'collar' is built into the internal pin or dial mechanism. Always ensure the dial clicks firmly into the numbered groove. If you feel any lateral play in the plates when you shake the dumbbell lightly, do not use it. For traditional plate-loaded dumbbells, always use the included star-nut spinlocks and ensure the threads are free of debris.
Step 3: Step-by-Step Guide to the Dumbbell V Raise
The dumbbell v raise is a phenomenal, yet frequently botched, isolation exercise. Unlike a standard lateral raise (which targets the side delt) or a strict front raise (anterior delt), the V raise operates in the scapular plane. This angle targets the clavicular head of the pectoralis major and the anterior deltoid while being significantly safer for the shoulder joint capsule.
According to biomechanical guidelines outlined by the National Strength and Conditioning Association (NSCA), maintaining proper kinetic chain alignment during shoulder flexion and abduction is critical to preventing impingement.
Phase 1: The Setup
- Select the Right Weight: Beginners should start with 5 lb to 15 lb dumbbells. This is an isolation movement; ego-lifting will immediately shift the tension to your upper traps and lower back.
- Stance: Stand with your feet shoulder-width apart. Maintain a slight bend in your knees to stabilize your base.
- Grip: Hold a dumbbell in each hand using a neutral grip (palms facing your thighs). Let the dumbbells rest just in front of your quadriceps.
- Posture: Retract your shoulder blades slightly and keep your chest proud. Your core should be braced as if preparing for a light punch to the stomach.
Phase 2: The Execution (The 'V' Path)
- The Angle: Instead of raising the dumbbells straight out to the sides (90 degrees) or straight forward (0 degrees), you will raise them at a 30 to 45-degree angle from the midline of your body. This creates the 'V' shape.
- The Lift: Exhale and raise the dumbbells simultaneously, keeping a slight, soft bend in your elbows. Do not lock your elbows out completely, as this places undue stress on the joint.
- The Apex: Stop the movement when the dumbbells reach shoulder height. At the top, your palms should still be facing each other (neutral grip) or slightly rotated inward. Do not let your wrists flex or extend.
- The Descent: Inhale and slowly lower the weights back to the starting position along the exact same 30-45 degree path. Take 2 to 3 full seconds on the eccentric (lowering) phase to maximize muscle fiber recruitment.
Expert Tip: To verify your angle, stand in front of a mirror or place a yoga mat on the floor angled at 45 degrees from your feet. Trace the edge of the mat with your dumbbells to build neurological muscle memory for the scapular plane.
Phase 3: Common Failure Modes and Fixes
- Mistake 1: Swinging the Torso. If you have to lean back to get the weights up, the load is too heavy. Drop the weight by 5 lbs per hand.
- Mistake 2: Shrugging the Traps. Keep your shoulders depressed (pulled down away from your ears) throughout the entire range of motion. Think about pulling your shoulder blades into your back pockets.
- Mistake 3: Wrist Curling. Keep your wrists rigid and neutral. Imagine your forearm and the dumbbell are one solid, fused unit.
Step 4: Programming and Routine Integration
For beginners, the dumbbell v raise should be programmed at the end of your push or shoulder workout, after your heavy compound presses are complete. Aim for 3 sets of 12 to 15 repetitions. The goal is metabolic stress and a deep muscular burn, not moving maximum load.
For comprehensive exercise variations and joint-angle specifics, the ExRx.net Deltoid Exercise Directory remains an invaluable resource for mapping out anterior and lateral shoulder movements.
Final Thoughts on Equipment and Form
Whether you are tightening a Rogue AB-2 collar on a 400lb deadlift or gripping a 15lb hex dumbbell for a strict set of V raises, the principles of free weight training remain the same: respect the physics of the load, secure your equipment, and prioritize biomechanical alignment over ego. By mastering the equipment security basics and executing the dumbbell v raise with precise scapular-plane mechanics, you will build resilient, capped shoulders while keeping your joints healthy for years to come.
More gear to consider
All reviews
EZ Bar vs Straight Bar: Space Optimization & Dumbbell Radial Deviation Tactics

EZ Curl vs Straight Bar Layout & Trulap Dumbbells Review

Power Rack, Squat Rack, or Stand for the Dumbbell Hang Power Clean?

Power Rack vs Squat Stand: Close Grip Dumbbell Floor Press Setup
EZ vs Straight Bar Care & Correct Form for Dumbbell Bench Press