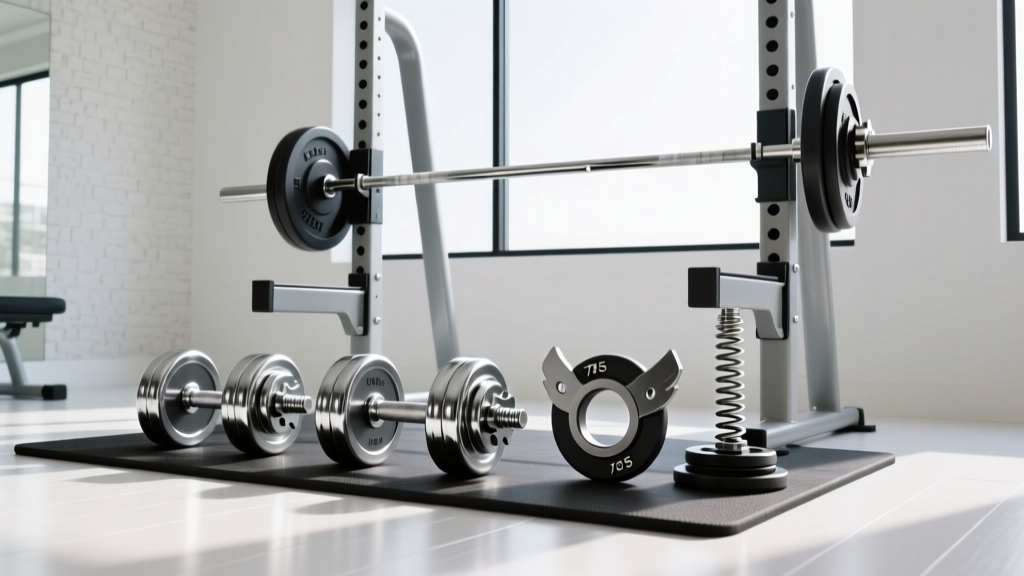
Setup Guide: 75 Pound Dumbbells & Barbell Collar Types Compared
Master your heavy free weight zone setup. Learn floor prep for 75 pound dumbbells and compare barbell collar types for ultimate barbell safety.

Complete Free Weight Zone Setup: From Heavy Dumbbells to Barbell Safety
Building a commercial-grade free weight zone in your home or garage gym requires far more than simply unboxing equipment and dropping it on the floor. As of 2026, the standard for home gym safety and spatial efficiency has evolved, demanding rigorous attention to floor load limits, equipment clearances, and hardware security. Whether you are racking a massive set of 75 pound dumbbells or loading a barbell for heavy squats, the margin for error is zero.
This complete setup and installation walkthrough is divided into two critical phases. First, we will cover the structural requirements and placement of your heavy dumbbell rack. Second, we will transition to the barbell platform for an exhaustive barbell collar and clamp types comparison, ensuring your Olympic bar is secured against catastrophic plate shifts during dynamic lifts.
Phase 1: Anchoring the Heavy Dumbbell Rack
Before we address the barbell station, we must properly install the dumbbell zone. A full commercial rubber hex set ranging from 5 to 75 pounds weighs approximately 1,200 pounds. When concentrated on a 3-tier rack, the dead load footprint is immense.
Floor Reinforcement and Placement
Do not place a fully loaded 75 pound dumbbell rack on unsupported upper-floor residential joists without consulting a structural engineer. For ground-level concrete slabs, standard 3/4-inch horse stall mats over a plywood subfloor are sufficient. However, if you are using a vertical A-frame rack to save space, the tipping hazard during the removal of heavy implements like 75 pound dumbbells is a genuine risk.
- Clearance Rule: Maintain a minimum of 36 inches of clearance on all sides of the rack to allow for safe lifting and carrying of heavy dumbbells.
- Anchoring: If your rack features pre-drilled base plates, use 3/8-inch concrete wedge anchors (for slabs) or structural lag screws (for wood platforms) to secure the rack to the floor.
- Weight Distribution: Always load the heaviest dumbbells (60, 65, 70, and 75 lbs) on the bottom tier to lower the center of gravity.
Phase 2: Barbell Station Setup & Safety Hardware
With the dumbbell zone secured, we move to the barbell platform. The most overlooked safety component in any gym setup is the barbell collar. When a 45-pound plate shifts during a heavy squat or a dynamic clean, the resulting asymmetric load can cause severe spinal torque or barbell whipping that leads to missed lifts and injuries.
Choosing the right collar depends on your training style, the barbell sleeve diameter, and your budget. Below is a comprehensive breakdown of the market's primary clamp mechanisms.
The Ultimate Barbell Collar & Clamp Comparison Matrix
| Collar Type | Model Example | Est. Price (2026) | Best Application | Primary Failure Mode |
|---|---|---|---|---|
| Spring | Generic Chrome Spring | $15 - $22 | Light isolation, quick machine changes | Metal fatigue, tension loss over time |
| Nylon Clamp | Lockjaw Pro Olympic | $28 - $35 | General powerlifting, garage gyms | Plastic brittleness in cold climates, teeth stripping |
| Aluminum Lever | Rogue AB-2 | $45 - $55 | Heavy compound lifts, CrossFit | Cam lever loosening after thousands of drops |
| Screw-Down | Ivanko OB-2 | $75 - $95 | Olympic weightlifting, competition | Cross-threading if forced at an angle |
Deep Dive: Collar Mechanics and Real-World Performance
1. Spring Collars (The Budget Baseline)
Spring collars rely on the tension of coiled steel to grip the barbell sleeve. While they are incredibly fast to install and remove, they offer the lowest holding force. According to equipment testing by Garage Gym Reviews, spring collars are entirely inadequate for Olympic lifts or heavy bench pressing where the bar might tilt. The dynamic 'whip' of an Olympic bar will easily overcome the spring tension, causing the collar to slide outward and the plates to separate.
2. Nylon/Plastic Clamp Collars (e.g., Lockjaw)
These collars use a reinforced nylon body with an internal TPU (thermoplastic polyurethane) grip ring and a lever-action clamp. They are a massive upgrade from springs and are ubiquitous in commercial gyms. Edge Case Warning: If your garage gym is unheated and drops below freezing in the winter, the nylon housing can become brittle. Dropping a loaded barbell on a frozen Lockjaw collar can result in the housing cracking and the clamp failing mid-session.
3. Aluminum Lever-Action Collars (e.g., Rogue AB-2)
Machined from aircraft-grade aluminum, lever-action collars like the Rogue AB-2 utilize a steel cam-lever to apply immense, uniform pressure against the barbell sleeve. They are virtually indestructible under normal dropping conditions. The internal urethane lining grips the steel sleeve aggressively. Over years of heavy use, the cam lever hinge may require a slight adjustment via an Allen wrench to maintain peak clamping force, but they remain the gold standard for heavy powerlifting and high-volume functional fitness.
4. Competition Screw-Down Collars (e.g., Ivanko OB-2)
For Olympic weightlifting (snatches and clean & jerks), screw-down collars are mandatory. As noted in safety and equipment guidelines referenced by BarBend, the extreme rotational forces and bar whip generated during a heavy snatch require a collar that physically threads onto the bar or locks via a precision machined screw mechanism. The Ivanko OB-2 weighs exactly 2.5kg (5.5lbs) per pair, which is factored into competition barbell loads. They will not slip, but they are slow to install and remove.
⚠️ Critical Safety Callout: The Bar Whip FactorNever assume a collar is secure just because it feels tight by hand. A 28mm or 29mm Olympic barbell sleeve undergoes severe torsional twisting during lifts. If your collar lacks an internal urethane or rubberized grip ring, the metal-on-metal contact will slide the moment the bar whips, regardless of how tight the external clamp is.
Step-by-Step Collar Installation & Testing Walkthrough
Proper installation is just as important as the hardware itself. Follow this walkthrough every time you load your barbell for heavy sets:
- Load Symmetrically: Always load plates evenly on both sides. Ensure the plates are flush against the barbell's inner sleeve lip.
- Seat the Collar Flush: Slide the collar onto the sleeve until it makes physical contact with the outermost plate. Do not leave a gap. Even a 1/4-inch gap allows momentum to build during a drop, turning the plate into a battering ram against the collar.
- Engage the Locking Mechanism:
- For Lever Clamps: Push the lever down until you hear a definitive 'click' or feel the cam lock past the center dead-point.
- For Screw-Downs: Thread carefully by hand to avoid cross-threading, then tighten with the provided torque key or hand-tighten until the urethane compresses against the sleeve.
- The 'Shake' Test: Grasp the outermost plate and attempt to wiggle it laterally. There should be zero independent movement between the plate, the collar, and the barbell sleeve.
- Clearance Check: Ensure the collar's handle or lever is not protruding in a way that will catch on your clothing or skin during a front rack or shoulder rest position.
Finalizing Your Free Weight Zone Layout
Integrating heavy implements into your gym requires respecting the physics of the equipment. By reinforcing your floors for your 75 pound dumbbells and investing in high-quality, application-specific barbell collars, you eliminate the two most common points of failure in a home gym setup. Dedicating 36 inches of clearance between your dumbbell rack and your barbell platform ensures that you can safely carry heavy implements without tripping hazards or spatial constraints.
Take the time to inspect your collars' internal grip rings every six months. Urethane degrades over time, especially when exposed to UV light and extreme temperature fluctuations. Replacing a $50 set of aluminum collars is a minor maintenance cost that protects your barbell sleeves, your plates, and most importantly, your spine.
More gear to consider
All reviews
Olympic vs Standard Plates: Plus, What Weight Dumbbells Should I Use?

Power Rack vs Squat Rack vs Stand: Setup for Dumbbell Deadlifts

Upper Body Workout Dumbbells Only vs Competition Kettlebells

Olympic Barbell Buying Guide & Dumbbell Exercises for Building Muscle

Space-Saving Supported Dumbbell Row: Loadable Dumbbell Guide
