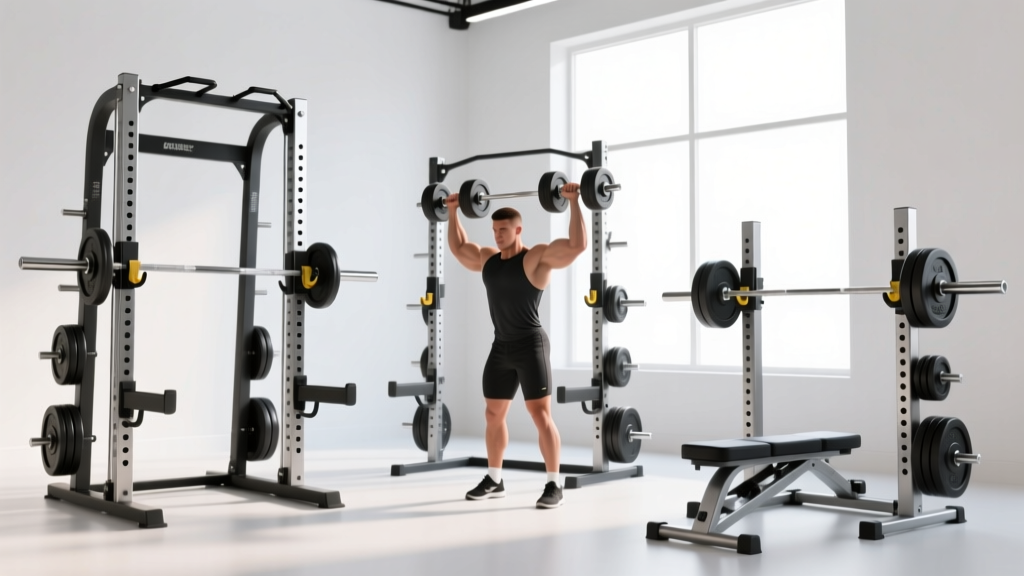
Beyond the 10lb Dumbbell: Olympic Barbell Setup & Knurling Guide
Upgrade from a 10lb dumbbell to a full Olympic barbell setup. Our complete installation walkthrough covers rack assembly, bar weight, and knurling.

Phase 1: Space Preparation and Gear Transition
Transitioning from a minimalist setup to a comprehensive strength training station is a major milestone for any home gym owner. Whether you are moving past the limitations of a standard 10lb dumbbell circuit or integrating lighter accessories into a heavy-duty power rack, the physical installation of an Olympic barbell ecosystem requires precision. In 2026, the home gym market is saturated with equipment, but understanding the exact specifications of your barbell and rack hardware is what separates a safe, lifelong setup from a wobbly, dangerous one.
Before unboxing your 7-foot Olympic barbell and 4-post power rack, clear a minimum 8x10 foot footprint. Remove lighter, easily misplaced gear—like your neoprene-coated 10lb dumbbell pair—and store them in a designated corner. You will need unobstructed access to the floor to assemble the rack base and properly inspect your barbell shaft before loading it onto the J-cups for the first time.
Pro-Tip: The Clearance TestUse your 10lb dumbbell to test the clearance of your rack's uprights during the dry-fit phase. If the dumbbell head (typically 4 to 5 inches wide) cannot easily pass through the lowest crossmember gap, you may need to adjust your rack's width settings before fully torquing the base bolts.
Phase 2: Inspecting the Olympic Barbell (Weight & Tolerances)
When you unbox an Olympic barbell, the first step is verifying its weight and dimensional tolerances. According to the USA Weightlifting technical standards, a men's Olympic bar must weigh exactly 20kg (44.09 lbs) with a shaft diameter of 28mm, while a women's bar weighs 15kg (33.07 lbs) with a 25mm shaft. However, commercial and home gym bars often deviate slightly.
Tensile Strength and Whip
Do not confuse weight with tensile strength (measured in PSI). A high-quality Olympic barbell should boast a minimum of 190,000 PSI. Bars below 165,000 PSI are prone to permanent bending under heavy squats or deadlifts. Furthermore, the 'whip' (flex) of the bar is dictated by the shaft diameter and the sleeve assembly. Powerlifting bars (29mm shaft) are rigid, while Olympic weightlifting bars (28mm or 25mm shaft) are designed to store and release elastic energy.
| Bar Type | Standard Weight | Shaft Diameter | Sleeve Assembly | Best For |
|---|---|---|---|---|
| Power Bar | 20kg (44 lbs) | 29mm | Bronze Bushings | Squat, Bench, Deadlift |
| Weightlifting Bar | 20kg / 15kg | 28mm / 25mm | Needle Bearings | Snatch, Clean & Jerk |
| Multi-Purpose | 20kg (44 lbs) | 28.5mm | Composite Bushings | General Fitness, CrossFit |
Phase 3: Decoding Knurling Patterns
The knurling on your barbell is arguably the most critical point of contact between you and the weight. As detailed in BarBend's comprehensive knurling guide, the machining process creates microscopic peaks and valleys that bite into the skin to prevent slipping. When inspecting your new bar, look closely at the shape of these peaks.
- Volcano Knurl: The gold standard for powerlifting. The machine cuts a 'V' shape but leaves a small flat ring at the top. This provides maximum surface area for grip without tearing the calluses on your hands. (e.g., Rogue Ohio Power Bar).
- Mountain Knurl: Sharp, pointed peaks that feel incredibly aggressive. Excellent for heavy deadlifts where chalk is heavily used, but it can tear the skin during high-rep Olympic lifts.
- Hill Knurl: Rounded, shallow peaks. Common on cheaper, entry-level bars or specialized women's weightlifting bars where skin preservation is prioritized over absolute grip security.
"Always check for the center knurl. If you are strictly bodybuilding or doing high-rep front squats, a center knurl can irritate the clavicle. However, for low-rep heavy back squats, a center knurl is non-negotiable to keep the bar from sliding down your traps."
Phase 4: Power Rack Assembly and Torque Specifications
With the barbell inspected, it is time to assemble the power rack. A standard 4-post rack weighs between 150 and 250 lbs and requires a meticulous assembly process to ensure structural integrity under 500+ lb loads.
- Base Assembly: Lay the base crossmembers flat on your rubber matting. Insert the uprights. Do not fully tighten the bolts yet; leave them at 50% torque to allow for alignment adjustments.
- Upright Plumb Check: Use a 4-foot level on the front and side of each upright. The holes must align perfectly so your J-cups and safety straps can be inserted without binding.
- Top Crossmembers & Gussets: Install the top stabilizers and triangular gusset plates. Gussets are critical for preventing lateral sway during kipping pull-ups or heavy re-racking.
- Final Torque: Using a calibrated torque wrench, tighten all Grade 5 or Grade 8 hardware. Most commercial rack manufacturers specify between 65 to 85 ft-lbs for 5/8-inch or M16 base bolts. Overtightening can strip the threads on welded nuts, while undertightening will result in a rack that shakes during heavy bench presses.
Phase 5: Accessory Integration and Storage
A complete setup is not just about the barbell; it is about how the entire ecosystem interacts. Once the rack is bolted down (or heavily loaded with weight horns if not bolting to concrete), integrate your storage solutions.
Install weight plate storage pegs on the rear uprights. This not only organizes your bumper plates but also acts as a vital counterbalance, lowering the rack's center of gravity and preventing tip-overs during heavy pull-ups. For smaller accessories, install specialized dumbbell shelves or peg boards. This is where your 10lb dumbbell pairs, along with resistance bands and lifting belts, should be housed. Keeping lighter, high-traffic accessories at eye level prevents tripping hazards and keeps the lifting platform clear for your Olympic barbell work.
Ongoing Maintenance Protocol
To maintain the aggressive bite of your volcano or mountain knurling, you must clean it weekly. Use a stiff nylon brush (never brass or steel, which can strip zinc or cerakote coatings) to remove chalk and dead skin. Once a month, apply a light coat of 3-in-1 oil or mineral oil to the shaft and sleeves to prevent oxidation, especially if your gym is in a humid garage environment. Wipe off the excess with a microfiber cloth before your next session to ensure the barbell remains tacky, not slippery.
For more in-depth comparisons on home gym flooring and rack footprints, refer to the Garage Gym Reviews Olympic Barbell Buying Guide, which offers excellent visual breakdowns of sleeve lengths and collar mechanisms.
More gear to consider
All reviews
EZ Curl Bar vs Straight Bar vs Smith Machine Leg Press: Budget Guide
Performing Bridges with Dumbbell: Loadable Plate Budget Analysis
EZ Curl Bar vs Straight Bar Care & Dumbbell Walking Lunges Tips
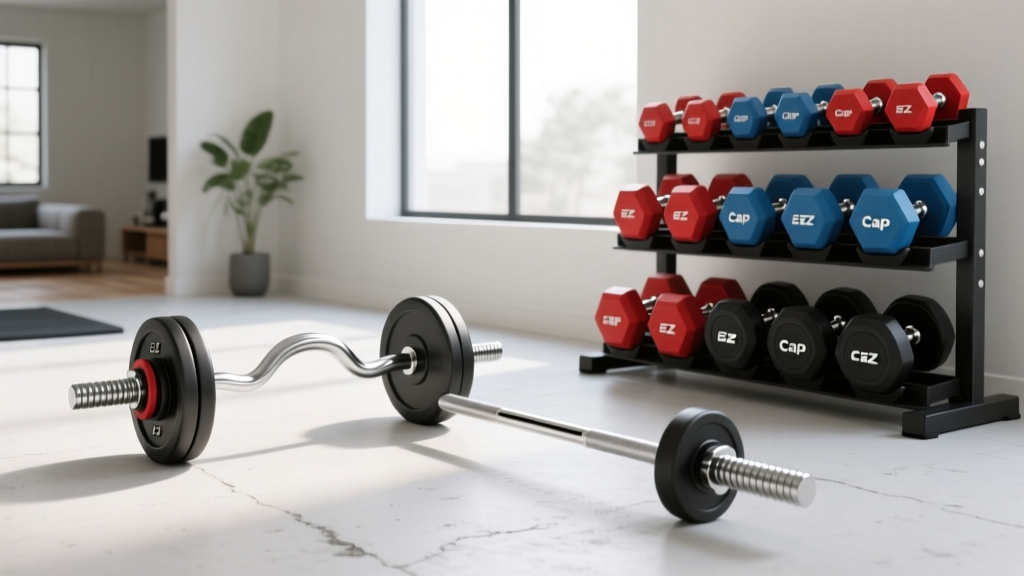
EZ Bar vs Straight Bar Layouts & Cap Barbell Dumbbell Storage
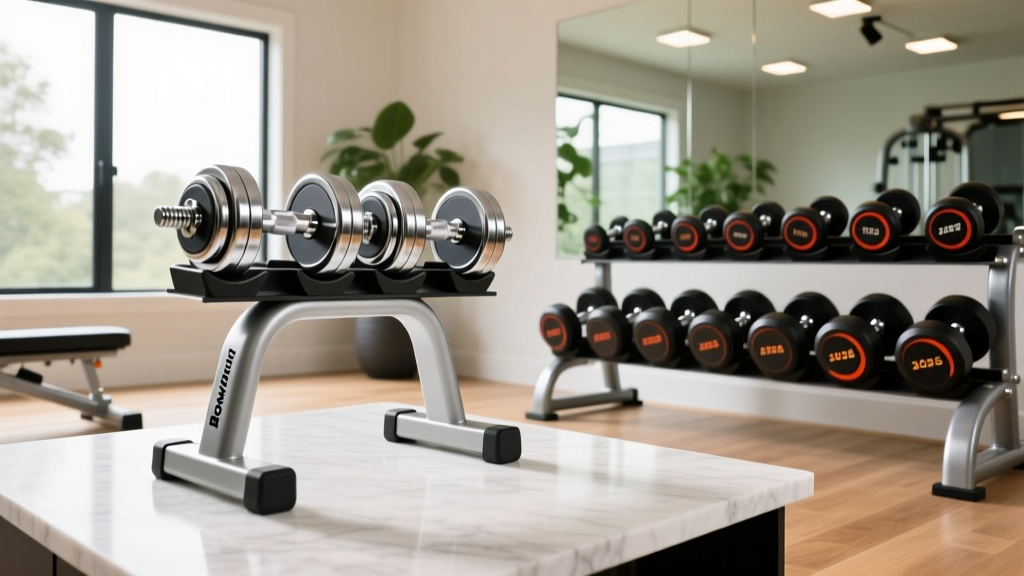
Bowflex 1090 Dumbbells With Stand vs Heavy-Duty Adjustable Picks 2026