
Stretching Tool Mistakes: Why Good Massage Gun Brands Fall Short
Discover common stretching equipment mistakes and learn why relying solely on good massage gun brands won't fix your mobility. Expert troubleshooting inside.

Many athletes and weekend warriors operate under a costly misconception: they believe that investing in good massage gun brands like Theragun or Hyperice is the ultimate solution for chronic tightness and poor mobility. While premium percussion devices are exceptional for down-regulating the nervous system and increasing localized blood flow, they cannot physically elongate shortened tissue or alter joint mechanics. When users realize this, they inevitably turn to dedicated stretching equipment and flexibility tools—only to make a new set of critical, biomechanical errors.
In this troubleshooting guide, we break down the most common mistakes users make with mechanical stretching equipment, inversion tables, and PNF strap systems. More importantly, we provide exact protocols to bridge the gap between neurological release and structural tissue adaptation.
The Neurological vs. Structural Fallacy
To troubleshoot your recovery routine, you must first understand the physiological difference between percussion therapy and mechanical stretching. Devices from good massage gun brands (such as the $599 Theragun PRO Plus or the $249 Hyperice Hypervolt 2) primarily target the myotatic stretch reflex. The rapid percussive strokes overwhelm the muscle spindles, tricking the nervous system into relaxing the muscle's resting tone. This is a neurological override, not a structural change.
True flexibility and mobility require fascial creep and structural adaptation—physically lengthening the sarcomeres and remodeling the extracellular matrix. This requires sustained, loaded tension over time, which is exactly what stretching equipment provides. Relying solely on percussion therapy for mobility is like revving a car engine in neutral; the parts are moving, but you aren't actually going anywhere. According to experts at the Mayo Clinic, consistent, targeted stretching is required to maintain joint range of motion and prevent the natural shortening of muscles that occurs with age and repetitive training.
Inversion Tables: The 90-Degree Trap
Inversion tables, like the highly rated Teeter FitSpine X3 (retailing around $399), are popular for spinal decompression and hamstring stretching. However, the most frequent and dangerous mistake users make is immediately inverting to a full 90-degree angle.
The Failure Mode: Vascular Pooling and Reflexive Guarding
When you invert completely upside down, gravity causes blood to pool in the upper body and head, triggering a spike in intraocular and intracranial pressure. More importantly for flexibility, the sudden rush of blood and vestibular disorientation causes the nervous system to panic. Your body responds by reflexively contracting the erector spinae and hamstrings to 'protect' the spine. You are actively fighting your own stretch reflex.
The Troubleshooting Protocol: The 20-40-60 Rule
The Cleveland Clinic notes that moderation and gradual progression are key to safe inversion therapy. To actually decompress the spine and stretch the posterior chain without triggering a guarding response, follow this exact progression:
- Phase 1 (20 Degrees): Use this as a warm-up. Stay here for 2-3 minutes to allow the vestibular system to acclimate and the paraspinal muscles to begin releasing.
- Phase 2 (40 Degrees): This is the optimal angle for spinal decompression. The traction force is sufficient to separate the vertebrae slightly without causing severe vascular pooling. Hold for 3-5 minutes.
- Phase 3 (60 Degrees): The ideal angle for deep hamstring and calf stretching. Engage your core slightly to prevent the lower back from overarching.
Slant Boards and Calf Wedges: Ignoring the Kinetic Chain
Slant boards, such as the StrongTek Pro Incline Board ($55), are staple flexibility tools for addressing ankle dorsiflexion limits and Achilles tendinopathy. Yet, users routinely sabotage their progress by treating the calf as an isolated muscle group.
⚠️ Common Edge Case: The Valgus CollapseWhen standing on a 25-degree slant board, most users allow their arches to flatten and their knees to cave inward (knee valgus). This shifts the stretch away from the gastrocnemius and soleus, placing dangerous shear force on the medial meniscus and plantar fascia.
Correcting the Alignment
To troubleshoot this, you must enforce the Foot Tripod and Knee-Over-Toe tracking rules:
- Establish the Tripod: Press equal weight into the base of your big toe, the base of your pinky toe, and your heel. Actively grip the board with your toes to engage the intrinsic foot muscles and support the arch.
- Track the Knee: As you lean forward into the stretch, your knee must track directly over your second and third toes. If it caves inward, reduce the angle of the slant board from 25 degrees to 15 degrees until you have the ankle mobility to maintain proper tracking.
- Pelvic Neutrality: Squeeze your glutes slightly to prevent an anterior pelvic tilt, which artificially arches the lower back and cheats the hamstring stretch.
PNF Strap Systems: Bypassing Autogenic Inhibition
Proprioceptive Neuromuscular Facilitation (PNF) strap systems, like the ProStretch System ($35-$45), are designed to leverage autogenic inhibition—a process where the Golgi tendon organ (GTO) senses high tension and forces the muscle to relax. The mistake? Users treat PNF straps like standard static stretching ropes, simply pulling as hard as they can.
The 6-Second Isometric Fix
To actually trigger the GTO response using a PNF foot cradle or hamstring strap, you must introduce an isometric contraction before the stretch.
The Correct Sequence:
- Loop the strap around the target limb and pull to the point of mild discomfort (not pain).
- Push the limb against the unyielding strap with about 50% of your maximum effort.
- Hold this isometric contraction for exactly 6 to 8 seconds. (Less than 5 seconds won't trigger the GTO; more than 10 seconds causes fatigue).
- Relax the muscle completely, then immediately pull the strap to deepen the stretch. You will find the tissue yields 10-15% further due to the neurological override.
- Hold the new, deeper static stretch for 30 seconds.
Equipment Failure & Correction Matrix
Use this quick-reference table to diagnose why your current flexibility tools aren't yielding the range-of-motion improvements you expect.
| Equipment Type | Common User Mistake | Physiological Consequence | Expert Correction |
|---|---|---|---|
| Inversion Table | Inverting to 90° immediately | Reflexive muscle guarding; vascular pooling | Use 40° for decompression, 60° for stretching |
| Slant Board | Allowing knee valgus (caving in) | Medial joint shear; missed soleus stretch | Enforce foot tripod; track knee over 2nd toe |
| PNF Strap | Pulling continuously without resisting | Triggers stretch reflex (muscle tightens) | 6-sec isometric push, then relax and stretch |
| Percussion Gun | Using as a substitute for stretching | Temporary tone reduction; no tissue lengthening | Use pre-stretch to down-regulate, then load tissue |
The 2026 Integration Protocol: Pairing Percussion with Flexibility Tools
While good massage gun brands cannot replace stretching equipment, they are the perfect catalyst for it when used in the correct sequence. By combining the neurological down-regulation of a Theragun or Hyperice with the structural loading of a mechanical stretcher, you can achieve unprecedented mobility gains. Here is the exact 15-minute integration protocol used by sports physical therapists:
Step 1: Neurological Flush (3 Minutes)
Use a percussion gun with a dampener or soft foam head. Apply medium pressure to the belly of the target muscle (e.g., the gastrocnemius) for 90 seconds. Move at a slow pace (1 inch per second). This saturates the area with blood and fatigues the muscle spindles.
Step 2: The PNF Bridge (4 Minutes)
Immediately transition to your PNF strap or mechanical stretcher. Because the muscle spindles are temporarily fatigued from Step 1, you can bypass the initial stretch reflex and access your true end-range of motion much faster. Perform three rounds of the 6-second isometric contract-relax cycle.
Step 3: Structural Loading (8 Minutes)
Move to your static stretching equipment (slant board or inversion table). Hold the deep, pain-free stretch for a minimum of 2 minutes per limb. According to flexibility guidelines from the National Institute on Aging, holding stretches after muscles are warmed up and neurologically relaxed is the safest way to improve long-term joint health and tissue extensibility without risking micro-tears.
Final Thoughts on Recovery Architecture
Flexibility and mobility are not passive states; they are active adaptations that require precise mechanical input. Investing in top-tier recovery technology is a smart move, but only if you understand the specific job each tool performs. Good massage gun brands are exceptional for preparing the nervous system and accelerating localized recovery, but stretching equipment is the non-negotiable hammer that actually reshapes the architectural length of your tissues. Stop treating them as interchangeable, correct your biomechanical errors on the slant boards and inversion tables, and watch your functional range of motion finally adapt.
More gear to consider
All reviews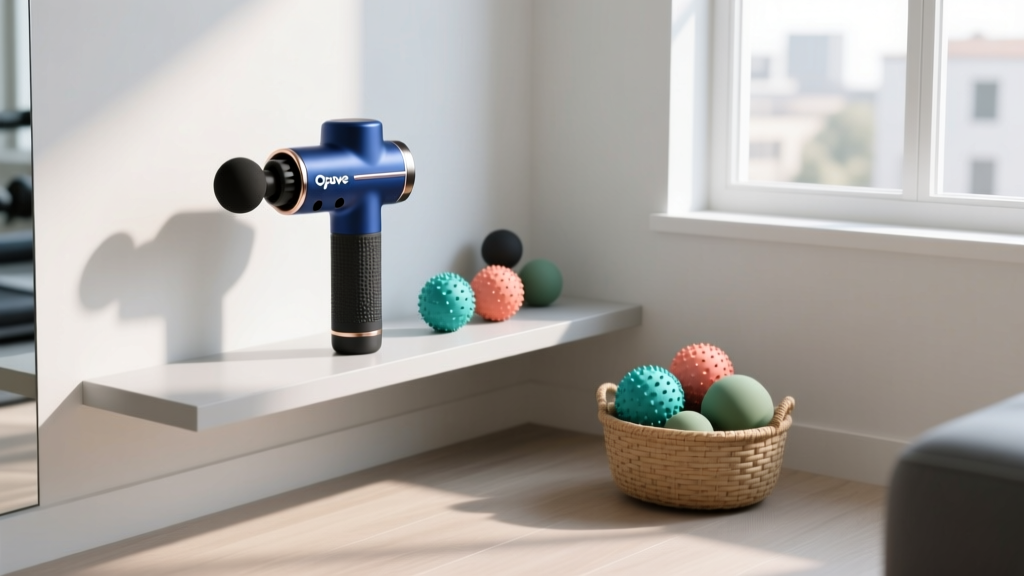
Space-Saving Recovery: Opove Massage Gun & Trigger Point Ball Layouts

Foam Roller Size Guide & Power Plate Pulse Massage Gun Layouts

Sharper Image Massage Gun Won't Turn On? Space-Saving Trigger Tools

Maximizing Massage Gun Usage: Percussion vs Vibration Maintenance

Sauna Blanket & Panel Guide: Renpho Massage Gun Won't Turn On
