
NIMBL Massage Gun & Stretching Gear: Complete Setup Walkthrough
Learn how to build a dedicated home flexibility station. This walkthrough covers stretching equipment installation and NIMBL massage gun calibration.

Building a dedicated home flexibility and recovery station requires more than just buying equipment; it demands strategic spatial planning, precise hardware installation, and seamless technological integration. While mechanical stretching equipment provides the structural leverage needed for deep tissue elongation, percussive therapy acts as the neurological primer. According to research published by the National Center for Biotechnology Information (NCBI), percussive therapy significantly increases acute range of motion (ROM) without the muscle performance deficits typically associated with prolonged static stretching.
In this comprehensive 2026 setup walkthrough, we will guide you through the physical installation of a wall-anchored PNF (Proprioceptive Neuromuscular Facilitation) stretching rig, the calibration of an adjustable slant board, and the complete hardware and software setup of the NIMBL Elite massage gun to create a unified 'Prime and Stretch' flexibility station.
Pro-Tip: The Biomechanical SynergyDo not use the NIMBL massage gun and stretching equipment simultaneously. The optimal workflow uses the NIMBL device to down-regulate muscle spindle sensitivity and increase local blood flow, followed immediately by mechanical stretching to capitalize on the temporary neurological window of increased tissue compliance.
Phase 1: Physical Installation of Your Stretching Station
Before unboxing your percussive therapy device, you must establish the physical anchor points for your flexibility tools. For this setup, we are installing a commercial-grade, wall-mounted PNF strap system (such as the StretchLab Pro-Mount) and positioning a StrongTek Professional Wooden Slant Board.
Step 1: Mounting the PNF Strap Rig
A wall-mounted PNF rig allows for isolated, multi-planar stretching that floor-based straps cannot achieve. Improper installation is a major safety hazard, as these systems must withstand up to 350 lbs of dynamic lateral force.
- Locate the Studs: Use a magnetic stud finder to locate two adjacent wooden wall studs (typically spaced 16 inches apart on center). Do not rely on drywall anchors for this installation.
- Mark the Height: Measure 48 inches from the floor to the center of the mounting bracket. This specific height aligns with the center of mass for the average adult, providing optimal leverage for both hamstring and hip flexor PNF protocols.
- Drill and Secure: Use a 3/16-inch drill bit to pre-drill holes directly into the center of the studs. Secure the steel mounting plate using the provided 3-inch lag screws. Tighten with a socket wrench until the washers compress into the drywall, ensuring zero lateral play.
- Thread the Straps: Feed the heavy-duty nylon D-ring straps through the carabiner gates. Ensure the cam-buckle tensioners are fully released before your first use.
Step 2: Calibrating the Adjustable Slant Board
Place the adjustable wooden slant board directly in front of the PNF rig. For initial setup, lock the board at a 15-degree incline. According to the American Council on Exercise (ACE), starting at a lower incline prevents the stretch reflex (myotatic reflex) from triggering in the gastrocnemius and soleus muscles, allowing for safer, progressive fascial remodeling over a 6-week period.
Phase 2: NIMBL Massage Gun Hardware and Software Setup
With the mechanical stretching station secured, it is time to set up the neurological primer: the NIMBL Elite. Retailing at approximately $449, the NIMBL Elite is favored by physical therapists for its brushless motor, 5-speed torque matrix, and removable 24V lithium-ion battery.
Hardware Assembly and Battery Seating
The most common user error with the NIMBL Elite is improper battery seating, which causes the device to shut off when high stall force (up to 60 lbs) is applied during deep gluteal priming.
- Remove the protective silicone cap from the base of the NIMBL Elite.
- Align the red polarity markers on the 24V lithium-ion battery with the indicators inside the handle cavity.
- Slide the battery upward firmly. You must hear and feel a distinct dual-click as the internal locking pins engage. If it only clicks once, the battery is not fully seated.
- Attach the Titanium Flat Head attachment. Push it into the metal shaft until it bottoms out, then give it a slight quarter-turn twist to secure the friction ring.
App Pairing and Firmware Calibration
To access the NIMBL device's guided routines and ensure the motor's RPM governor is calibrated to 2026 factory standards, you must pair it with the companion app.
- Download the official NIMBL app from the iOS or Android store.
- Power on the device by holding the base button for 3 seconds. The LED ring will pulse blue, indicating Bluetooth LE pairing mode.
- Open the app, navigate to 'Devices', and select your NIMBL Elite.
- Critical Step: If prompted, initiate the firmware update immediately. This 4-minute process recalibrates the motor's stall-detection algorithms, ensuring the gun maintains its 3200 RPM top speed even under heavy tissue pressure.
Integration Matrix: NIMBL Attachments for Flexibility Protocols
Not all NIMBL attachments are suitable for pre-stretching tissue preparation. Using the wrong head can cause superficial bruising or fail to penetrate the fascia. Use the matrix below to select the correct attachment for your specific stretching goal.
| NIMBL Attachment | Target Tissue | RPM Setting | Stretching Application |
|---|---|---|---|
| Titanium Flat | Large muscle bellies (Quads, Calves) | 2400 RPM | Pre-slant board calf stretching |
| Rubber Sphere | Glutes, Hamstrings, TFL | 2100 RPM | Pre-PNF hip flexor elongation |
| Fork (U-Shape) | Paraspinals, Achilles | 1800 RPM | Spinal decompression prep |
| Bullet (Cone) | Plantar fascia, Trigger points | 2700 RPM | Foot arch release before ankle mobility work |
Phase 3: The 'Prime and Stretch' Workflow
Now that your station is fully installed and calibrated, follow this exact sequence to maximize your flexibility gains while minimizing injury risk.
1. The Neurological Prime (3 Minutes)
Stand on the flat floor. Using the Rubber Sphere attachment on the NIMBL Elite set to 2100 RPM, apply moderate pressure to the target muscle group (e.g., the hamstrings). Glide at a speed of 1 inch per second for 60 seconds per muscle belly. Do not linger on bony prominences or the popliteal fossa (back of the knee).
2. The Mechanical Elongation (2 Minutes)
Immediately transition to your installed stretching equipment. Step onto the 15-degree slant board or secure your ankle into the wall-mounted PNF strap. Engage the stretch until you feel a 7/10 tension. Hold for 30 seconds, then perform a 10-second isometric contraction against the strap (pushing into the stretch), followed by a deeper 30-second passive stretch. This leverages autogenic inhibition to force the Golgi tendon organs to relax the muscle.
3. The Flush (1 Minute)
Step off the equipment. Switch the NIMBL to the Titanium Flat head at 1800 RPM and perform light, sweeping passes over the newly stretched tissue to promote lymphatic drainage and reduce delayed onset muscle soreness (DOMS).
Troubleshooting Common Setup and Integration Issues
- Issue: NIMBL Elite shuts off during deep tissue priming.
Solution: This is almost always a battery seating issue. Remove the battery, check the metal contact pins for debris, and re-insert until you hear the dual-click. If the issue persists, the internal thermal protector may have tripped; let the device rest for 10 minutes. - Issue: PNF Wall Mount exhibits micro-movements during lateral stretches.
Solution: Your lag screws may not have bitten into the center of the stud. Remove the screws, fill the holes with wood glue and wooden dowels, let dry for 24 hours, and re-drill slightly tighter pilot holes. - Issue: App fails to connect to the NIMBL device after a firmware update.
Solution: Toggle your phone's Bluetooth off and on. If that fails, perform a hard reset on the NIMBL Elite by holding the power button and the speed button simultaneously for 8 seconds until the LED ring flashes red.
Frequently Asked Questions
Can I use the NIMBL massage gun while actively holding a stretch on the slant board?
No. Applying percussive therapy while a muscle is under maximum static tension can confuse the muscle spindles and potentially trigger a protective stretch reflex, leading to micro-tears. Always use the NIMBL device to prime the tissue before engaging the mechanical stretching equipment.
How often should I recalibrate the slant board angle?
Increase the slant board incline by 3 to 5 degrees only when you can comfortably stand on the current angle for 3 full minutes without experiencing sharp pain or compensatory knee bending. For most users, this progression occurs every 10 to 14 days.
Is the NIMBL X a suitable alternative to the Elite for this setup?
The NIMBL X (approx. $299) is an excellent entry-level device, but it lacks the removable battery and the top-end 3200 RPM speed of the Elite. For a dedicated home flexibility station where high-torque deep tissue priming is required for thick muscle groups like the glutes and quads, the Elite's superior stall force makes it the better long-term investment.
More gear to consider
All reviews
Theragun vs Hyperice vs Bondir Massage Gun: 2026 Value Breakdown

2026 Recovery Trends: Foam Roller Density Guide & Vybe Massage Gun

ADDsfit Massage Gun vs Trigger Point Balls: Care & Longevity Guide

Heat Therapy Pads vs. Headot Massage Gun: 2026 Recovery Guide
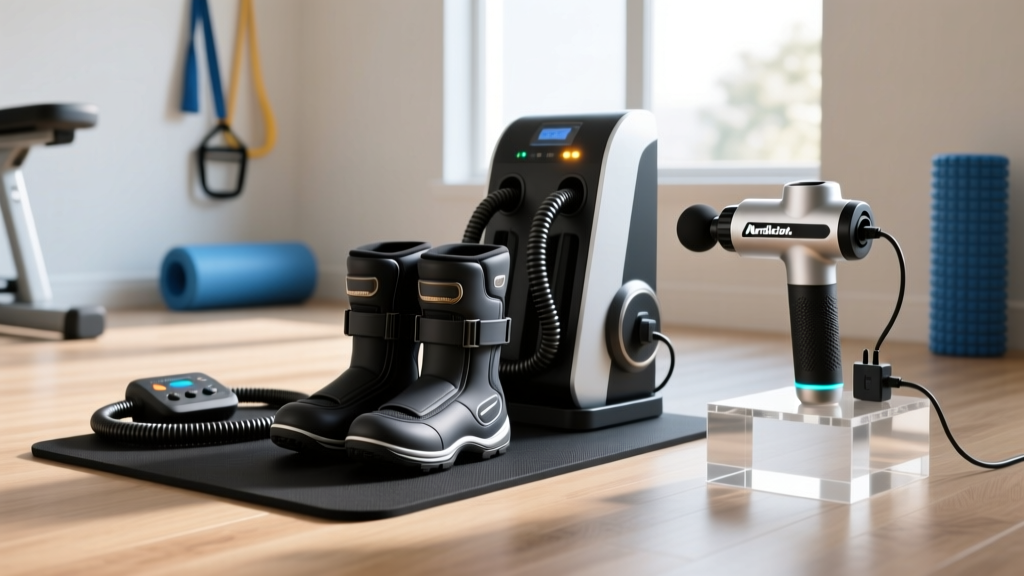
Compression Boot Setup & NordicTrack Massage Gun Charger Guide
