
Beyond Massage Guns at Target: Heat Pad & Wrap Setup
Master your recovery space with our complete setup walkthrough comparing heat therapy pads and wraps, from FIR mats to smart thermal compression.

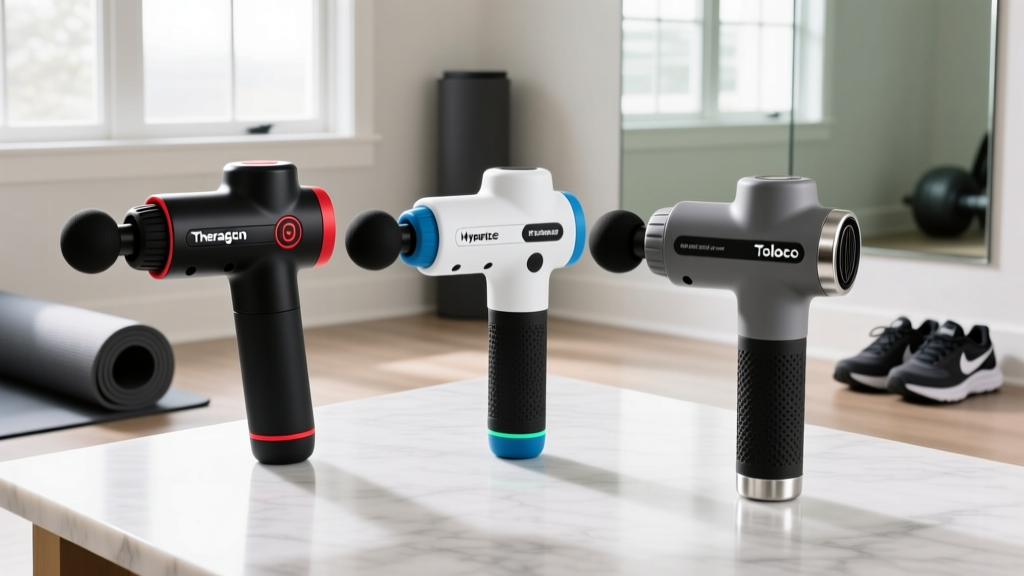
Many athletes and weekend warriors begin their recovery journey by browsing for massage guns at Target, picking up accessible, entry-level percussive tools for quick, on-the-go relief. While percussive therapy is excellent for acute neurological down-regulation and superficial blood flow, chronic tissue stiffness, deep joint capsule restrictions, and delayed onset muscle soreness (DOMS) require sustained vasodilation. As we move through 2026, the gold standard for home recovery spaces has evolved beyond portable gadgets, shifting heavily toward dedicated thermal therapy stations.
Transitioning from a handheld device to a hardwired or smart-thermal setup requires careful planning. Whether you are installing a large-format Far-Infrared (FIR) therapy pad for full-back coverage or calibrating a smart thermal compression wrap for targeted joint recovery, improper setup can lead to equipment failure, uneven heating, or even thermal burns. This comprehensive walkthrough will guide you through the unboxing, electrical preparation, and step-by-step installation of modern heat therapy pads and wraps.
Assessing Your Recovery Space and Electrical Load
Before unboxing your equipment, you must evaluate the spatial and electrical requirements of your recovery zone. Unlike the cordless massage guns you might find in big-box retail aisles, dedicated heat therapy equipment draws continuous power or requires specialized charging docks.
Electrical Safety Warning: Standard FIR mats (such as the HigherDose Infrared Mat or generic 100W jade mats) draw between 100W and 150W of continuous current. Never plug high-draw thermal pads into an extension cord or a power strip shared with other high-wattage appliances (like space heaters or air compressors). Always use a dedicated 15-amp wall outlet or a UL-listed surge protector rated for at least 1800 watts.For smart wraps like the Hyperice Venom 3 or Therabody RecoveryTherm, the electrical load is minimal, but spatial planning is still required. These devices rely on lithium-ion batteries and Bluetooth Low Energy (BLE) connectivity. Ensure your recovery chair or mat is within a 10-foot radius of your Wi-Fi router or smartphone to allow for seamless firmware updates and app-based telemetry tracking during your sessions.
Unboxing and Pre-Installation Inspection
Thermal therapy devices utilize sensitive thermistors and flexible carbon-fiber heating elements. A rough unboxing process can cause micro-fractures in the internal wiring, leading to dangerous hot spots or complete failure. Follow this pre-installation checklist before plugging anything in.
| Inspection Point | FIR Heat Therapy Pads (Flat Mats) | Smart Thermal Wraps (Articulated) |
|---|---|---|
| Cable Integrity | Check the controller pin alignment. Bent pins will cause an immediate 'E1' open-circuit error upon boot. | Inspect the magnetic charging pucks. Ensure no metallic debris is stuck to the neodymium magnets. |
| Surface Material | Verify the outer layer (usually PU leather or cotton) has no manufacturing creases that could trap heat. | Check the neoprene and Velcro straps for fraying. Strap tension is critical for thermal transfer. |
| Controller / Battery | Ensure the digital display is free of cracks and the buttons have tactile feedback. | Power on the unit to check the LED battery indicator. It should show a minimum 40% charge out of the box. |
Step-by-Step Installation: Far-Infrared (FIR) Therapy Pads
FIR pads penetrate the skin up to 1.5 inches, warming the muscle tissue directly rather than just heating the ambient air. Because of the carbon-fiber or jade-tourmaline heating elements inside, the physical setup must prevent internal wire snapping.
- Surface Preparation: Lay the pad flat on a hard surface or a firm yoga mat. Never place an FIR pad directly on top of a memory foam mattress or a thick plush blanket. Memory foam is highly insulative and will trap the downward-directed heat, causing the pad's internal thermal cutoff switch to trip repeatedly.
- Controller Routing (Strain Relief): Route the controller cable so it hangs freely off the edge of your recovery table or bed. Do not let the cable rest under your body weight. Use a simple velcro cable tie to secure the wire to the frame of your recovery chair, creating a strain-relief loop that prevents tension on the internal solder joints.
- The 30-Minute Burn-In Cycle: Before using the pad on your body, you must perform a factory burn-in. Turn the pad on to a medium setting (approximately 113°F / 45°C) and let it run flat for 30 minutes in a well-ventilated room. This off-gasses any residual manufacturing compounds from the PU leather and verifies that all heating zones are functioning uniformly.
- Calibration: After the burn-in, test the controller's high setting (usually 140°F / 60°C). Use an infrared thermometer gun to verify the surface temperature matches the digital readout within a 3-degree margin of error.
Step-by-Step Setup: Smart Thermal Compression Wraps
Smart wraps combine heat with pneumatic compression or vibration. The 2026 iterations of these devices require digital handshakes and firmware calibrations before their first use.
- Step 1: Firmware Initialization. Download the manufacturer's app (e.g., Hyperice or Therabody). Connect the wrap via Bluetooth. It is imperative to run any pending firmware updates before strapping the device to your body. These updates often recalibrate the internal thermistors to prevent overheating.
- Step 2: Strap Tension Calibration. Thermal transfer requires direct skin contact or contact through a very thin layer of moisture-wicking fabric. Wrap the device around the target joint (e.g., the knee or shoulder). Apply the 'two-finger rule': you should be able to slide exactly two fingers under the neoprene strap. Any tighter, and you risk restricting venous return; any looser, and the heat will dissipate into the air, triggering the device's auto-shutoff safety feature.
- Step 3: Battery Conditioning. For the first three uses, allow the lithium-ion battery to drain down to 10% before charging it back to 100%. This helps the battery management system (BMS) accurately calibrate the remaining runtime displayed in the companion app.
Comparison Matrix: Installation & Maintenance Overhead
Choosing between a pad and a wrap depends heavily on how much setup and maintenance you are willing to manage in your daily routine.
| Feature | FIR Heat Therapy Pads | Smart Thermal Compression Wraps |
|---|---|---|
| Setup Time | 5-10 minutes (requires flat space and cable routing) | 1-2 minutes (strap on, sync app, start) |
| Spatial Footprint | High (requires dedicated floor or bed space) | Low (can be used while seated or walking) |
| Maintenance | Low (wipe down with damp cloth; avoid folding) | Medium (clean neoprene, manage battery health, update firmware) |
| Ideal Use Case | Full back, lumbar spine, and hamstring recovery | Targeted joints: knees, elbows, shoulders, ankles |
| Average Cost (2026) | $120 - $600+ | $150 - $350 |
Troubleshooting Common Setup Failures
Even with careful installation, thermal devices can throw error codes. Here is how to diagnose the most common setup failures:
The 'E1' or 'E2' Error on Traditional Pads
If your traditional heat pad (like the Sunbeam King Size UltraHeat) flashes an 'E1' or 'E2' code and shuts off, the internal microcomputer has detected an open or short circuit in the thermistor wire. Do not attempt to tape or repair the wire. This usually happens if the pad was folded tightly during storage, snapping the internal sensor wire. The unit must be replaced to avoid fire hazards.
Blinking Red LED on Smart Wraps
If your smart wrap's LED blinks red and the device refuses to heat, the overheat protection has been triggered. This almost always occurs due to poor skin contact. The device is pumping heat into an air gap rather than your tissue. Loosen the straps, ensure the heating element is flush against your skin or a thin cotton sleeve, and restart the cycle.
Safety Protocols and Clinical Best Practices
Proper setup is only half the battle; safe usage is paramount. Prolonged exposure to moderate heat can cause erythema ab igne (toasted skin syndrome), a reticulated hyperpigmentation of the skin. According to the Cleveland Clinic, heat therapy should generally be limited to 15 to 20 minutes for minor stiffness, and up to 30 minutes for severe pain, but never while sleeping.
'To prevent burns and fires, never leave a heating pad on unattended, and never use it on an infant, a person who is sleeping, or someone who cannot easily remove the pad themselves.' — U.S. Consumer Product Safety Commission (CPSC)
Furthermore, avoid applying heat therapy to areas with compromised circulation, diabetic neuropathy, or acute inflammation (where ice is the clinically appropriate choice). Always place a thin barrier, like a cotton t-shirt, between the skin and the heat source when using FIR pads on the highest settings to mitigate the risk of low-grade thermal injuries.
Final Thoughts on Building Your Recovery Station
Upgrading your recovery arsenal is a natural progression for any dedicated athlete. While picking up massage guns at Target is a fantastic first step for percussive warm-ups, integrating a properly installed FIR heat pad or a calibrated smart thermal wrap will drastically improve your tissue elasticity and parasympathetic recovery response. By respecting the electrical requirements, performing proper burn-in cycles, and adhering to clinical time limits, your thermal therapy setup will provide safe, deep-tissue relief for years to come.
More gear to consider
All reviews
Massage Gun for Tendonitis vs Infrared Sauna Blankets (2026)

Hinge Health Free Massage Gun vs Compression Boot: Common Mistakes

Theragun vs Hyperice vs Dacrom Massage Gun: Maintenance Guide

EM26 Massage Gun vs. Trigger Point Balls: 2026 Expert Review
Theragun vs Hyperice & Toloco Massage Gun Review: Longevity Tips
