
Heat Pads vs Wraps and Benefits of Massage Gun on Legs for Beginners
Discover the ultimate beginner leg recovery guide. We compare heat pads vs wraps and explore the benefits of massage gun on legs for faster healing.

The Thermal Foundation: Heat Pads vs. Smart Wraps
For beginners stepping into the world of active recovery, the sheer volume of equipment can be paralyzing. When targeting lower-body fatigue, thermal therapy is your first line of defense. According to the Cleveland Clinic, applying heat to sore muscles dilates blood vessels, promoting the delivery of oxygen and essential nutrients to damaged tissue. However, not all heat delivery systems are created equal. The choice between a traditional Far-Infrared (FIR) heat therapy pad and a modern smart compression wrap fundamentally changes your recovery workflow.
Comparing the Hardware: Pads vs. Wraps
To make an informed decision, we need to look past marketing jargon and examine the physical specifications, pricing, and practical use cases of both modalities in 2026.
| Feature | FIR Heat Therapy Pads (e.g., Thermotex) | Smart Neoprene Wraps (e.g., Hyperice Venom 2) |
|---|---|---|
| Heat Technology | Jade/Tourmaline stones emitting Far-Infrared waves | Carbon fiber heating pads embedded in neoprene |
| Max Temperature | Up to 158°F (70°C) | Up to 145°F (63°C) across 3 distinct zones |
| Mobility | Low (requires lying flat on the floor or bed) | High (velcro straps allow walking and light movement) |
| Avg. Cost (2026) | $150 - $280 | $179 - $249 |
| Best Use Case | Deep, stationary relaxation; full back-to-calf coverage | Pre-workout priming; targeted joint/muscle heating on the go |
Cheap, microwavable gel pads (often $20-$40) lose their thermal efficacy within 8 minutes and create uneven heat distribution, risking localized skin burns. Conversely, smart wraps like the Venom 2 rely on lithium-ion batteries; if you forget to charge them, the device becomes a heavy, useless sleeve. Always opt for plug-in FIR pads for extended 30+ minute sessions, and reserve battery-powered wraps for 15-minute targeted priming.
Step-by-Step: Pre-Workout Thermal Priming
If your goal is to prepare your legs for a heavy squat session or a long run, you need to increase tissue elasticity. Here is how to execute a beginner-friendly thermal priming routine.
- Target the Prime Movers: Strap your smart heat wrap securely around the quadriceps or hamstrings. Ensure the carbon heating pads are in direct contact with the skin (or over a very thin layer of compression gear).
- Set to Medium Heat: Aim for 120°F to 130°F. Temperatures above 140°F can trigger a sweat response that makes the skin slippery and uncomfortable before your workout.
- Time it Right: Apply heat for exactly 10 to 12 minutes. According to sports medicine guidelines, this is the optimal window to increase synovial fluid viscosity and muscle temperature without inducing systemic fatigue.
- Transition to Movement: Remove the wrap and immediately perform 5 minutes of dynamic stretching (e.g., leg swings, walking lunges).
Post-Workout Percussive Therapy: The Next Level
While heat prepares the tissue, percussive therapy repairs it. Once your workout is complete and your muscles have cooled down, it is time to address micro-tears and fascial adhesions. This is where understanding the specific benefits of massage gun on legs becomes critical for any beginner looking to minimize downtime.
Exploring the Benefits of Massage Gun on Legs
Percussive therapy devices deliver rapid bursts of pressure into the muscle tissue. When evaluating the benefits of massage gun on legs, we look at three distinct physiological responses:
- DOMS Mitigation: Delayed Onset Muscle Soreness (DOMS) peaks 24 to 72 hours post-exercise. The Mayo Clinic notes that while DOMS is natural, percussive therapy has been shown to flush out extracellular fluid and metabolic waste (like lactic acid and creatine kinase), significantly reducing perceived soreness.
- Fascial Release & Hydration: The rapid oscillation (up to 40 percussions per second) creates a thixotropic effect in the fascia. This means the gel-like substance surrounding your muscle fibers becomes more fluid, breaking up adhesions and allowing muscle bellies to slide smoothly against one another.
- Neuromuscular Down-Regulation: The vibration stimulates the Golgi tendon organs and muscle spindles, essentially tricking the nervous system into relaxing hypertonic (overly tight) muscles, such as the notoriously stubborn IT band and calf complex.
"The American Council on Exercise (ACE) highlights that to truly experience the benefits of percussive therapy, users must match the device's amplitude to their muscle density. A device with shallow amplitude will merely vibrate the skin, failing to reach the deep muscle fascia required for actual recovery."
— ACE Fitness Equipment Guidelines
Hardware Check: Amplitude and Stall Force
Not all massage guns can handle the dense muscle tissue of the lower body. When shopping in 2026, you must look at two specifications:
- Amplitude (Depth): The distance the attachment travels back and forth. For thick leg muscles (quads, glutes, calves), you need a minimum of 12mm to 16mm. The Theragun PRO Plus offers 16mm, while the budget-friendly Ekrin B37 offers 12mm.
- Stall Force (Pressure): The amount of pressure you can apply before the motor stops. The IT band and glutes require heavy pressure. Look for a stall force of at least 40 lbs to 60 lbs. Anything under 30 lbs will stall out the moment you press into a tight calf knot.
The 15-Minute Beginner Leg Recovery Protocol
Combining thermal therapy and percussive therapy yields compounding results. Here is a structured, step-by-step routine to use on heavy leg days.
Step 1: The Cool-Down Flush (Minutes 0-3)
Immediately post-workout, do not apply heat. Use a soft foam roller or a massage gun with a dampener or soft foam attachment. Glide lightly over the quads and hamstrings at a low speed (1800 RPM) to encourage venous return and blood flow without aggravating micro-tears.
Step 2: Targeted Heat Application (Minutes 3-13)
Wrap your FIR heat pad or smart wrap around the most fatigued muscle group (e.g., the hamstrings after deadlifts). Set to 135°F. Allow the heat to penetrate the deep tissue, expanding the capillary beds and bringing fresh, oxygenated blood to the area.
Step 3: Deep Percussive Release (Minutes 13-15)
Remove the heat source. Switch your massage gun to a firm cone or thumb attachment. Target the specific trigger points that feel knotted. Apply moderate pressure for 15 to 30 seconds per knot. Never use a massage gun directly on joints, bones, or the back of the knee (popliteal fossa).
FAQ: Common Beginner Mistakes in Leg Recovery
Q: Can I use a heat wrap and a massage gun at the exact same time?
A: It is not recommended. The bulk of a heat wrap blocks access to the muscle tissue. Furthermore, combining intense localized heat with deep percussive friction can overstimulate the skin and increase the risk of superficial bruising or irritation. Sequence them: heat first, then percussive therapy.
Q: Why does my massage gun hurt when I use it on my shins?
A: You are likely hitting the periosteum (the connective tissue covering the bone). Massage guns are strictly for muscle bellies and fascia. Keep the device on the fleshy part of the calf (gastrocnemius) and avoid the bony ridge of the tibia entirely to prevent severe bruising and pain.
Q: How often should I perform this routine?
A: For beginners, 2 to 3 times a week following intense lower-body sessions is sufficient. Overusing percussive therapy on the same muscle group daily can lead to tissue desensitization and prolonged inflammation.
More gear to consider
All reviews
Beyond the Massage Gun Video: Trigger Point Tool Maintenance

Best Massage Gun for Arthritis: Theragun vs Hyperice
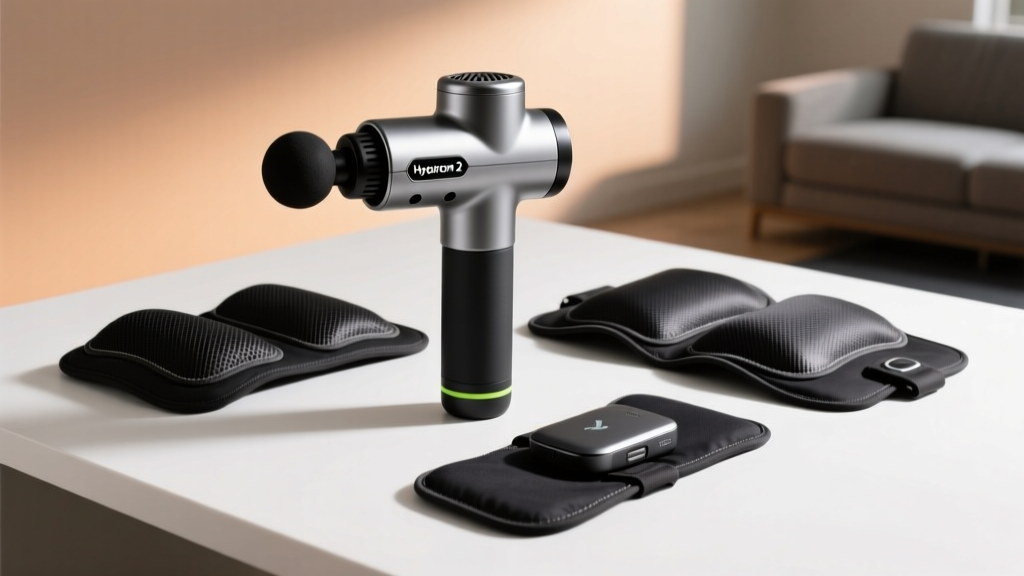
Heat Pads vs Wraps: Evaluating Massage Guns Pros and Cons

Infrared Sauna Setup Guide & Massage Gun on Feet Protocol

Foam Roller Size Guide: Space Layouts & Are Massage Guns Dangerous?
