
Exchange Recovery Tool Guide: Compression Boot Setup
Learn how to safely exchange your outdated recovery tool for premium compression boots with our complete setup, installation, and troubleshooting guide.

Why Athletes Exchange Basic Recovery Tools for Pneumatic Boots
In the evolving landscape of athletic recovery, there comes a time when static compression sleeves, basic foam rollers, and entry-level vibration devices no longer meet the physiological demands of your training block. When you decide to exchange your recovery tool for a premium dynamic pneumatic compression boot system, you are not just buying a new gadget; you are investing in a clinical-grade circulatory assist device. According to research published in the National Center for Biotechnology Information (NCBI), intermittent pneumatic compression (IPC) significantly accelerates the clearance of blood lactate and reduces delayed onset muscle soreness (DOMS) far more effectively than passive rest or static compression.
However, the transition from a simple recovery tool to a multi-chamber pneumatic system requires a meticulous setup process. A poorly installed compression boot system can lead to pressure leaks, localized pinching, and even compressor burnout. This comprehensive 2026 walkthrough will guide you through the complete installation, calibration, and optimization of top-tier compression boots like the Hyperice Normatec 3, Therabody RecoveryAir PRO, and Rapid Reboot 2.0.
Pre-Installation: Space, Power, and Network Requirements
Before unboxing your new system, you must prepare your recovery zone. Unlike a massage gun that lives in a drawer, a compression boot system requires a dedicated footprint and specific environmental conditions to ensure the longevity of the internal air compressor.
- Surface Requirements: Place the control unit on a hard, flat, and elevated surface (like a nightstand or dedicated recovery shelf). Placing the compressor directly on thick carpet restricts the bottom ventilation intake, leading to thermal throttling and premature motor failure.
- Power Delivery: Ensure you have a dedicated 110V/120V (or 220V depending on your region) wall outlet. Avoid using daisy-charged power strips, as the initial startup surge of the pneumatic compressor can trip low-amperage surge protectors.
- Network & Bluetooth LE: Modern 2026 recovery systems rely heavily on companion apps for firmware updates and custom pressure mapping. Ensure your recovery space has a strong Wi-Fi signal and that your smartphone's Bluetooth Low Energy (LE) is enabled prior to unboxing.
Step-by-Step Compression Boot Setup Walkthrough
Follow this precise installation sequence to avoid the most common setup failures experienced by first-time users.
Step 1: Hose Routing and Connection
The main air hoses are the lifeline of your system. Uncoil the primary Y-splitter hose and allow it to rest at room temperature for 15 minutes to eliminate factory kinks. Connect the primary hose to the control unit's main output valve. You should hear a distinct click indicating the quick-release collar has locked into place. Failure Mode: If the collar is not fully depressed during insertion, the system will trigger an 'E-04 Pressure Leak' error code during the initial boot sequence.
Step 2: Boot Attachment and Zipper Alignment
Step into the leg attachments, ensuring your heel is seated completely in the reinforced foot pocket. Pull the dual-zipper system from the ankle upward. ⚠️ Critical Installation Warning: Never force the zipper over the calf muscle if the boot feels overly tight. Forcing the zipper compromises the internal TPU baffles, leading to catastrophic air leaks. If your calf circumference exceeds 18 inches, you must install the included zip-in expansion gussets before your first session. Once zipped, connect the secondary hoses to the boot valves. Ensure the hoses are routed outside the leg cavity, not trapped between your knee and the boot interior, which will cut off airflow and cause localized bruising.
Step 3: Control Unit Calibration and App Pairing
Power on the control unit. The system will initiate a 45-second self-diagnostic, inflating the distal (foot) chambers to 30 mmHg to test for baseline seal integrity. While this occurs, open the manufacturer's companion app, navigate to 'Device Pairing,' and select your unit. Complete the mandatory firmware update—often required to unlock the latest 2026 dynamic flush algorithms—before initiating your first high-pressure session.
2026 Premium Compression System Comparison Matrix
When you exchange your old recovery tool for a premium system, you must choose the right hardware for your specific needs. Below is a technical comparison of the current market leaders.
| Feature | Hyperice Normatec 3 | Therabody RecoveryAir PRO | Rapid Reboot 2.0 |
|---|---|---|---|
| Price Range | $999 | $899 | $1,099 |
| Max Pressure | 110 mmHg | 75 mmHg | 150 mmHg |
| Chamber Tech | 7-Overlapping Pulse | 4-Sequential Jet | 10-Cell Rapid Fill |
| Setup Time | ~45 Seconds | ~30 Seconds | ~60 Seconds |
| Control Unit | Integrated into Waistband | Integrated into Waistband | External Floor Unit |
Note: The Therabody RecoveryAir PRO utilizes a lower maximum mmHg but compensates with faster cycle times, making it ideal for users who find high-pressure clinical boots uncomfortable. For more technical specifications, refer to the official Hyperice Normatec portal.
Troubleshooting Common Setup Failures and Pressure Leaks
Even with a perfect installation, environmental factors can disrupt your recovery session. Use this diagnostic framework to resolve common issues without needing to contact customer support.
- Asymmetrical Inflation (One leg inflates faster): This is rarely a motor issue. It is almost always caused by a micro-bend in the secondary hose. Check the connection point at the boot valve and ensure the quick-release collar is fully seated. Detach and reattach the hose on the slower-inflating side.
- Compressor Overheating (Auto-Shutoff): If your unit shuts down after 10 minutes with a flashing red thermal indicator, the internal heat sink is suffocating. Move the unit off carpeted floors and ensure at least 6 inches of clearance on all sides of the control unit.
- Bluetooth Pairing Loops: If the app cannot find the boots, do not repeatedly press the pairing button. Instead, 'forget' the device in your phone's native Bluetooth settings, restart the control unit, and initiate pairing strictly from within the manufacturer's companion app.
Optimizing Your First Recovery Session
Now that your system is fully installed and calibrated, your inaugural session should focus on vascular adaptation rather than maximum pressure. Sports medicine guidelines suggest that introducing high-pressure IPC too quickly can cause temporary capillary stress in unconditioned tissues.
'For athletes transitioning to pneumatic compression for the first time, we recommend starting at 40-50 mmHg for a 20-minute flush cycle. This allows the lymphatic system to adapt to the mechanical gradient before progressing to the 80-110 mmHg ranges required for deep tissue edema clearance.' — Journal of Sports Science and Medicine
Set your control unit to a standard 'Flush' or 'Recovery' mode. Avoid 'Deep Tissue' or 'Max' settings for the first three sessions. Elevate your legs slightly above heart level using a firm foam wedge—never use soft pillows, which will cause the knees to hyperextend and pinch the popliteal artery, negating the benefits of the compression gradient.
Post-Session Maintenance and Long-Term Care
To ensure your new recovery tool lasts for years, proper teardown and hygiene protocols are mandatory. After every session, unzip the boots entirely and turn them inside out halfway to expose the interior TPU lining to ambient air. This prevents the buildup of anaerobic bacteria caused by sweat and condensation.
Do not use harsh chemical disinfectants or alcohol-based wipes on the interior lining, as these will degrade the heat-welded seams over time. Instead, use a hypochlorous acid (HOCl) spray—a hospital-grade, skin-safe antimicrobial that evaporates without leaving a residue. Wipe the exterior nylon shell with a damp microfiber cloth. By following this exact setup and maintenance protocol, your premium compression system will deliver clinical-grade recovery for your entire training lifecycle.
More gear to consider
All reviews
Normatec vs Hyperice Setup & Massage Gun for Plaque in Penis Myth

Foam Roller Density Guide & Black Massage Gun Space Layout

Cupping Therapy Equipment for Athletes vs Theragun Pro Massage Gun
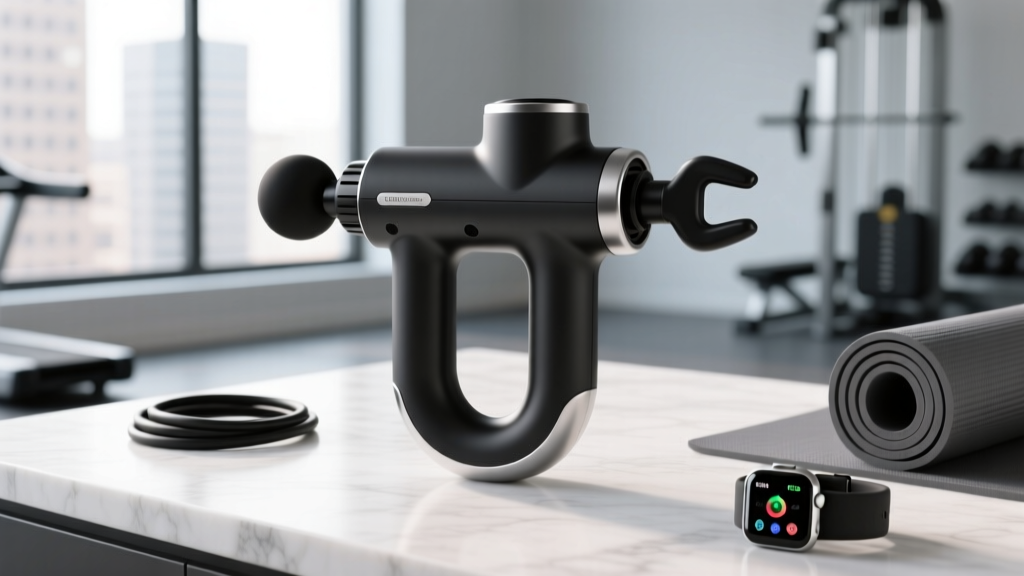
U-Shaped Massage Gun Buying Guide: Step-by-Step for 2026

Turonic GM5 Massage Gun Review: Percussion vs Vibration Therapy
