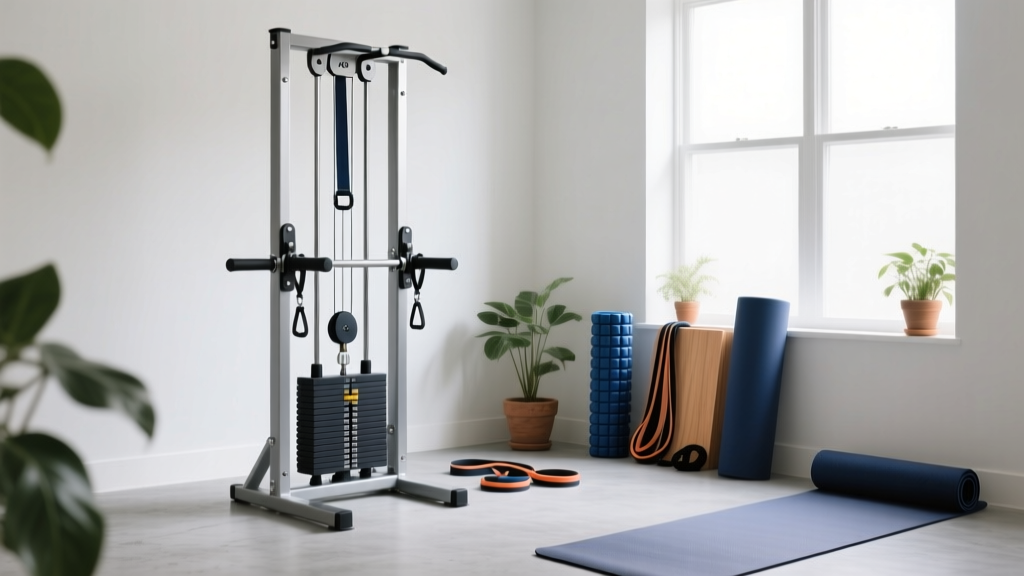
Setup Guide: Assisted Decompression (AD) Recovery Tool & Stretch Gear
Master the installation of your AD recovery tool and stretching equipment. Step-by-step setup, safety calibration, and wall-mounting guides for 2026.

The Shift to At-Home Assisted Decompression (AD) Recovery Tools
As home gym infrastructure evolves in 2026, clinical-grade flexibility equipment has become a staple for serious athletes and aging populations alike. The modern AD recovery tool—short for Assisted Decompression and Active Device stretching gear—allows users to achieve spinal traction and PNF (Proprioceptive Neuromuscular Facilitation) stretching without a physical therapist present. However, improper installation of inversion tables, wall-mounted stretch stations, and mechanical stretch trainers is a leading cause of equipment failure and user injury.
This comprehensive walkthrough covers the exact setup, structural calibration, and safety tolerances for the most popular stretching equipment on the market, ensuring your recovery space is both effective and structurally sound.
Pre-Installation Checklist & Tool Requirements
- Space Clearance: Minimum 4x8 ft for inversion tables; 3x4 ft for seated stretch trainers.
- Flooring: 8mm vulcanized rubber mats to absorb dynamic load and prevent sliding.
- Hardware Tools: Stud finder, laser level, 13mm and 15mm open-end wrenches, torque wrench (for wall mounts), and a rubber mallet.
- Wall Mounts: 3/8" x 3" galvanized lag bolts (never use drywall anchors for dynamic stretching loads).
Phase 1: Assembling the Teeter FitSpine X3 Inversion Table
The Teeter FitSpine X3 remains the gold standard for at-home spinal decompression. While the box claims a 30-minute assembly, achieving precise biomechanical calibration takes closer to 45 minutes if done correctly.
Step 1: Frame and U-Bar Construction
Begin by attaching the main bed frame to the base legs using the provided 10mm hex bolts. Do not fully tighten these bolts until the entire U-bar handle assembly is slotted into place. Premature tightening can cause a 2-3 degree misalignment in the rotational axis, leading to uneven spinal traction. Once the U-bar is seated, torque the base bolts to 25 ft-lbs.
Step 2: Calibrating the Height Dial and Ankle Lock
The most critical safety feature of any AD recovery tool relying on gravity is the ankle lock. The FitSpine X3 features a dual-stage locking mechanism.
- Set the Height Dial: Adjust the main shaft to your exact height (measured without shoes). If you are 5'10", set the dial precisely to the 5'10" mark, not the nearest inch.
- Adjust the Roller Hinges: The front and rear ankle rollers must be calibrated to your ankle circumference. Loosen the side knobs and slide the rollers until they rest exactly 1/4-inch above the malleolus (ankle bone).
- The Tether Strap: For beginners, set the rotational tether strap to the 20-degree mark. This prevents over-rotation, which can trigger a vestibular response or blood pressure spikes.
Phase 2: Wall-Mounting PNF Flexibility Stations
Wall-mounted cable and strap systems (like the Flexibility Science PNF Wall Station) are incredible for hamstring and shoulder mobility, but they exert massive lateral force. A dynamic PNF stretch can generate up to 250 lbs of pull-out force. According to the American College of Sports Medicine (ACSM), assisted stretching requires stable resistance points to prevent reflexive muscle guarding caused by equipment shifting.
| Wall Material | Required Anchor Hardware | Max Dynamic Load | Failure Mode Warning |
|---|---|---|---|
| Wood Stud (2x4 or 2x6) | 3/8" x 3" Lag Bolts | 350+ lbs | Wood splitting if pilot hole is too narrow |
| Masonry / Concrete | 1/2" Sleeve Anchors | 500+ lbs | Concrete spalling if over-torqued |
| Standard Drywall | NOT RECOMMENDED | N/A | Catastrophic pull-out under dynamic load |
Installation Protocol for Wood Studs
Use a magnetic and electronic stud finder to locate the center of the stud. Mark your drill points using a laser level to ensure the mounting bracket is perfectly horizontal. Drill a 7/32" pilot hole (crucial to prevent the stud from splitting). Drive the 3/8" lag bolts through the bracket's steel backing plate into the stud, stopping when the washer is flush and tight against the metal. Do not use an impact driver for the final 10% of tightening; use a hand ratchet to feel the torque and avoid stripping the wood threads.
Phase 3: Floor-Based Stretch Rigs (Precor Stretch Trainer)
For those who prefer seated, controlled stretching, the Precor Stretch Trainer is a biomechanical masterpiece. However, out of the box, the seat camber and stretch wheel require immediate tuning.
Expert Warning: Never place the Precor Stretch Trainer directly on hardwood or tile without a high-density rubber mat. The micro-vibrations during deep hamstring stretches will scratch the floor and cause the machine's rear stabilizer bar to inch backward over time, altering your stretch angle.
Calibrating the Stretch Wheel
The Stretch Trainer uses a steering-wheel-style mechanism to pull the user forward. The tension on this wheel is adjustable via a tension nut located under the seat carriage.
- For Rehabilitation/Light Stretching: Loosen the tension nut by 3 full turns. This allows the wheel to spin freely, letting the user control the stretch via gravity and light arm pulling.
- For Deep PNF Stretching: Tighten the tension nut until there is noticeable resistance. This allows the user to 'ratchet' themselves into a deeper stretch and hold the wheel in place without muscular fatigue in the forearms.
According to Harvard Health Publishing, consistency in stretching angles and resistance is key to long-term fascial adaptation. A poorly calibrated machine leads to inconsistent stretch vectors, minimizing the neurological benefits of the routine.
2026 Smart Calibration and Maintenance
The latest generation of AD recovery tools and stretching equipment now integrates with smart home gym ecosystems. If your stretching rig features Bluetooth-enabled goniometers or app-connected tension sensors (common in 2025/2026 models from brands like Hyperice and Therabody), you must perform a digital zeroing sequence during setup.
- Power on the device and connect to the companion app via Bluetooth LE.
- Place the machine in its absolute neutral, unloaded position.
- Initiate the 'Zero-Point Calibration' in the settings menu. This establishes the baseline for measuring your joint angles and stretch tension.
- Apply a known 10 lb test weight to the cables or straps to verify the load-cell accuracy. If the app reads outside the 9.5 - 10.5 lb range, recalibrate the load cell.
Monthly Maintenance: Lubricate all pivot points on inversion tables with 100% silicone spray (avoid WD-40, which attracts dust and degrades nylon bushings). Check wall-mount lag bolts every 90 days for a 1/4-turn of loosening caused by drywall compression.
FAQ: Troubleshooting Your AD Recovery Tool Setup
Why does my inversion table squeak when I rotate past 45 degrees?
This is almost always caused by the rotational hinge pins lacking lubrication, or the U-bar handle bolts being over-torqued, creating metal-on-metal friction. Loosen the U-bar bolts by a quarter turn, apply white lithium grease to the hinge pins, and retighten to the manufacturer's spec (usually 15-20 ft-lbs).
Can I mount a PNF stretch station to a cinder block wall?
Yes, but you must use 1/2" zinc-plated sleeve anchors or wedge anchors, not standard concrete screws (Tapcons), which lack the shear strength for dynamic lateral pulling. Drill the hole to the exact diameter specified on the anchor packaging, and vacuum out the concrete dust before inserting the anchor to ensure maximum friction grip.
My ankles bruise after using the inversion table. Is my setup wrong?
Bruising indicates the ankle rollers are clamping directly on the bony prominences (malleolus) rather than the muscular part of the lower calf/Achilles. Re-adjust the roller height so the lock engages roughly 1.5 inches above the ankle bone, and ensure you are wearing thick athletic socks during use.
More gear to consider
All reviews
Massage Gun Setup & USB Memory Stick Recovery Tool Guide

Why Does My Massage Gun Make Me Itchy? Trigger Point Tools & Maintenance

Beyond Massage Guns at Target: Heat Pad & Wrap Setup

Infrared Sauna Blankets & Panels vs Theragun Prime Massage Gun Guide

Heat Pad vs Wrap Setup: Do Massage Guns Help Sore Muscles Better?
