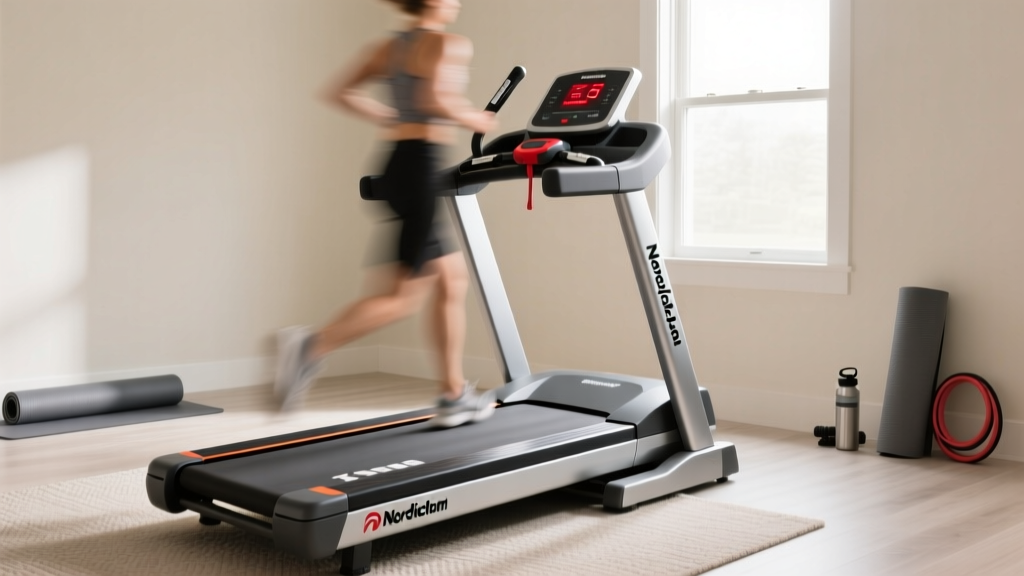
Beyond Well Fit Treadmill Reviews: Motor Size & Setup Walkthrough
Look past standard well fit treadmill reviews. Learn how to choose the right motor horsepower and execute a flawless home installation walkthrough.

The Hidden Truth Behind Treadmill Longevity
While browsing through various well fit treadmill reviews, buyers often fixate on console touchscreens, interactive programming, and folding mechanisms. However, the true heartbeat of any cardio machine—and the primary determinant of its lifespan—is hidden beneath the plastic motor hood. In 2026, with premium home treadmills ranging from $1,200 to over $3,500, making an uninformed decision about motor sizing or botching the initial installation can lead to catastrophic failure within the first year.
This comprehensive guide bypasses the marketing fluff. We will dissect exactly how to size a treadmill motor for your specific biomechanics and provide a meticulous, step-by-step installation walkthrough designed to protect your investment from premature burnout.
Decoding the Motor: Peak HP vs. Continuous Duty HP
The most pervasive deception in the fitness equipment industry is the "Peak Horsepower" metric. Peak HP measures the maximum output the motor can achieve for a fraction of a second before overheating. What you actually need to look for is Continuous Duty Horsepower (CHP). CHP measures the power the motor can sustain indefinitely during a grueling 10-mile run without thermal degradation.
According to Consumer Reports' treadmill buying guide, a motor that is underpowered for the user's weight will constantly draw excess amperage, generating excessive heat that eventually melts the insulation on the motor windings and fries the lower control board.
2026 Motor Sizing Matrix
Use the following framework to determine the minimum CHP required for your household. Note that these figures assume a standard 0% to 15% incline range.
| User Weight | Primary Activity | Minimum CHP Required | Ideal Motor Type |
|---|---|---|---|
| Under 150 lbs | Walking / Light Jogging | 2.5 CHP | Standard DC Motor |
| 150 - 200 lbs | Jogging / Interval Training | 3.0 CHP | High-Torque DC Motor |
| 200 - 250 lbs | Running / Sprinting | 3.5 CHP | Commercial-Grade DC |
| 250+ lbs | Heavy Running / Incline Work | 4.0+ CHP | AC Motor (Club Rated) |
Never plug a treadmill into a GFCI (Ground Fault Circuit Interrupter) outlet. Treadmill motors draw a massive "inrush current" when starting up. This sudden spike frequently mimics a ground fault, causing the GFCI to trip. A sudden power cut while the belt is moving at 8 MPH can cause severe injury and permanently corrupt the console's EEPROM chip.
Phase 1: Pre-Installation Electrical & Spatial Requirements
Before you unbox the machine, you must verify your home's electrical infrastructure. Most residential bedrooms and home offices are wired with 15-amp circuits shared across multiple outlets and lighting fixtures. A 3.5 CHP treadmill pulling 12 amps under load will easily trip a shared 15-amp breaker.
The Dedicated 20-Amp Circuit Rule
For any treadmill equipped with a 3.0 CHP motor or larger, industry standards dictate a dedicated 20-amp circuit. As outlined by electrical safety guidelines on Family Handyman, a dedicated circuit ensures that no other appliance is competing for current.
- Wire Gauge: Ensure the circuit is wired with 12-gauge copper wire (10-gauge is even better for long runs from the breaker panel).
- Surge Protection: Do not use cheap power strips. Invest in a UL-listed surge protector rated for at least 4,000 Joules to protect the treadmill's PWM (Pulse Width Modulation) control board from voltage spikes.
- Clearance: Maintain a minimum of 24 inches of clearance on both sides of the belt, and at least 36 inches behind the rear roller to allow for safe dismounts and adequate motor ventilation.
Phase 2: Physical Assembly and Deck Leveling
Improper physical assembly is the second leading cause of motor strain. If the frame is twisted, the running belt will track unevenly, creating lateral friction that forces the motor to work up to 30% harder.
Step-by-Step Frame Squaring
- Position the Uprights: When attaching the vertical masts to the base, leave the bolts 10% loose. Do not fully torque them yet.
- Level the Feet: Use a 24-inch carpenter's level across the width of the deck. Adjust the four corner leveling feet until the bubble is perfectly centered. An unlevel deck causes uneven wear on the motor's drive roller bearings.
- Torque Sequence: Once level, tighten the upright bolts in a star pattern (top left, bottom right, top right, bottom left) to 45 ft-lbs to ensure the frame remains square.
Phase 3: Belt Tensioning and Lubrication
The relationship between belt tension and motor health cannot be overstated. An over-tightened belt acts like a brake, generating immense heat and destroying the lower control board. An under-tightened belt will slip, causing the user to stumble and potentially burning out the drive roller.
"The most common mistake we see in home installations is the 'factory-tight' assumption. Belts stretch during transit and initial use. Failing to check tension before the first run is a guaranteed way to shorten your motor's lifespan." — Lead Technician, Treadmill Doctor
The 2-to-3 Inch Lift Test
Reach under the center of the running belt on the side of the deck. Lift the belt upward. You should achieve exactly 2 to 3 inches of vertical lift.
- If it lifts 4+ inches: The belt is too loose. Turn both rear roller adjustment bolts clockwise by exactly one-quarter (1/4) turn.
- If it lifts less than 2 inches: The belt is over-tightened. Turn both bolts counter-clockwise by one-quarter turn.
- Lubrication: Before the first power-on, lift the belt and apply 15ml of 100% pure silicone treadmill lubricant in a zig-zag pattern across the deck. Never use petroleum-based products like WD-40, which will dissolve the deck's phenolic resin coating.
Phase 4: First Power-On and Amp Draw Diagnostics
Do not simply step on the belt and press start. The initial power-on is a diagnostic procedure to verify that your installation was successful and that the motor is operating within safe electrical parameters.
Running the No-Load Test
- Plug the machine into your verified 20-amp dedicated outlet.
- Insert the magnetic safety key.
- Start the treadmill at 3.0 MPH and let it run unoccupied for 5 minutes. Listen for rhythmic thumping (indicating a warped roller) or high-pitched whining (indicating dry bearings).
- Increase the speed to 8.0 MPH and elevate the incline to 10%. Let it run for another 3 minutes to allow the motor windings to reach normal operating temperature.
Testing Amp Draw (The Ultimate Health Check)
For the ultimate E-E-A-T level verification, use a digital clamp multimeter. Clamp the meter around the hot (black) wire inside the motor hood (ensure you are following all electrical safety protocols and the machine is unplugged while setting up the meter).
- No-Load (Empty Belt): A healthy 3.0 CHP motor should draw between 3 to 5 amps at 5 MPH.
- Under Load (User Walking): Expect a draw of 6 to 10 amps.
- Danger Zone: If your amp draw exceeds 15 amps during a normal walking pace, STOP IMMEDIATELY. This indicates severe deck friction, a misaligned belt, or a failing drive motor. Continuing to use the machine will trigger the thermal overload switch or destroy the MOSFETs on the motor control board.
Protecting Your Investment: The 90-Day Maintenance Schedule
Even the most robust 4.0 CHP commercial motor will fail if starved of maintenance. To ensure your treadmill survives well beyond its standard 2-year parts warranty, implement this strict maintenance cadence:
- Every 30 Days: Vacuum beneath the motor hood. Treadmill motors use internal fans for cooling; pet hair and dust act as thermal insulators, causing the motor to overheat and shut down.
- Every 90 Days (or 150 miles): Reapply 15ml of 100% silicone deck lubricant. Friction is the number one enemy of continuous duty horsepower.
- Bi-Annually: Re-check the belt tension using the 2-to-3 inch lift test, as the polyester weave of the belt will naturally elongate over time.
By prioritizing continuous horsepower metrics over flashy console features, and by executing a precise, electrically sound installation, you transform your treadmill from a depreciating piece of furniture into a reliable, decade-long fitness asset. The next time you are sifting through equipment specs, remember that true performance begins under the hood and ends with a perfectly tensioned belt.
More gear to consider
All reviews
Best Folding Treadmill in the Philippines for Small Spaces (2026)

Walking Pad vs Treadmill: Setup to Train for a 5K on a Treadmill

Star Trac Treadmill Models & Cardio Noise: Beginner Comparison Guide
Beyond Ancheer Treadmill Reviews: Belt Maintenance in Small Spaces
Sole F85 Treadmill vs Ellipticals: Home Cardio Budget Breakdown