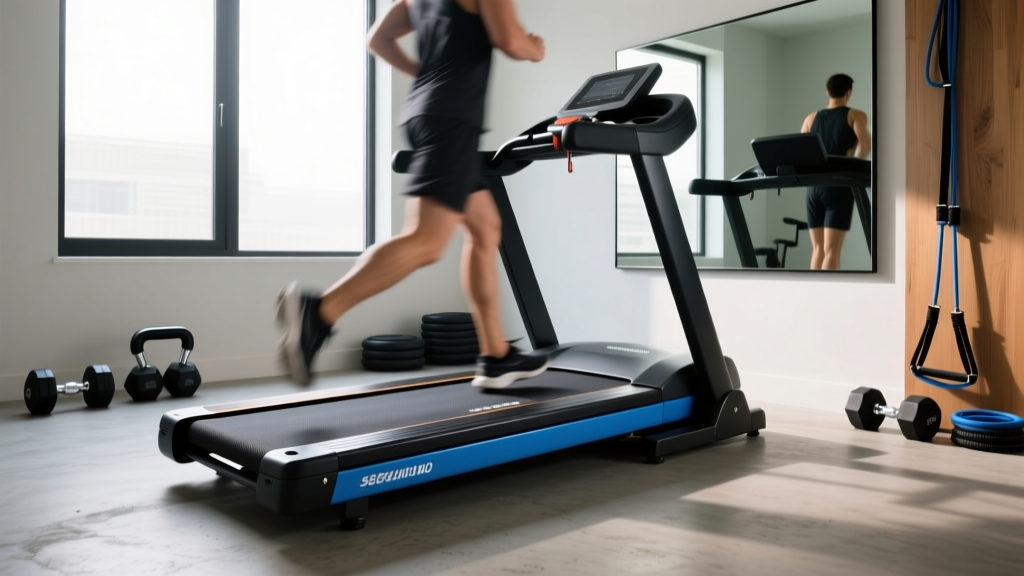
Walking Pad vs Treadmill Setup Guide for Using the Treadmill Safely
Compare walking pads and treadmills with our complete setup walkthrough. Learn space, electrical, and assembly requirements before using the treadmill.

The 2026 Cardio Dilemma: Walking Pad vs. Traditional Treadmill
The home fitness landscape in 2026 is dominated by two distinct approaches to indoor cardio: the ultra-compact walking pad and the heavy-duty traditional treadmill. While both serve the fundamental purpose of getting your steps in, the installation, spatial requirements, and safety protocols differ drastically. Whether you are unboxing a foldable under-desk model or maneuvering a 250-pound commercial-grade machine into your spare bedroom, proper setup is non-negotiable. Failing to prepare your space and electrical infrastructure can lead to motor burnout, tripped breakers, or severe injury when using the treadmill. This comprehensive walkthrough breaks down the exact setup procedures, spatial clearances, and calibration tests required for both equipment types.
Specification & Setup Comparison Matrix
| Feature | KingSmith WalkingPad X21 | Sole Fitness F63 (Traditional) |
|---|---|---|
| Approximate Price (2026) | $599 | $1,199 |
| Motor Output | 1.25 HP | 3.0 CHP |
| Assembled Weight | 115 lbs | 250 lbs |
| Setup Time | 10-15 Minutes | 60-90 Minutes (2 People) |
| Electrical Requirement | Standard 120V Outlet | Dedicated 15-Amp Circuit |
| Minimum Rear Clearance | 12 Inches | 24+ Inches (CPSC Mandate) |
Pre-Installation: Space, Clearance, and Electrical Demands
Before cutting any zip ties, you must evaluate the room’s infrastructure. The American Council on Exercise (ACE) emphasizes that inadequate spatial planning is the leading cause of home gym equipment abandonment and injury.
Walking Pad Placement Strategy
Walking pads like the KingSmith X21 are designed for low-profile environments, often sliding under beds or sofas. However, when deployed, they require a flat, hard surface. Avoid thick, high-pile carpets, as the friction can cause the motor housing to overheat during extended use. If placing the pad on hardwood or luxury vinyl plank (LVP), lay down a 1/4-inch thick PVC equipment mat to prevent the rubber feet from leaving permanent plasticizer stains on your flooring.
Traditional Treadmill Footprint and Power Draw
Traditional treadmills demand rigorous spatial and electrical planning. The Sole F63 features a 20-inch by 60-inch running surface, meaning the total footprint extends to roughly 35 inches wide by 82 inches long.
The Ejection Zone: According to the Consumer Product Safety Commission (CPSC), you must maintain a minimum of 24 inches (2 feet) of unobstructed clearance directly behind the treadmill. If a user falls and the safety key is not immediately pulled, the belt continues to spin. Without this "ejection zone," the user can become pinned against a wall, resulting in severe friction burns or crushing injuries.
Electrical Infrastructure: A 3.0 CHP motor requires a massive startup surge, often pulling 12 to 14 amps momentarily. Plugging a traditional treadmill into a shared 15-amp living room circuit alongside a space heater, television, or microwave will almost certainly trip the breaker. You must plug the machine into a dedicated 15-amp circuit. Avoid using extension cords or surge protectors, as they can restrict current flow and void the manufacturer’s warranty.
Step-by-Step Unboxing and Assembly Walkthrough
Phase 1: Walking Pad Deployment
- Unboxing: Cut the outer bands and slide the box off the pad. Do not lift the 115 lb unit by the hinge mechanism.
- Hinge Locking: For foldable models like the X21, unfold the front section until you hear a definitive mechanical "click." Visually verify that the dual locking pins have fully engaged into the receiver holes.
- Handlebar Installation: If your model includes a telescopic handlebar, insert the base into the front receiver and tighten the four M8 hex bolts using the provided Allen key. Torque them firmly, but do not over-tighten to the point of stripping the aluminum threads.
- Remote Pairing: Insert AAA batteries into the remote. Hold the power button on the console for 5 seconds until the LED blinks, then press any button on the remote to sync.
Phase 2: Traditional Treadmill Heavy Assembly
WARNING: Never attempt to upright the mast of a 250 lb treadmill alone. The leverage exerted by the heavy console can easily bend the upright arms or cause severe lower back injury. Always use two adults or a mechanical furniture dolly.- Base Positioning: Leave the treadmill on its shipping pallet. Remove the cardboard shroud. Identify the front and rear of the deck (the motor cover is at the front).
- Uprighting the Mast: With one person stabilizing the base, the second person lifts the upright mast. Guide the console data cables through the center of the mast tube. Crucial: Ensure the internal wires are not pinched between the metal tubes during this step.
- Securing the Base Bolts: Insert the four 1/2-inch hex head base bolts. Tighten them in a star pattern (top-left, bottom-right, top-right, bottom-left) to ensure even pressure distribution across the frame welds.
- Console Attachment: Connect the color-coded data cables (usually a red and white clamp). Snap the console onto the mast brackets and secure with the provided M6 screws.
Calibration and Safety Checks Before Using the Treadmill
Assembly is only half the battle. Before using the treadmill for your first workout, you must calibrate the belt tension and verify the safety systems. The American Heart Association notes that sudden equipment malfunctions during high-intensity intervals are a primary cause of home cardiac rehab setbacks.
The Lift Test and Belt Tracking
Factory belt tension is rarely perfect after the machine has sat in a shipping container for months. Perform the "Lift Test":
Reach under the center of the running belt and lift it away from the phenolic deck. The belt should raise exactly 2 to 3 inches.
• If it lifts 4+ inches: The belt is too loose. When you step on it, the belt will hesitate while the motor spins, causing a dangerous slip. Use the provided T-wrench to turn both rear roller adjustment bolts clockwise by exactly one-quarter turn.
• If it lifts less than 2 inches: The belt is too tight. This creates excessive friction, forcing the motor to work harder, drawing more amps, and eventually burning out the drive board. Loosen the bolts counter-clockwise by one-quarter turn.
Next, plug in the machine, attach the magnetic safety key to your shirt, and start the belt at 3.0 MPH. Walk on it for two minutes. Watch the rear edge of the belt. If it drifts to the left, tighten the left rear roller bolt by one-eighth of a turn. If it drifts right, tighten the right bolt. Never adjust tracking while the machine is off.
Safety Key and Incline Motor Verification
With the belt moving at 4.0 MPH, intentionally pull the magnetic safety key from the console. The belt should begin decelerating immediately and come to a complete halt within 3 to 5 seconds. If it stops abruptly and throws you forward, the deceleration curve in the software needs a factory reset. Next, test the incline motor. Press the incline up button to 15%. Listen for grinding noises or hesitation, which indicate a misaligned lift actuator.
Long-Term Maintenance and Edge Case Troubleshooting
To ensure longevity, traditional treadmills require periodic deck lubrication. The Sole F63 features a pre-waxed deck, but after 150 miles of use, you must apply exactly 15ml of 100% pure silicone treadmill lubricant under the belt. Never use WD-40 or petroleum-based products, as they will dissolve the phenolic deck coating and void your warranty.
For walking pads, the primary edge case involves the hinge mechanism. Over time, the folding joint can develop lateral play, causing a rhythmic "thumping" sound during use. If this occurs, locate the tension nut underneath the hinge joint and tighten it with a 14mm socket wrench until the play is eliminated, but ensure the pad can still fold without binding.
Expert Insight: If your traditional treadmill displays an "E1" or "Speed Sensor" error code immediately upon starting, do not assume the motor is dead. In 90% of cases, the optical speed sensor near the motor flywheel has simply vibrated out of alignment during shipping. Unplug the machine, remove the motor hood, and realign the sensor so it sits exactly 2 millimeters from the slotted speed disk.
By respecting the distinct spatial, electrical, and mechanical requirements of both walking pads and traditional treadmills, you guarantee a safe, efficient, and frustration-free cardio environment for years to come.
More gear to consider
All reviews
Walking Pad vs Treadmill: Belt Maintenance & Lubrication Guide
Treadmill Games Setup: Motor Size & Installation Walkthrough
Best Walking Treadmill Workout & Noise Level Troubleshooting

Are Horizon Treadmills Good for Small Spaces? 2026 Review

Stair Climber Home Guide: Setup, Use & How to Unfold a Treadmill