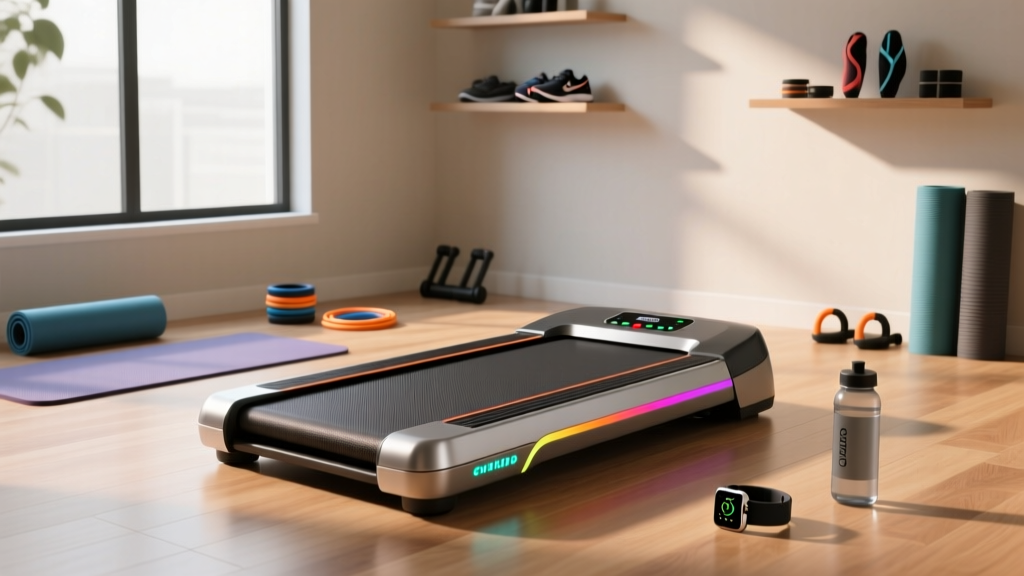
Walking Pad Setup: Treadmill Safety Key With Pins & 2026 Review
Master walking pad installation with our setup guide. Compare top 2026 models and learn to install a treadmill safety key with pins for secure workouts.

The Critical Role of Safety in Under-Desk Treadmills
The shift toward active workspaces has made walking pads a staple in home offices. However, compact size does not negate the need for rigorous safety protocols. According to the Consumer Product Safety Commission (CPSC), improper setup and bypassed safety mechanisms remain leading causes of home fitness equipment injuries. When unboxing a new walking pad in 2026, the most vital component you will handle is the treadmill safety key with pins. Unlike older magnetic puck styles, modern pin-based keys complete a physical circuit on the console's motherboard, ensuring the motor cuts power instantly if you drift too far back or lose your balance.
This comprehensive walkthrough covers the complete setup and installation of a walking pad, with a specialized focus on properly routing, installing, and troubleshooting the pin-style safety key. We will also compare how top-tier 2026 walking pad models handle this critical safety feature.
⚠️ Safety Warning: Never bypass or tape down your treadmill safety key with pins to keep the machine running while away from the console. This defeats the primary fail-safe and voids your manufacturer warranty. Always attach the lanyard to your waistband or desk chair.Phase 1: Unboxing and Clearance Protocol
Before you even touch the safety key, your walking pad must be positioned correctly to ensure the lanyard functions as intended. The Centers for Disease Control and Prevention (CDC) emphasizes creating safe, unobstructed environments for daily physical activity, which applies directly to your home office layout.
Measuring the Safety Zone
- Rear Clearance: Measure exactly 24 inches from the rear of the walking pad belt to your desk chair or wall. This specific distance prevents the lanyard from reaching maximum tension during a standard 3.5 MPH stride, which could inadvertently rip the treadmill safety key with pins from the console and halt your workout abruptly.
- Side Clearance: Leave at least 12 inches on both sides of the belt for arm swing and emergency step-offs.
- Surface Leveling: Place the pad on a hard, flat surface. Use the adjustable rear foot caps (usually included in the hardware bag) to eliminate any wobble. A 2mm wobble can cause the belt to track left or right, increasing the risk of a stumble.
Phase 2: Installing the Treadmill Safety Key With Pins
The pin-style safety key typically features two 6mm diameter brass or steel prongs, measuring roughly 15mm in length. These pins slide into dual receptacles on the console to close the electrical circuit.
Step 1: Lanyard Routing and Attachment
Thread the nylon lanyard through the loop on the plastic key housing. Clip the alligator clasp to a secure, non-stretchy part of your clothing—preferably your belt loop or the hem of your shirt. If you are using the walking pad at a standing desk, you can clip it to the desk's crossbar, provided the cord has enough slack for your natural stride but is taut enough to pull the key if you step backward off the belt.
Step 2: Pin Alignment and Insertion
- Inspect the Pins: Check the metal prongs for any shipping damage or bending. They must be perfectly parallel.
- Align with Receptacles: Hold the key housing flat against the console. Align the two pins with the small holes marked with a safety icon.
- Apply Even Pressure: Push the key straight in. You should feel a mechanical click or resistance indicating the pins have seated fully into the micro-switches (requires approximately 4 lbs of pressure).
- Power On: Flip the master power switch at the front base of the pad. The console should light up and display '0.0'. If it displays an error code (like 'E07' or 'SAFE'), the pins are not fully seated.
2026 Walking Pad Comparison: Safety & Setup Features
Not all walking pads utilize the same safety mechanisms. Below is a comparison matrix of three leading 2026 models, analyzing their setup times, safety key types, and console error responses.
| Model (2026) | Retail Price | Safety Key Type | Peak Motor HP | Setup Time | Key Error Code |
|---|---|---|---|---|---|
| UREVO Strol 2E | $299 | Treadmill safety key with pins (Dual Prong) | 2.5 HP | 12 mins | E07 |
| Sunny Health SF-T723016 | $189 | Magnetic Red Puck | 1.5 HP | 8 mins | E02 |
| King Smith WalkingPad R2 | $599 | Treadmill safety key with pins (Single Prong + Magnet) | 2.0 HP | 15 mins | SAFE |
Analysis: The UREVO Strol 2E offers the most straightforward dual-pin setup, providing a highly secure physical connection that is less prone to accidental detachment from desk vibrations compared to Sunny Health's magnetic puck. The WalkingPad R2 uses a hybrid pin-magnet system, which is innovative but requires a slightly longer setup time to calibrate the folding hinge sensors alongside the safety key.
Troubleshooting the Treadmill Safety Key With Pins
Even with careful installation, pin-style keys can encounter operational hiccups. Here is how to diagnose and resolve the most common edge cases without voiding your warranty.
💡 Expert Tip: The Isopropyl FixIf your console displays an 'E07' or 'SAFE' error immediately upon startup, the factory-applied anti-corrosion coating on the brass pins may be blocking the circuit. Wipe the pins vigorously with a cotton swab dipped in 90% isopropyl alcohol. Let them dry for 30 seconds, reinsert, and the error will typically clear.
Common Failure Modes and Solutions
- Bent Pins from Angled Insertion: If you push the key in at an angle, the 6mm pins can bend. Fix: Remove the key and use needle-nose pliers to gently bend them back to parallel. Do not force a bent key into the console, as this can crack the plastic housing around the motherboard receptacles.
- Frayed Lanyard Tension: Over 6 to 8 months of daily use, the nylon lanyard can stretch, meaning you might step off the back of the belt before the key pulls out. Fix: Tie a simple overhand knot in the lanyard near the clip to shorten the effective length by 3-4 inches.
- Console Vibration Loosening the Key: On cheaper walking pads with unbalanced flywheels, console vibration can slowly walk the pin key out of its socket. Fix: Apply a tiny piece of blu-tack or removable mounting putty to the back of the plastic key housing to secure it flush against the console bezel.
Final Review and Verdict
When evaluating walking pads from a setup and safety perspective, the mechanism that stops the belt is just as important as the motor that drives it. The treadmill safety key with pins remains the gold standard for under-desk treadmills in 2026 because it requires deliberate physical alignment to operate, preventing the machine from being left in an active, unattended state.
For heavy daily walkers logging 10,000+ steps at their standing desks, the UREVO Strol 2E is our top recommendation. Its dual-prong pin key is robust, the 2.5 HP motor handles continuous use without overheating, and the 24-inch rear clearance protocol integrates seamlessly into standard home office layouts. Budget buyers opting for the Sunny Health SF-T723016 must be hyper-vigilant about keeping the magnetic puck clean and properly seated, as desk vibrations can occasionally break the magnetic seal.
By respecting the clearance measurements, properly routing your lanyard, and maintaining the metal pins, your walking pad will remain a safe, effective tool for combating sedentary work habits for years to come.
More gear to consider
All reviews
How Does an Anti-Gravity Treadmill Work vs Budget Stationary Bikes?

Sunny Health and Fitness Treadmill Reviews: 2026 Buying Guide

NordicTrack Ultra 1 Treadmill vs Under Desk Office Models

Elliptical vs Treadmill Maintenance & Sole F63 Treadmill Sale Guide
Vision Fitness T8500 Treadmill: 2026 Premium Buying Guide
