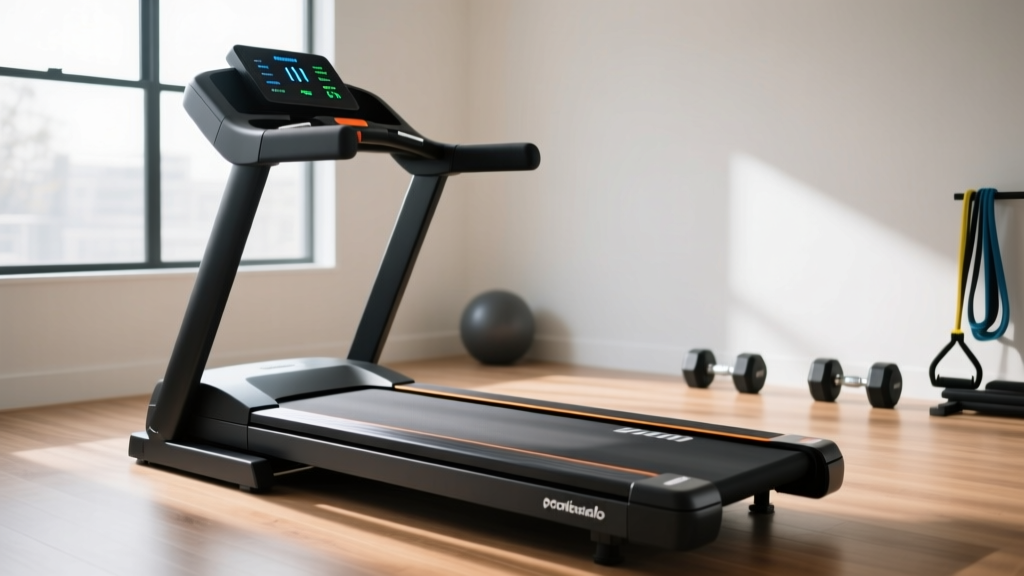
Vision TF20 Treadmill Belt Maintenance in Tight Home Gym Layouts
Learn how to perform Vision TF20 treadmill belt maintenance and lubrication without disrupting your space-optimized home gym layout. Get clearance specs.

The Spatial Dilemma: Servicing a 295-lb Machine in Compact Layouts
When designing a space-optimized home gym in 2026, the Vision TF20 treadmill is a frequent centerpiece. Its hydraulic folding mechanism and relatively compact footprint allow it to tuck neatly into alcoves, spare bedrooms, and converted office spaces. However, a persistent flaw in modern home gym layout design is prioritizing the storage footprint over the serviceability footprint. The Vision TF20 weighs approximately 295 pounds (134 kg). When you box it into a corner to maximize your square footage for free weights or an air bike, you inadvertently create a maintenance nightmare.
Treadmill belt maintenance and lubrication are non-negotiable for preserving the TF20’s 3.0 HP continuous-duty motor and preventing deck warping. Yet, accessing the deck, adjusting the rear roller tracking bolts, and applying lubricants require specific spatial clearances that most floor plans ignore. Moving a nearly 300-pound machine across luxury vinyl plank (LVP) flooring or carpet every three months risks floor damage, personal injury, and misaligned belt tracking. This guide bridges the gap between interior layout optimization and rigorous mechanical upkeep, detailing exactly how to maintain your Vision TF20 treadmill without dismantling your carefully curated gym layout.
Critical Layout Metrics: Vision TF20 Maintenance Clearances
Standard home gym guidelines often suggest leaving 12 inches of side clearance for user safety. However, maintenance clearance is an entirely different metric. According to safety and ergonomic guidelines outlined by the U.S. Consumer Product Safety Commission (CPSC), adequate clearance around heavy motorized fitness equipment is also vital to prevent entrapment and allow for safe servicing. If your layout falls short of these maintenance minimums, you will need specialized offset tools to service the machine in place.
| Access Point | Minimum Maintenance Clearance | Primary Maintenance Purpose | Workaround for Tight Spaces |
|---|---|---|---|
| Left Side (Motor Hood) | 24 inches | Motor dusting, deck inspection, belt alignment | Remove motor hood (requires Phillips head); use a flexible inspection mirror. |
| Right Side (Deck Edge) | 18 inches | Lubricant application, deck waxing, belt tensioning | Use an aerosol silicone wand or flexible deck lubrication spreader. |
| Rear (Roller Bolts) | 12 inches | Belt tracking adjustment, tension calibration | Use a 90-degree offset 6mm hex wrench or ratcheting box wrench. |
| Front (Incline Motor) | 30 inches | Incline calibration, front roller access | Unfold treadmill fully; ensure no wall-mounted TVs obstruct the lift arc. |
The Wax vs. Silicone Trap: Identifying Your TF20 Belt Type
Before applying any lubricant in your confined space, you must identify your specific TF20 belt iteration. Vision Fitness has transitioned many of its premium models, including recent TF20 configurations, to wax-impregnated running belts. Applying standard liquid silicone to a wax belt is a catastrophic error that creates a sludgy, friction-heavy paste, ultimately burning out the motor controller and ruining the MDF deck.
⚠️ CRITICAL WARNING: Never guess your belt type. Always verify via the official Vision Fitness Support portal using your exact serial number before introducing any chemical lubricant to the deck environment.Scenario A: Maintaining the Wax-Impregnated Belt in Tight Spaces
If your TF20 features a wax-impregnated belt, it is largely 'maintenance-free' regarding liquid lubricants. However, the wax degrades over time, especially in high-friction zones. In a tight layout where you cannot easily pull the machine out to lift the heavy belt, use the friction-heat method. Run the treadmill at 3.0 MPH with no user on it for 10 minutes. The ambient friction will slightly soften the embedded wax, allowing it to redistribute across the deck. If the belt feels excessively dry (tested by rubbing your hand firmly against the stationary belt; it should feel slightly waxy, not like dry rubber), you must use a specialized solid wax stick applied to the underside of the belt edges, which can be done with just 6 inches of side clearance by lifting the edge with a flathead screwdriver.
Scenario B: Liquid Silicone Application for Standard Belts
If your specific TF20 model requires 100% liquid silicone, spatial constraints dictate your application method. Squeeze bottles require you to lift the belt high and reach deep into the center of the deck—impossible if the treadmill is wedged against a wall on the right side.
- The Extension Wand Technique: Purchase 100% silicone treadmill lubricant in an aerosol can with a 12-inch extension straw. This allows you to spray the precise center-line of the deck from the rear or side without lifting the belt more than an inch.
- The Distribution Protocol: Run the treadmill at 2.0 MPH for 5 minutes. Walk on it at varying lateral positions to force the silicone outward toward the edges. This eliminates the need to manually spread the lubricant with your hands in a cramped alcove.
Environmental Threats in Corner and Alcove Placements
Space optimization often means placing the TF20 in corners, near HVAC vents, or over thick carpets. These layout choices directly accelerate belt degradation and alter maintenance intervals.
- HVAC Proximity: If your layout places the treadmill directly under an AC vent, the constant flow of dehumidified air will dry out both standard silicone and wax belts up to 40% faster. You must shorten your maintenance interval from every 6 months to every 3 months.
- Carpet Particulate Ingestion: Tucking a treadmill into a carpeted corner creates a static-charge vacuum. The TF20’s motor fan pulls in carpet fibers and dust, which bypass the belt and embed into the deck wax/silicone, creating an abrasive sandpaper effect. If your layout requires carpet placement, invest in a high-density, non-porous PVC equipment mat that extends at least 14 inches beyond the treadmill’s lateral footprint to catch particulates before they reach the motor hood.
- Sunlight and UV Degradation: Placing the TF20 near a south-facing window to open up the room's visual space exposes the rubber belt to UV rays, causing micro-cracking. If this layout is mandatory, apply a UV-protectant rubber conditioner to the exposed edges of the belt bi-annually.
Step-by-Step: Tracking and Tensioning Without Moving the Frame
Belt tracking (centering the belt on the deck) is the most common maintenance task. The TF20 utilizes rear roller adjustment bolts located at the extreme back of the side rails. If your space-optimized layout leaves the rear of the treadmill flush against a wall, you face a geometric impossibility using standard tools.
'The most common cause of home gym equipment abandonment isn't mechanical failure; it's the friction of maintenance. If a user has to risk scratching their hardwood floors to tighten a bolt, they simply won't do it until the machine breaks.' — Industrial Fitness Equipment Design Principle
The Offset Wrench Solution:
- Measure your rear clearance. If it is less than 8 inches, a standard Allen key or socket wrench will not fit.
- Acquire a 90-degree offset 6mm hex wrench or a specialized low-profile ratcheting box wrench.
- Turn the treadmill ON at 1.0 MPH. (Never adjust tracking bolts while the machine is static, as you cannot gauge the tension accurately).
- Insert the offset wrench into the rear left or right bolt. Turn clockwise exactly one-quarter (1/4) turn to shift the belt away from that side.
- Wait 30 seconds for the belt to track. Repeat on the opposite side if necessary. Do not over-tension, as this will strain the 3.0 HP motor and increase your electricity draw.
Summary Checklist for Space-Constrained Owners
To maintain your Vision TF20 treadmill without compromising your home gym's spatial integrity, commit to the following layout-aware maintenance protocol:
- Verify Belt Type: Confirm wax vs. silicone via the Vision Fitness serial database before purchasing lubricants.
- Tool Adaptation: Keep a 90-degree offset 6mm hex wrench and an aerosol silicone wand with an extension straw in your home gym toolkit.
- Clearance Audits: Ensure at least 18 inches of right-side clearance and 12 inches of rear clearance during your initial layout design phase.
- Environmental Mitigation: Use a non-porous PVC mat and adjust lubrication intervals if the machine is placed near HVAC returns or carpeted zones.
By anticipating the mechanical needs of the Vision TF20 during the layout design phase, you ensure that your home gym remains both a sanctuary of fitness and a masterclass in functional, long-term space optimization.
More gear to consider
All reviews
Sole F80 Treadmill Setup Walkthrough & Feature Guide

Fix Galaxy Watch Treadmill Calibration & Machine Noise Issues

How a 3 Incline on Treadmill Impacts Belt Maintenance Costs

Life Fitness Treadmills Review: Top Folding Picks 2026

Heavy-Duty Walking Pad & Treadmill for 300 Plus Pounds (2026)